10
2
1
Timer operation
1. Press the TIMER ON button. The remote
controller shows TIMER ON, the last Auto-on
setting time and the signal "H" will be shown on
the LCD display area. Now it is ready to reset
the Auto-on time to START the operation.
2. Push the TIMER ON button again to set desired
Auto-on time. Each time you press the button,
the time increases by half an hour between0
and 10 hours and by one hour between 10 and
24 hours.
3. After setting the TIMER ON ,there will beaone
second delay before the remote controller
transmits the signal to the air conditioner. Then,
after approximately another 2 seconds, the
signal "h" will disappear and the set temperature
will re-appear on the LCD display window.
Press the TIMER ON button can set the auto-
on time of the unit. Press the TIMER OFF button
can set the auto-off time of the unit.
To set the Auto-on time.
To set the Auto-off time.
1.
2.
Press the TIMER OFF button. The remote
controller shows TIMER OFF, the last Auto-off
setting time and the signal "H" will be shown on
the LCD display area. Now it is ready to reset
the Auto-off time to stop the operation.
Push the TIMER OFF button again to set
desired Auto-off time. Each time you press the
button, the time increases by half an hour
between0and 10 hours and by one hour
between 10 and 24 hours.
3. After setting the TIMER OFF ,there will bea
one second delay before the remote controller
transmits the signal to the
air conditioner. Then,
after approximately another 2 seconds, the
signal "H " will disappear and the set temperature
will re-appear on the LCD display window.
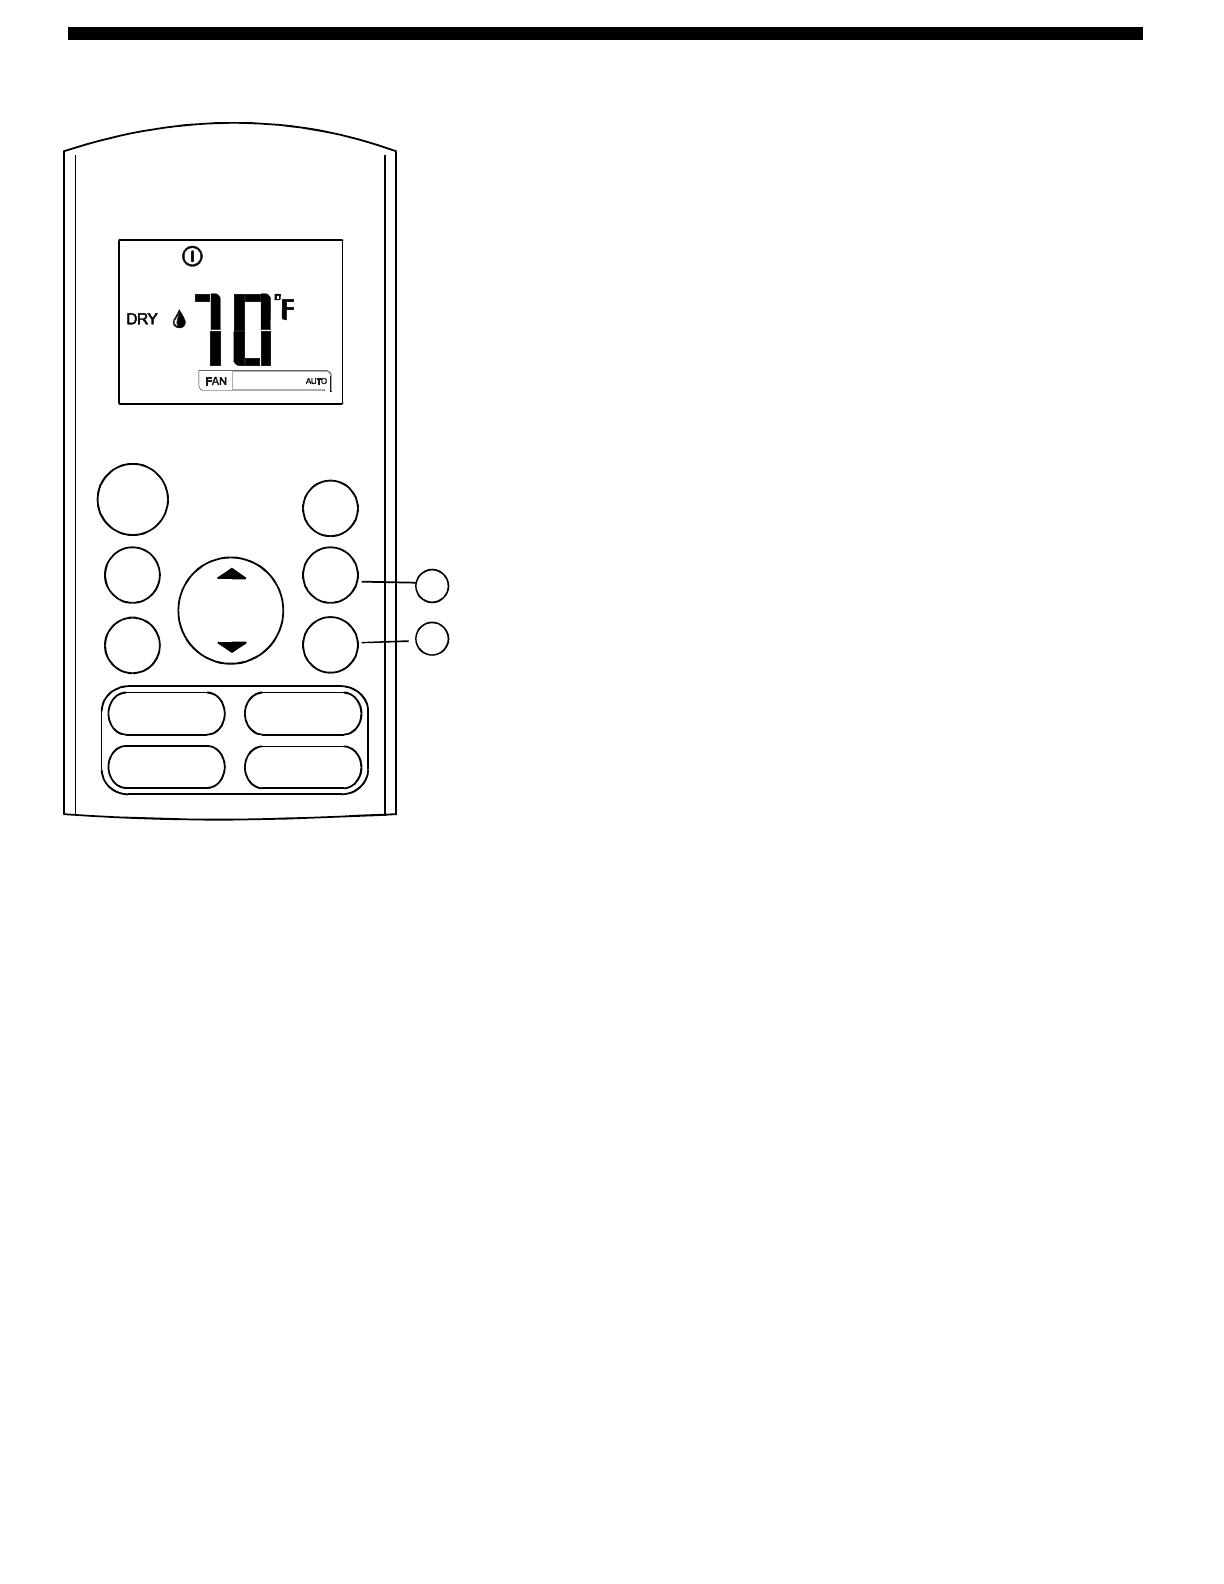
MODE
FAN
TEMP
ON/OFF
TIMER
ON
TIMER
OFF
ECO
TURBO
LED
SWING DIRECT
SILENCE


