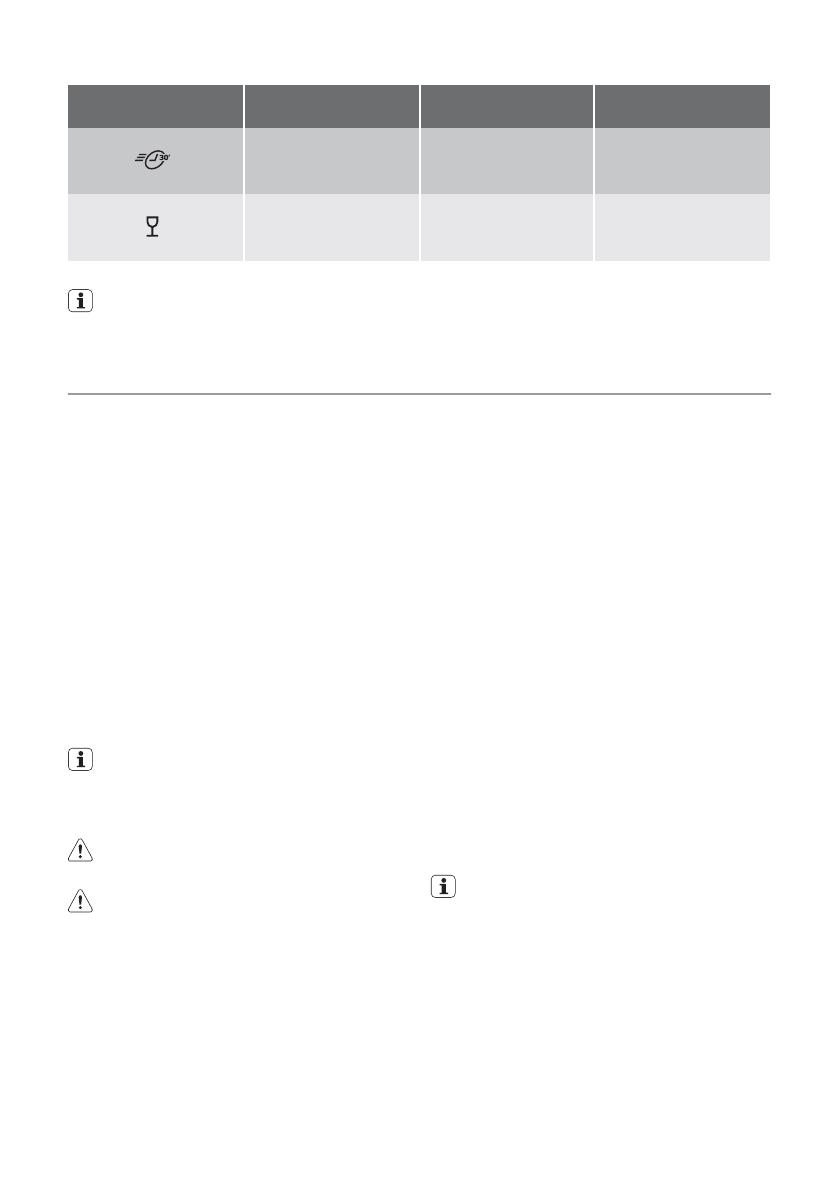
Programme Programme duration
(in minutes)
Energy consumption
(in kWh)
Water consumption
(in litres)
D
50°
36 0,40 6
E
40°
31 0,35 6
1) Test programme for test institutes
The consumption values are intended as
a guide and depends on the pressure
and the temperature of the water and al-
so by the variations of the power supply
and the amount of dishes.
Setting and starting a washing programme
Do these steps to set and start a washing
programme:
1. Close the door.
2. Turn the programme knob to set the
washing programme. Refer to the chap-
ter 'Washing programmes'.
– The on/off indicator light comes on.
– The phase indicator light for the wash-
ing programme starts to flash.
3. Press the start/cancel button.
– The washing programme starts auto-
matically.
– The start/cancel indicator light comes
on.
– When the programme starts, only the
phase in progress indicator light stays
on.
When the washing programme oper-
ates, you cannot change the pro-
gramme. Cancel the washing pro-
gramme.
Warning! Only interrupt or cancel a
washing programme if necessary.
Caution! Open the door carefully. Hot
steam can come free.
Cancelling a washing programme
•Press and hold the start/cancel button for
approximately 5 seconds.
– The start/cancel indicator light goes off.
– The phase indicator lights starts to flash.
The washing programme is cancelled.
At this time you can do these steps:
1. Switch off the appliance.
2. Set a new washing programme.
Fill the detergent dispenser with detergent
before you set a new washing programme.
Interrupting a washing programme
Open the door.
• The programme stops.
Close the door.
• The programme continues from the point
of interruption.
Setting and starting a washing
programme with delay start
1. Set a washing programme.
2. Press the delay start button.
– The delay start indicator light comes
on.
3. Press the start/cancel button.
– The countdown of the delay start
starts.
– The phase indicator lights go off.
When the countdown is completed, the
washing programme automatically starts.
• The delay start indicator light goes off.
• The phase indicator light comes on.
Do not open the door during the count-
down to prevent interruption of the
countdown. When you close the door
again, the countdown continues from
the point of interruption.
Cancelling a delay start:
1. Press and hold the start/cancel button for
approximately 5 seconds.
– The start/cancel indicator light and de-
lay start indicator light go off.
– The phase indicator lights start to flash.
2. Press the start/cancel button to start the
washing programme.
10 electrolux


