Jackson Grills 2019 Searing Side Burner User manual
- Category
- Cookers
- Type
- User manual
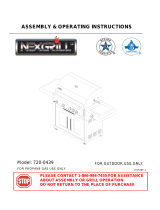
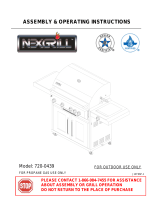
Jackson Grills 2019 Searing Side Burner is an outdoor cooking gas appliance intended for searing food at high temperatures. It has a built-in ignition system for easy lighting and a control knob to adjust the heat level. The side burner is designed to be installed into a built-in cabinet or on a cart. The clearance to combustibles must be considered when determining the location of the side burner. It requires a gas supply and should be connected by a certified gas fitter.
Jackson Grills 2019 Searing Side Burner is an outdoor cooking gas appliance intended for searing food at high temperatures. It has a built-in ignition system for easy lighting and a control knob to adjust the heat level. The side burner is designed to be installed into a built-in cabinet or on a cart. The clearance to combustibles must be considered when determining the location of the side burner. It requires a gas supply and should be connected by a certified gas fitter.


-
 1
1
-
 2
2
-
 3
3
-
 4
4
-
 5
5
-
 6
6
-
 7
7
-
 8
8
-
 9
9
-
 10
10
-
 11
11


Jackson Grills 2019 Searing Side Burner User manual
- Category
- Cookers
- Type
- User manual
Jackson Grills 2019 Searing Side Burner is an outdoor cooking gas appliance intended for searing food at high temperatures. It has a built-in ignition system for easy lighting and a control knob to adjust the heat level. The side burner is designed to be installed into a built-in cabinet or on a cart. The clearance to combustibles must be considered when determining the location of the side burner. It requires a gas supply and should be connected by a certified gas fitter.
Ask a question and I''ll find the answer in the document
Finding information in a document is now easier with AI
Related papers
-
Jackson Grills 2015 Searing Side Burner User manual
-
-
-
-
-
-
-
-
-
Other documents
-
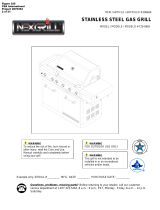
Nex 720-0536 Owner's manual
-
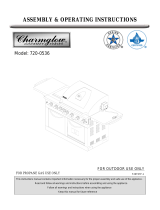 Charmglow - Old 720-0536 - Old Owner's manual
-
Charmglow 730-0536 Owner's manual
-
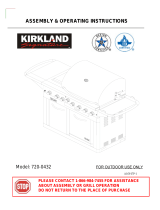 Kirkland Signature 720-0432 Owner's manual
-
 Nexgrill 720/730-0665 Owner's manual
-
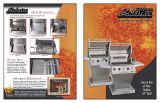 Solaire SOL-AGBQ-27 Owner's manual
-
 Nexgrill 720-0439 Owner's manual
-
Jackson PATIO FIRE Instructions Manual
-
 Fuego FG01AMG Owner's manual
-
 Nexgrill 720-0439 User manual


