Entretien
Votre nouveau robinet est conçu pour fonctionner sans problème, des années durant. Nettoyez-le périodiquement avec un chiffon doux pour qu’il conserve la même apparence qu’à l’état neuf. Évitez
les nettoyants abrasifs, la laine d’acier et les produits chimiques forts puisqu’ils endommageront le fini et rendront votre garantie nulle.
Enregistrement de la garantie:
veuillez vous connecter sur
gerberonline.com pour enregistrer votre produit aujourd'hui.
Mantenimiento
Su grifo nuevo está diseñado para brindar años de servicio sin problemas. Mantenga su apariencia nueva limpiándolo periódicamente con un paño suave. Evite limpiadores abrasivos, estropajo
de acero y químicos cáusticos porque deslustrarán el acabado y anularán la garantía.
Registro de la garantía:
por favor ingrese para gerberonline.com para registrar su producto en la actualidad.
the
the
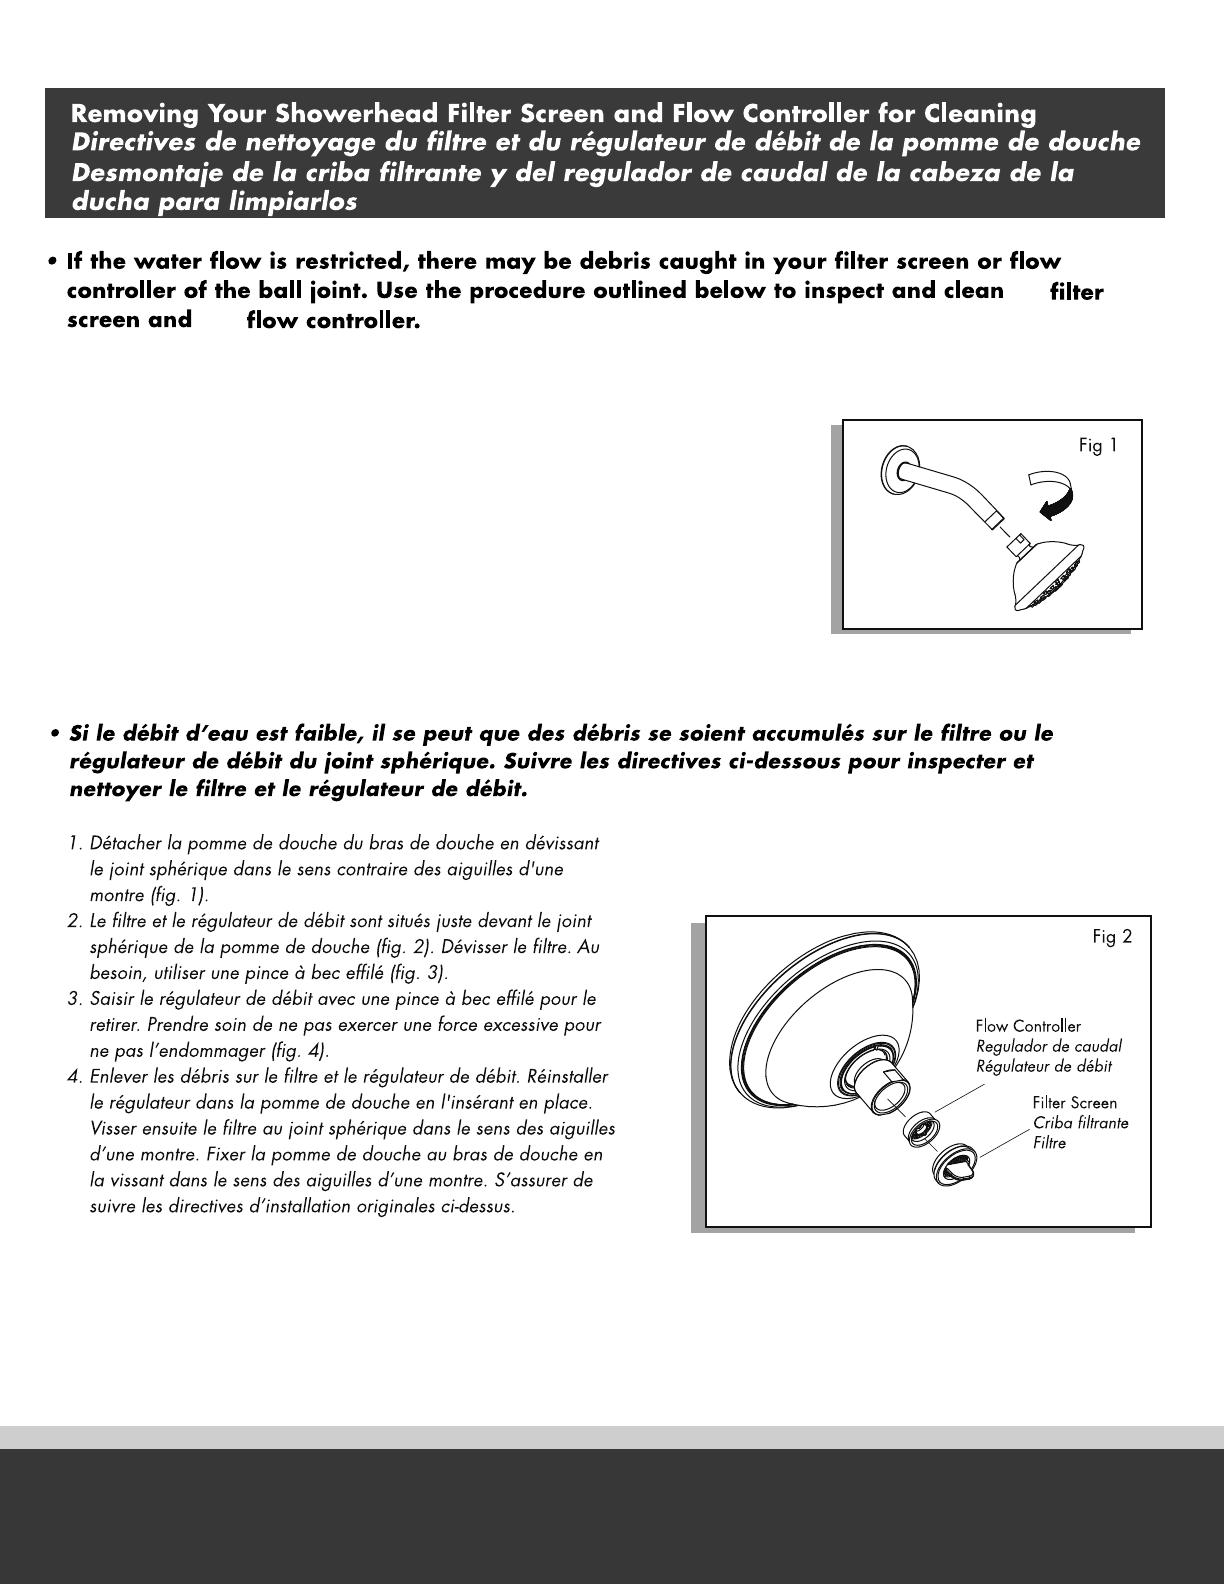
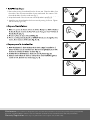
1. Remove the showerhead from the shower arm by unscrewing the ball
joint counter-clockwise (Fig 1).
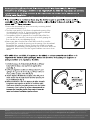
4. Remove any debris from the filter screen and from the flow controller.
Reinstall the flow controller by pressing into the opening of the showerhead.
Reinstall the filter screen by screwing clockwise into the ball joint threads.
Reattach the showerhead by screwing the ball joint clockwise into the shower
arm threads. Make sure to follow the original installation instructions shown
above.
2. The filter screen and flow controller are located at the opening of the
showerhead ball joint (Fig 2). Unscrew the filter screen from the ball
joint.
If necessary, use your needle-nose pliers (Fig 3).
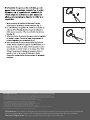
3. Use needle-nose pliers to grasp the flow controller and pull the flow
controller out.
Take care not to use excessive force when grasping the
flow controller so as to avoid damage (Fig 4).
the
the
1. Remove the showerhead from the shower arm by unscrewing the ball
joint counter-clockwise (Fig 1).
4. Remove any debris from the filter screen and from the flow controller.
Reinstall the flow controller by pressing into the opening of the showerhead.
Reinstall the filter screen by screwing clockwise into the ball joint threads.
Reattach the showerhead by screwing the ball joint clockwise into the shower
arm threads. Make sure to follow the original installation instructions shown
above.
2. The filter screen and flow controller are located at the opening of the
showerhead ball joint (Fig 2). Unscrew the filter screen from the ball
joint.
If necessary, use your needle-nose pliers (Fig 3).
3. Use needle-nose pliers to grasp the flow controller and pull the flow
controller out.
Take care not to use excessive force when grasping the
flow controller so as to avoid damage (Fig 4).


 1
1
 2
2
 3
3
 4
4


