Bosch GPO 12 E Professional Operating instructions

Category
Angle grinders
Type
Operating instructions

This manual is also suitable for

English - 1
The numbering of the machine elements refers to
the representation of the machine on the graph-
ics page.
While reading the operating instructions, unfold
the graphics page for the machine and leave it
open.
1 On/Off switch
2 Thread for auxiliary handle
3 Hand guard*
4 Auxiliary handle
5 Cup brush*
6 Felt polishing disc*
7 Lambskin polishing bonnet*
8 Polishing sponge*
9 Round nut*
10 Sanding disc*
11 Rubber sanding plate*
12 Protective cap*
13 Fastening screw for protective cap*
14 Clamping nut*
15 Buffing disc*
16 Clamping flange*
17 Clamping mandrel*
18 Grinder spindle
19 Spindle lock button
20 Handle bracket*
21 Thumbwheel for speed preselection
(GPO 12 E)
* Not all of the accessories illustrated or described are
included as standard delivery.
Measured values determined according to
EN 50 144.
Typically the A-weighted noise levels of the prod-
uct are: sound pressure level: 90 dB (A); sound
power level: 103 dB (A).
Wear hearing protection!
The typically weighted acceleration is 5.5 m/s
2
.
The machine is intended to polish and brush
metal- and coated surfaces as well as for the pol-
ishing of stone without the use of water.
Working safely with this ma-
chine is possible only when the
operating and safety information
are read completely and the in-
structions contained therein are
strictly followed. In addition, the
general safety notes in the enclosed booklet
must be observed. Before using for the first
time, ask for a practical demonstration.
Wear protective glasses and hearing protec-
tion.
Wear additional protection equipment for your
safety, such as protective gloves, sturdy
shoes, hard hat and apron.
The dust that is produced while working can be
detrimental to health, inflammable or explo-
sive. Suitable safety measures are required.
Examples: Some dusts are regarded as carci-
nogenic. Use suitable dust/chip extraction and
wear a dust respirator.
Tool Specifications
Polisher GPO 12
PROFESSIONAL
GPO 12 E
PROFESSIONAL
Order number 0 601 366 0.. 0 601 366 7..
Rated input power [W] 1 200 1 200
Output power [W] 700 700
No-load speed [rpm] 3 000 750 3 000
Sanding pad Ø, max. [mm] 230 230
Grinder spindle thread M 14 M 14
Weight without cable, approx. [kg] 3.3 3.5
Protection class / II / II
Please observe the order number of your machine. The trade names of the individual machines may vary.
Machine Elements Noise/Vibration Information
Intended Use
For Your Safety
1 609 929 392 -Buch Seite 1 Dienstag, 19. August 2003 4:49 16
8 1 609 929 392 TMS 18.08.03
English - 2
Dust from light alloys can burn or explode. Al-
ways keep the workplace clean, as blends of
materials are particularly dangerous.
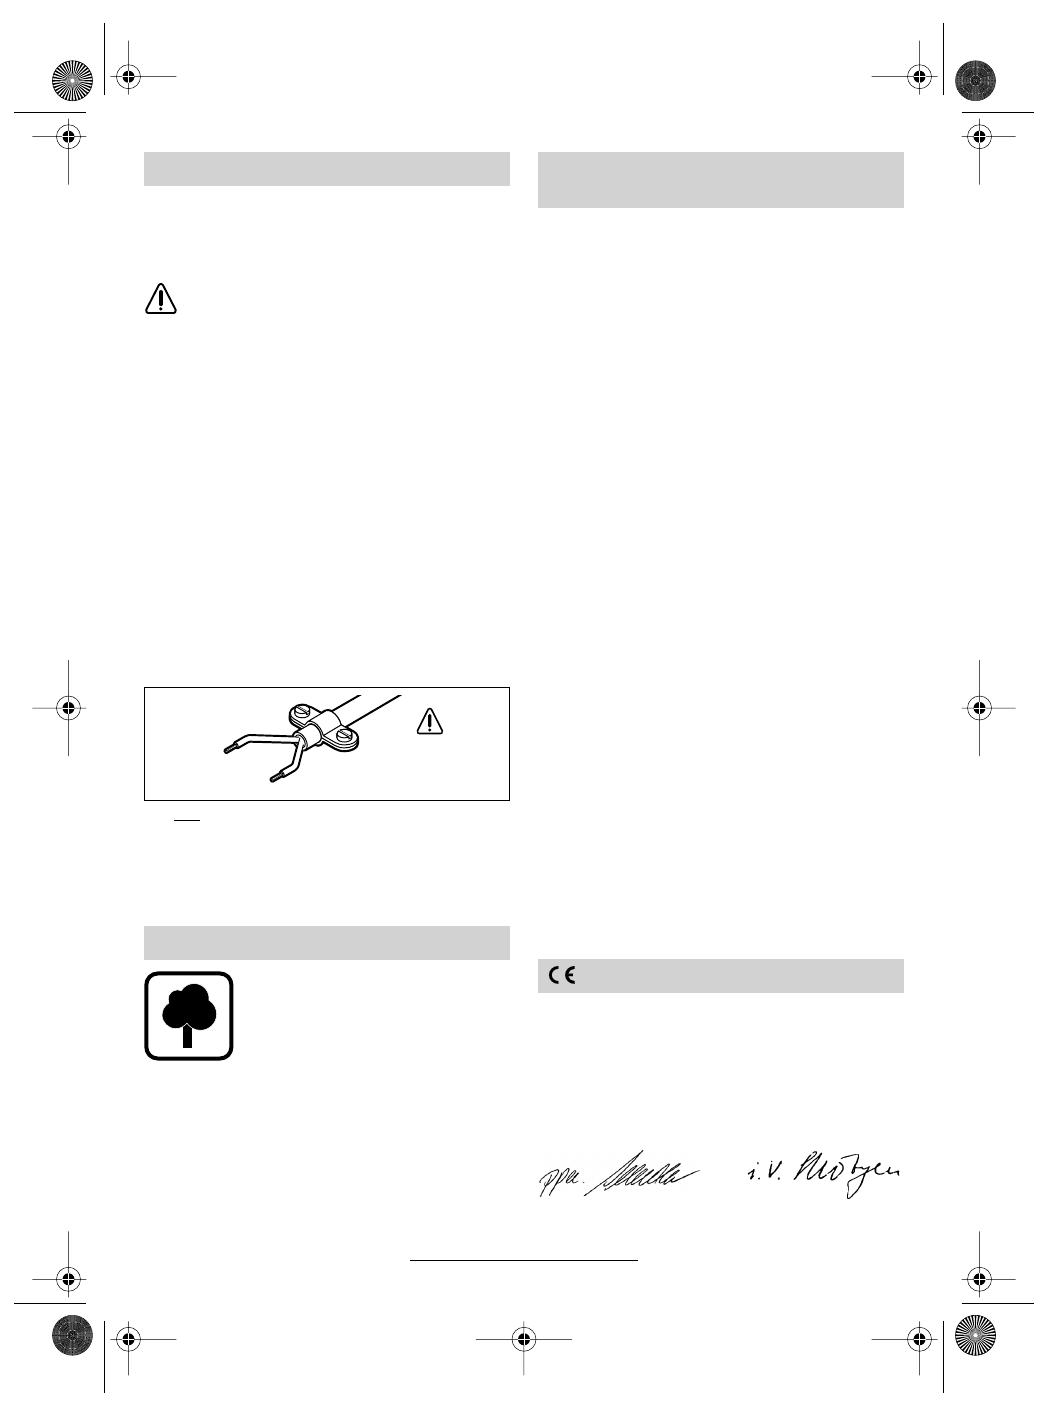
If the mains cable is damaged or cut through
while working, do not touch the cable but im-
mediately pull the mains plug. Never use the
machine with a damaged cable.
Connect machines that are used in the open
via a residual current device (RCD) with an ac-
tuating current of 30 mA maximum. Do not op-
erate the machine in rain or moisture.
When working with the machine, always hold it
firmly with both hands and provide for a secure
stance.
Secure the workpiece. A workpiece clamped
with clamping devices or in a vice is held more
secure than by hand.
Always direct the cable to the rear away from
the machine.
Always switch the machine off and wait until it
has come to a standstill before placing it down.
For power outage or when the mains plug is
pulled, unlock the On/Off switch immediately
and turn it to the off position. This prevents un-
controlled restarting.
The machine can be used only for dry sanding.
For all work with the machine, the auxiliary
handle must be mounted. For work with the
rubber sanding plate 11 or with the cup
brush 5/disc brush, mount the hand guard 3
(accessory).
Use dust extraction when working with stone.
The vacuum cleaner must be approved for ma-
sonry dust.
Do not work with materials containing asbes-
tos.
Use only grinding tools with a permissible
speed at least as high as the no-load speed of
the machine.
Check grinding tools before use. The grinding
tool must be properly mounted and turn freely.
Perform a test run for at least 30 seconds with-
out load. Do not use damaged, out-of-round or
vibrating grinding tools.
Protect the grinding tool from impact, shock
and grease.
Apply the machine to the workpiece only when
switched on.
Keep hands away from rotating grinding tools.
Pay attention to the direction of rotation. Al-
ways hold the machine so that sparks and
grinding dust fly away from the body.
When grinding metal, flying sparks are pro-
duced. Take care that no persons are endan-
gered. Due to danger of fire, no combustible
materials should be located in the vicinity
(spark flight zone).
Observe the manufacturers instructions for
mounting and using grinding tools.
Caution! The grinding tool runs on after the
machine is switched off.
Do not clamp the machine in a vice.
Never allow children to use the machine.
Bosch is only able to ensure perfect operation
of the machine if the original accessories in-
tended for it are used.
Before any work on the machine itself, pull
the mains plug.
Auxiliary Handle
For all work with the machine, the auxiliary
handle must be mounted.
Screw the auxiliary handle 4 into the head of the
machine according to the working method.
With the handle bracket 20, the auxiliary handle 4
can be mounted above the machine head in a
manner favourable to the centre of gravity.
Bring the handle bracket 20 into the required po-
sition according to the working manner and screw
tight. The 12-angled profile at the thread 2 en-
sures twist-free fastening.
Hand Guard
When working without the handle bracket 20, the
hand guard should be mounted. The hand
guard 3 is fastened with the auxiliary handle 4.
Protective Cap
The machine head warms up when working with
the machine. Depending on the handling of the
machine, the protective cap 12 can be used as a
contact protector.
Attach the protective cap 12 onto the machine
head and fasten using the enclosed fastening
screw 13 as well as with the auxiliary handle 4.
Mounting the
Protective Devices
1 609 929 392 -Buch Seite 2 Dienstag, 19. August 2003 4:49 16
9 1 609 929 392 TMS 18.08.03
English - 3
Before any work on the machine itself, pull
the mains plug.
Use only grinding tools with a permissi-
ble speed at least as high as the no-load
speed of the machine.
Clean the grinder spindle and all parts to be
mounted. For clamping and loosening the
grinding tools, lock the grinder spindle 18 with
the spindle lock button 19.
Actuate the spindle lock button 19 only when
the grinder spindle is at a standstill!
Rubber Sanding Plate 11
Place the rubber sanding plate 11 with sanding
disc onto the grinder spindle 18.
For mounting, see the illustration page.
Screw on the round nut 9 and tighten with the
two-pin spanner.
Cup Brush 5/Disc Brush
Screw the cup brush onto the grinder spindle 18
and tighten with a spanner.
The grinding tool must be able to be screwed
onto the grinding spindle 18 until it rests firmly
against the grinder spindle flange at the end of
the grinder spindle threads. Tighten with an
open-end spanner.
Polishing Sponge/
Lambskin Polishing Bonnet
Screw the polishing sponge 8 onto the grinder
spindle 18.
The lambskin polishing bonnet 7 can be pulled
over the polishing sponge 8.
For mounting, see the illustration page.
Buffing Disc
Screw the clamping mandrel 17 onto the grinder
spindle 18 and tighten by applying the spanner
against the flats.
Place on the clamping flange 16 and buffing
disc 15 and tighten with clamping nut 14.
Felt Polishing Disc
Screw the felt polishing disc 6 with flange onto
the grinder spindle 18.
Observe correct mains voltage: The voltage of
the power source must agree with the voltage
specified on the nameplate of the machine.
Equipment marked with 230 V can also be con-
nected to 220 V.
Speed Preselection (GPO 12 E)
The required speed can be preselected with the
thumbwheel 21 (also while running).
The required speed depends on the material and
is to be determined by practical testing (see ap-
plication table at the end of the operating instruc-
tions).
Switching On and Off
To start the machine, press the On/Off switch 1
forward and then down.
To lock-on, push the pressed On/Off switch 1
further forwards.
To switch off the machine, release the On/Off
switch 1 or push and release it then.
Switch version without lock
(country-specific):
To start the machine, press the On/Off switch 1.
To switch off the machine, release the On/Off
switch 1.
Test run!
Check the grinding tool before use. The
grinding tool must be properly mounted
and rotate freely. Perform a test run of at
least 30 seconds without load. Do not use
damaged, out-of-round or vibrating grind-
ing tools.
Do not strain the machine so heavily that it
comes to a standstill.
The machine is suitable for the universal treat-
ment of stone, metal and varnished surfaces.
For sanding applications on soft materials, e. g.
gypsum or paint, it is recommended to use the
rubber sanding plate 11 with sanding disc 10.
Cup brushes 5 and wheel brushes are suitable
for rust removal.
Mounting the Grinding Tools
Initial Operation
Operating Instructions
1 609 929 392 -Buch Seite 3 Dienstag, 19. August 2003 4:49 16
10 1 609 929 392 TMS 18.08.03
English - 4
Before any work on the machine itself, pull
the mains plug.
For safe and proper working, always keep
the machine and the ventilation slots clean.
In extreme working conditions, conductive
dust can accumulate in the interior of the
machine when working with metal. The
protective insulation of the machine can be
degraded. The use of a stationary extrac-
tion system is recommended in such cases
as well as frequently blowing out the venti-
lation slots and installing a residual current
device (RCD).
If the machine should fail despite the care taken
in manufacturing and testing procedures, repair
should be carried out by an after-sales service
centre for Bosch power tools.
In all correspondence and spare parts orders,
please always include the 10-digit order number
given on the nameplate of the machine.
WARNING! Important instructions for con-
necting a new 3-pin plug to the 2-wire cable.
The wires in the cable are coloured according to
the following code:
Do not
connect the blue or brown wire to the
earth terminal of the plug.
Important: If for any reason the moulded plug is
removed from the cable of this machine, it must
be disposed of safely.
Recycle raw materials instead of disposing as
waste
The machine, accessories and packaging should
be sorted for environmental-friendly recycling.
These instructions are printed on recycled paper
manufactured without chlorine.
The plastic components are labelled for catego-
rized recycling.
Exploded views and information on spare
parts can be found under:
www.bosch-pt.com
Great Britain
Robert Bosch Ltd. (B.S.C.)
P.O. Box 98
Broadwater Park
North Orbital Road
Denham-Uxbridge
Middlesex UB 9 5HJ
Service............................ +44 (0)18 95 / 83 87 82
Advice line.................... +44 (0) 18 95 / 83 87 91
Fax
............................................. +44 (0) 18 95 / 83 87 89
Ireland
Beaver Distribution Ltd.
Greenhills Road
Tallaght-Dublin 24
Service................................... +353 (0)1 / 414 9400
Fax
.................................................... +353 (0)1 / 459 8030
Australia
Robert Bosch Australia Ltd.
RBAU/SPT2
1555 Centre Road
P.O. Box 66 Clayton
3168 Clayton/Victoria
............................................... +61 (0)1 / 800 804 777
Fax
............................................... +61 (0)1 / 800 819 520
www.bosch.com.au
New Zealand
Robert Bosch Limited
14-16 Constellation Drive
Mairangi Bay
Auckland
New Zealand
..................................................... +64 (0)9 / 47 86 158
Fax
..................................................... +64 (0)9 / 47 82 914
We declare under our sole responsibility that this
product is in conformity with the following stand-
ards or standardization documents: EN 50 144
according to the provisions of the directives
89/336/EEC, 98/37/EC.
Dr. Egbert Schneider Dr. Eckerhard Strötgen
Senior Vice President Head of Product
Engineering Certification
Robert Bosch GmbH, Geschäftsbereich Elektrowerkzeuge
Subject to change without notice
Maintenance and Cleaning
Environmental Protection
strain relief
live = brown
neutral = blue
To be fitted
by qualified
professional only
Service and
Customer Assistance
Declaration of Conformity
1 609 929 392 -Buch Seite 4 Dienstag, 19. August 2003 4:49 16
11 1 609 929 392 TMS 18.08.03
  • Page 1 1
  • Page 2 2
  • Page 3 3
  • Page 4 4
  • Page 5 5
  • Page 6 6
  • Page 7 7
  • Page 8 8
  • Page 9 9
  • Page 10 10
  • Page 11 11
  • Page 12 12
  • Page 13 13
  • Page 14 14
  • Page 15 15
  • Page 16 16
  • Page 17 17
  • Page 18 18
  • Page 19 19
  • Page 20 20
  • Page 21 21
  • Page 22 22
  • Page 23 23
  • Page 24 24
  • Page 25 25
  • Page 26 26
  • Page 27 27
  • Page 28 28
  • Page 29 29
  • Page 30 30
  • Page 31 31
  • Page 32 32
  • Page 33 33
  • Page 34 34
  • Page 35 35
  • Page 36 36
  • Page 37 37
  • Page 38 38
  • Page 39 39
  • Page 40 40
  • Page 41 41
  • Page 42 42
  • Page 43 43
  • Page 44 44
  • Page 45 45
  • Page 46 46
  • Page 47 47
  • Page 48 48
  • Page 49 49
  • Page 50 50
  • Page 51 51
  • Page 52 52
  • Page 53 53
  • Page 54 54
  • Page 55 55
  • Page 56 56
  • Page 57 57
  • Page 58 58
  • Page 59 59
  • Page 60 60
  • Page 61 61
  • Page 62 62

Bosch GPO 12 E Professional Operating instructions

Category
Angle grinders
Type
Operating instructions
This manual is also suitable for

Ask a question and I''ll find the answer in the document

Finding information in a document is now easier with AI