18
dPlay/Pause If you play or pause a song, press this button.
• BT (Bluetooth) connection Lock: It allows you to connect a Bluetooth
device only on Bluetooth and LG TV functions. To turn on or off the Bluetooth
connection lock, press and hold Play/Pause for about 3 seconds and press
it again in BT (Bluetooth) function. ([ See "Bluetooth connection lock (BT
LOCK)" on page 33)
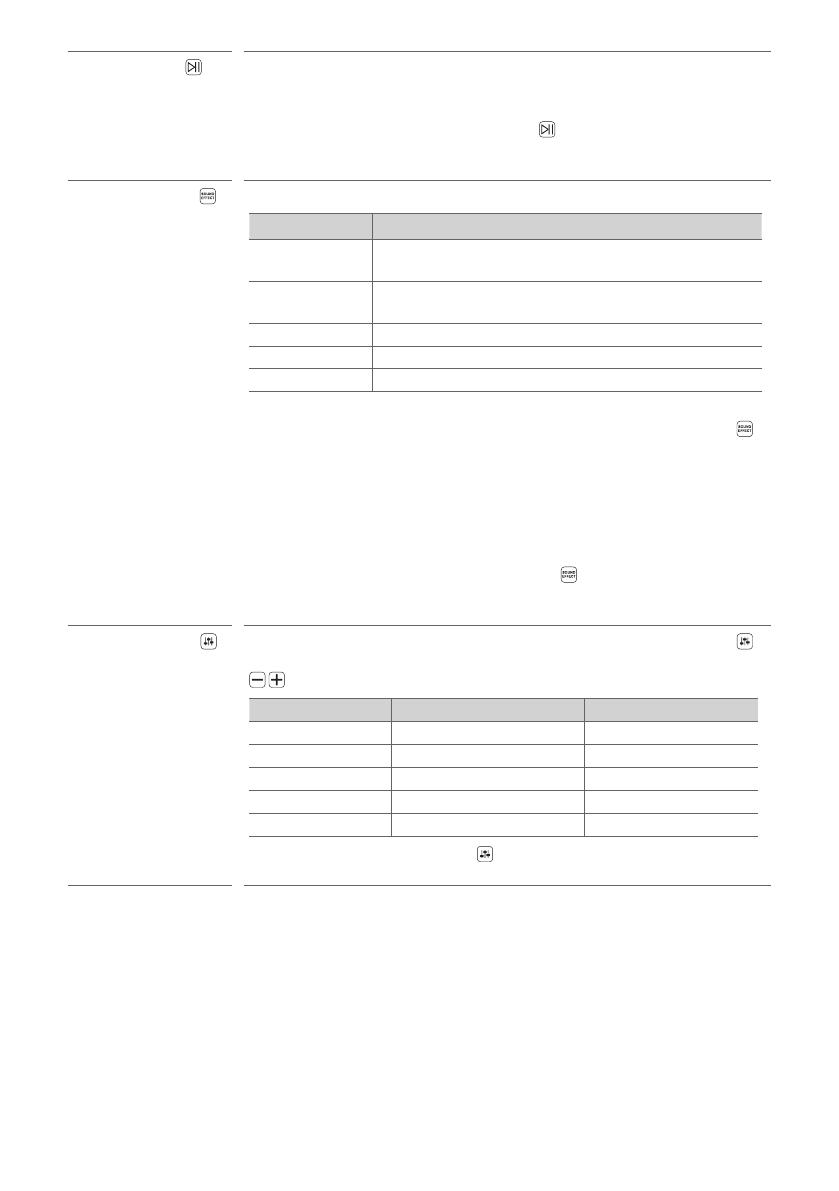
eSound Effect Pressthebuttontoselectthedesiredsoundeld.
Status Display Description
AI SOUND PRO Articialintelligenceselectstheoptimalsoundsettingsto
suit your content.
BASS BLAST
(BASS BLAST+) Bass sounds are enhanced.
STANDARD You can enjoy optimised sound.
MOVIE Play content with 3D sound similar to a movie theater.
MUSIC You can enjoy more good sound for music source.
• When this product detects Dolby Atmos® or DTS:X® stream, you cannot change
sound effect to any other. In this case, even though you press Sound Effect
, this product does not respond. And you can see only “NOT SUPPORTED” on
the display window.
• When this product detects DTS stream in MOVIE mode, it plays stream using
DTS Virtual:X Technology.
• TV remote: It allows you to control the volume of this product by your TV
remote control even by other company’s product. To turn on or off the TV
Remote function, press and hold Sound Effect for about 3 seconds and
press it again. ([ See "Controlling the product with your TV’s remote control"
on page 20)
fSound Tuning This adjusts the sound level of the connected speaker. Press the Sound Tuning
button multiple times to select the desired speaker before you press the Volume
button to increase/decrease the sound volume.
Status Display Connected Speaker Adjustable Range
WF Subwoofer -15 - 6
C Centre speaker -6 - 6
R Rear Speaker -6 - 6
TRE Front speaker (treble) -5 - 5
BAS Front speaker (bass) -5 - 5
• Press and hold the Sound Tuning button for 3 seconds or longer to turn
Surround Sound on or off. ([ See "Setting up surround sound" on page 12.)


