13
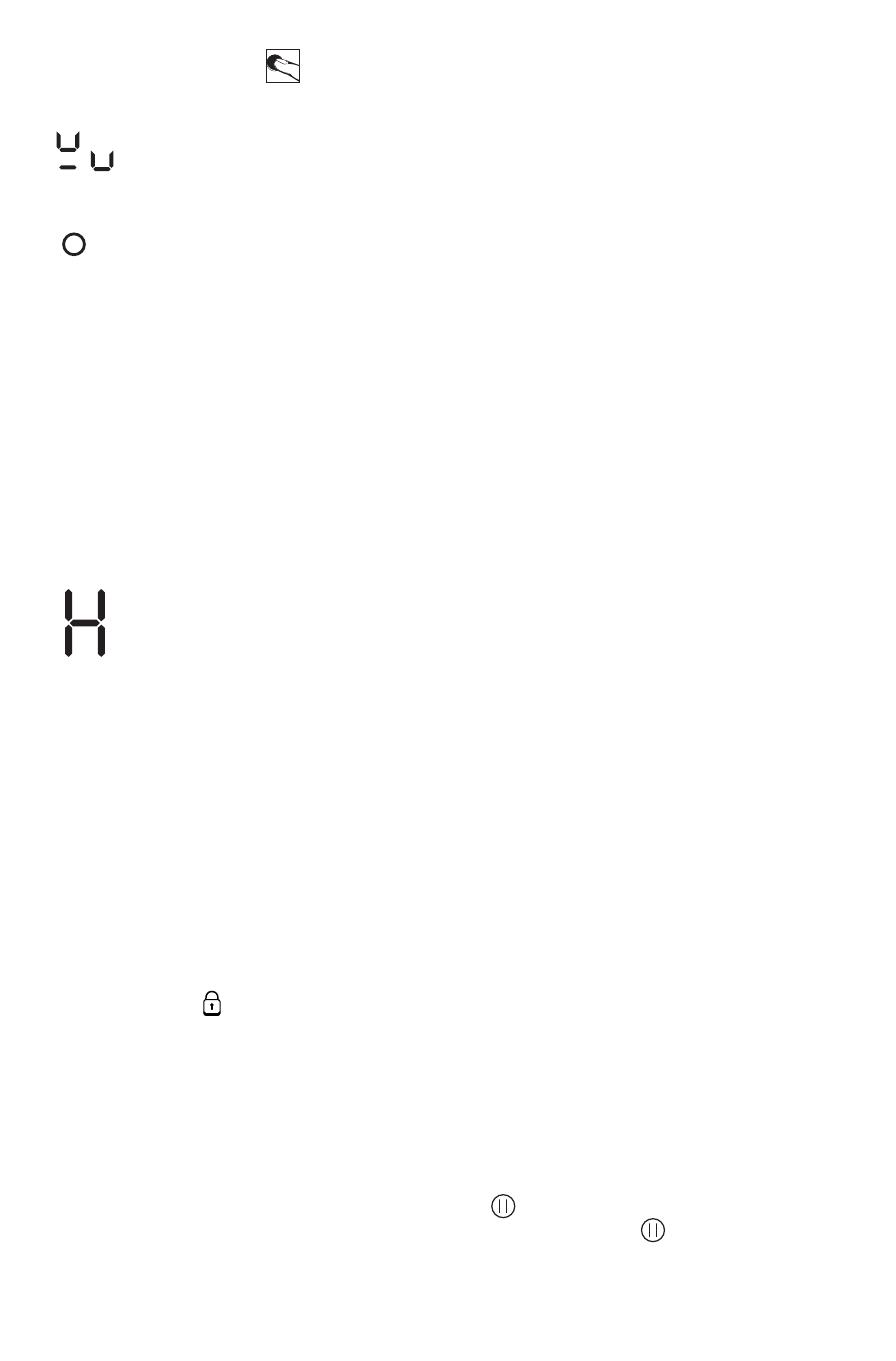
The hob will switch off automatically if no function is selected within 10 seconds of switching it
on. If you are using a pot or pan that is not suitable, not correctly positioned or not of the
correct dimensions for your induction hob, the “no pot” message will appear in the display (see
figure on the left).
If a pot or pan is not detected within 60 seconds, the hob will switch off.
When activating the 5 kW zone (if available), make sure to place a pan of the correct size on that
zone at least one minute before switching on any other cooking zone. Failure to do so could result in
the hob switching off after a short period of time, meaning that each zone will then need to be
reactivated. The hob may also switch off if the pan on the 5 kW zone is removed and another cooking
zone is switched on at the same time.
To change the power setting, move your finger horizontally along the slide touchscreen: The number
inside the circle will change simply by sliding your finger from a minimum of 1 to a maximum of 9. You
can activate the booster function by pressing “BOOST” on the slide touchscreen (“P” on the display).
If more than one cooking zone is switched on, the slide touchscreen allows you to change the
power of the selected zone, which is indicated by the dot lighting up at the bottom right of the
power indicator. To select a zone, simply press the relevant round button.
Switching off cooking zones
Select the cooking zone you want to switch off by pressing the relevant round button (the dot will light
up at the bottom right of the power setting indicator). Press OFF on the slide touchscreen.
The cooking zone will switch off and, if the zone is still hot, the letter “H” will appear in the
circle.
“H” is the residual heat indicator. The hob has a residual heat indicator for each cooking zone.
These indicators alert the user to the fact that cooking zones are still hot. Once the relevant
cooking zone has cooled down, the indicator will switch off.
Setting the timer
The timer can be used to set a maximum cooking time of 99 minutes.
Select the cooking zone you want to use with the timer (the dot will light up at the bottom right of the
power setting indicator), then set the cooking time you require using the + and - buttons for the timer
function: The time in minutes is shown next to the cooking zone display.
A few seconds after the last button press, the timer will begin the countdown (the dot for the selected
cooking zone will start flashing).
Once the time you have set has elapsed, a signal will sound and the cooking zone will switch off
automatically.
Control panel lock
This function locks the hob controls to prevent them from being activated accidentally (e.g. during
cleaning).
Press and hold the button for 3 seconds: A signal will sound and an indicator light will switch on
above the lock symbol to confirm that the function has been activated. The control panel is locked with
the exception of the OFF function. To unlock the controls, repeat the activation procedure. The dot will
go out and the hob will be reactivated.
IMPORTANT: Water, liquid spilled from pans or any kind of object resting on the button below the
symbol can accidentally activate or deactivate the control panel lock.
Pause
This function allows you to temporarily pause and then resume cooking with the previous
settings (except for the timer setting). Press the button: I I will starting flashing on the
display instead of the power settings. To resume cooking, press the button again.
A
Instructions for use


