1-3 Major Safety Precautions
Usage Related
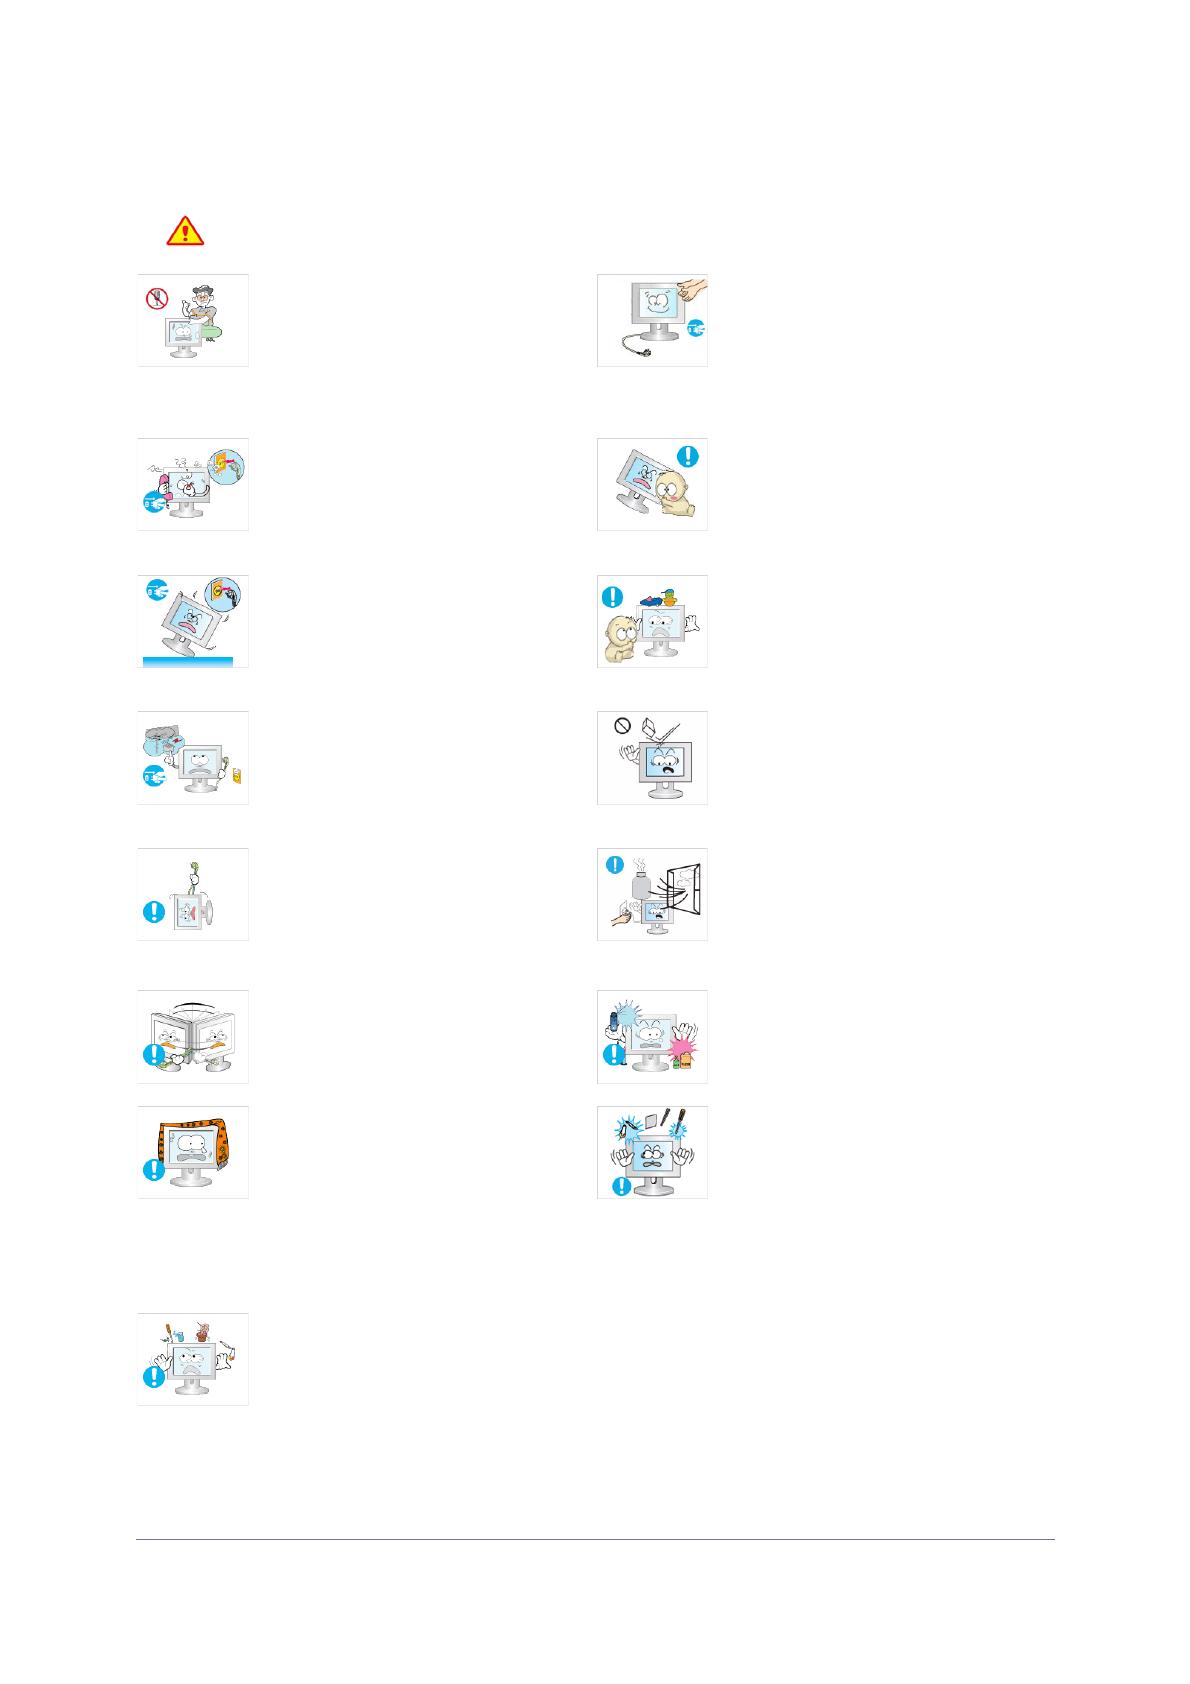
Warning
Since a high voltage runs through the prod-
uct, never disassemble, repair or modify the
product yourself.
• Otherwise, it may result in fire or electric
shock.
• If the product needs to be fixed, contact a
service center.
When cleaning the product, do not spray
water directly over the product parts.
• Make sure that water does not enter the
product.
• Otherwise, it may result in fire, electric
shock or a problem with the product.
If the product generates a strange noise, a
burning smell, or smoke, unplug the power
plug immediately and contact a service cen-
ter.
• Otherwise, it may result in electric shock
or fire.
Avoid letting children to hang or climb onto
the product.
• Otherwise, it may result in the product
falling and this may result in injury or
death.
If you drop the product or the case is dam-
aged, turn the power off and unplug the
power cord. Contact a service center.
• Otherwise, it may result in fire or electric
shock.
Avoid placing objects such as toys and cook-
ies on top of the product.
• If a child hangs over the product to grab
an object, the object or the product may
fall and this may result in injury or even
death.
When thunder or lighting occurs, unplug the
power cord and under no circumstance
touch the antenna cable as this is danger-
ous.
• Otherwise, it may result in electric shock
or fire.
Avoid dropping an object over the product or
cause impact to the product.
• Otherwise, it may result in electric shock
or fire.
Avoid moving the product by pulling the
power cord or antenna cable.
• Otherwise, it may result in electric shock,
fire or a problem with the product due to
damage to the cable.
When a gas leak occurs, do not touch the
product or the power plug and ventilate
immediately.
• A spark may result in an explosion or fire.
• During a thunder or lighting storm, do not
touch the power cord or antenna cable.
Avoid lifting up or move the product by hold-
ing only the power cord or signal cable.
• Otherwise, it may result in electric shock,
fire or a problem with the product due to
damage to the cable.
Avoid using or placing inflammable spray or
objects near the product.
• This may result in an explosion or fire.
Take care not to block the vent by a table
cloth or curtain.
• Otherwise, it may result in fire due to
internal overheating.
Avoid inserting metal objects such as a
chopsticks, coins or hairpins, or inflammable
objects into the product (the vents, ports,
etc).
• If water or an alien substance enters the
product, turn the power off, unplug the
power cord and contact a service center.
• Otherwise, it may result in a problem with
the product, electric shock or fire.
Avoid placing a liquid container such as a
vase, flowerpot, beverage, cosmetics or
drugs, or a metal object over the product.
• If water or an alien substance enters the
product, turn the power off, unplug the
power cord and contact a service center.
• Otherwise, it may result in a problem with
the product, electric shock or fire.


