17
GB
Cooking modes
A temperature value between 60°C and MAX can
be set for all cooking modes except the following:
BARBECUE (recommended: set only to MAX
power level)
GRATIN (recommended: do not exceed 200°C).
=
TRADITIONAL OVEN mode
When using this traditional cooking mode, it is best
to use one cooking rack only. if more than one rack
is used, the heat will be distributed unevenly.
K
BAKING
mode
This mode is ideal for baking temperature sensitive
foods (such as cakes, which need to rise) and for
the preparation of bitesize pastries on 3 shelves
simultaneously.
L FAST COOKING mode
This mode is particularly suitable for cooking pre-
packed food quickly (frozen or pre-cooked). The
best results are achieved using one cooking rack
only.
>
MULTILEVEL
mode
Since the heat remains constant throughout the
oven, the air cooks and browns food in a uniform
manner. A maximum of two racks may be used at
the same time.
M
PIZZA
mode
This combination heats the oven rapidly by
producing a considerable amount of heat,
particularly from the element at the bottom. If you
use more than one rack at a time, switch the position
of the dishes halfway through the cooking process.
@
/
BARBECUE
mode
The high and direct temperature of the grill is
recommended for food which requires a high surface
temperature. Always cook in this mode with the oven
door closed.
A
/
N
GRATIN
mode
This combination of features increases the
effectiveness of the unidirectional thermal radiation
provided by the heating elements through forced
circulation of the air throughout the oven. This helps
prevent food from burning on the surface and allows
the heat to penetrate right into the food. Always
cook in this mode with the oven door closed.
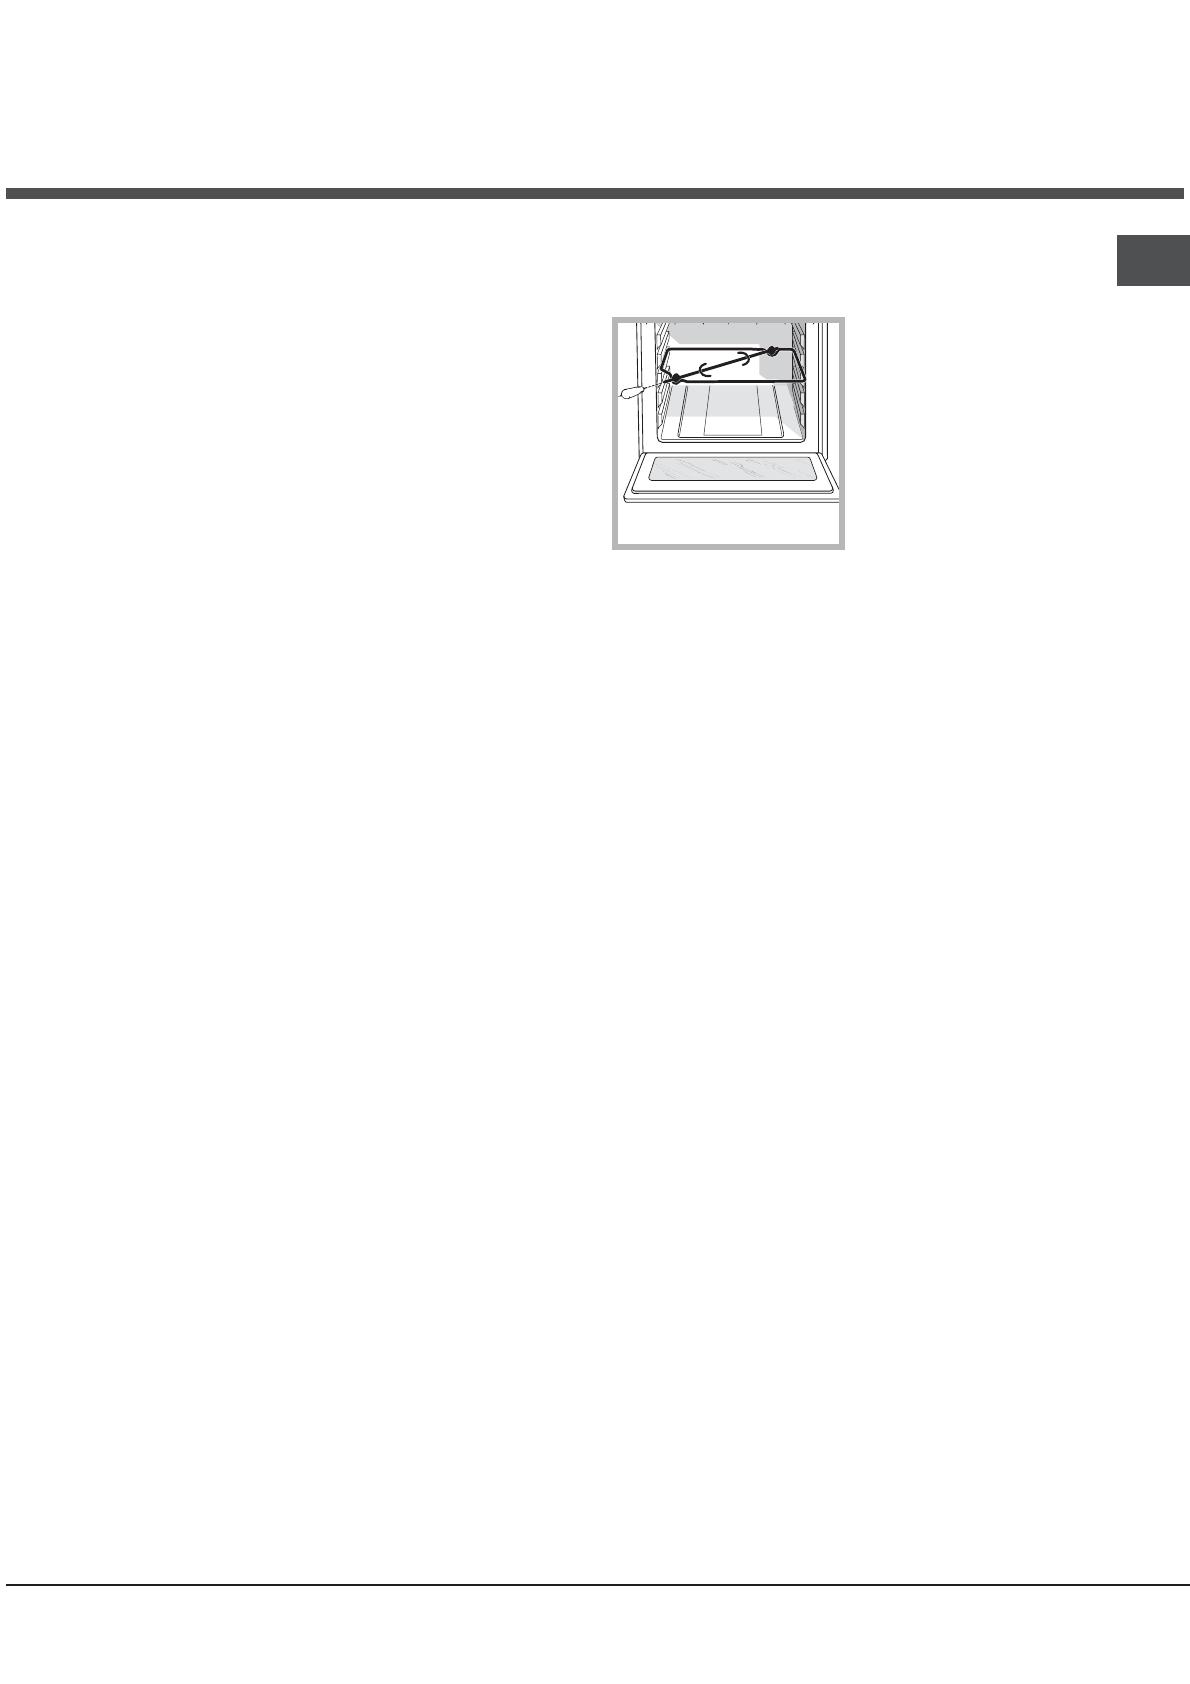
The Rotisserie *
To operate the rotisserie (see diagram) proceed as follows:
1. Place the dripping pan in position 1.
2. Place the rotisserie support in position 3 and
insert the spit in the hole provided on the back panel
of the oven.
3. Start the rotisserie using the knob to select
MODE
or
N
.
Planning your cooking*
Programming cooking time with immediate start
1. Turn the PROGRAMMER knob in an anticlockwise
direction until the desired cooking time is displayed.
2. Pull the PROGRAMMER knob and turn it in an
anticlockwise direction until the marker corresponds
with the current time. A click will indicate the end of
the programming phase.
3. Select the desired cooking mode using the
SELECTOR knob. The oven switches on immediately
and remains on for the entire duration of the set
cooking time.
4. When the set time has elapsed, a buzzer will
sound. To stop the cooking process, turn the
PROGRAMMER knob in an anticlockwise direction
until the symbol ' is displayed.
5. Turn the SELECTOR knob to the 0 position.
For example: it is 9:00 a.m. and a time of 1 hour
and 15 minutes is programmed. The programme
will stop automatically at 10:15 a.m.
Cooking modes
*
Only available on certain models.


