bp
weighing tray
A
removable weighing tray is
s
upplied for weighing
ingredients without the bowl or
blender.
T
o use, place the tray on top of
t
he power unit. Then follow
steps 2 to 5 under ‘to use the
weighing function’.
T
o remove, just lift the tray off.
auto switch off
●
T
he display screen will turn off automatically if the same
weight reading is shown after 5 minutes.
●
The display screen can be turned off manually by pressing
and holding down the ON/ZERO button for a few seconds.
i
mportant
●
Do not overload by exceeding the maximum weighing
capacity of 3Kg. The display will show [0 – Ld] if the
weighing function is overloaded.
●
Do not subject the power unit to excessive force as this may
damage the weighing sensor.
●
Always place the processor on a dry flat surface prior to
weighing.
●
Do not move the power unit during operation of the
weighing function.
to use your thermoresist blender
1 Fit the sealing ring
bt
into the blade unit
ck
- ensuring the
seal is located correctly in the grooved area.
●
Leaking will occur if the seal is damaged or
incorrectly fitted.
2 Hold the underside of the blade unit
ck
and insert the
blades into the goblet - turn anti-clockwise until it clicks
4
.
Refer to the graphics on the underside of the blade unit as
follows:
- unlocked position
- locked position
The blender will not work if incorrectly
assembled.
3 Put your ingredients into the goblet.
4 Fit the lid to the goblet and push down to secure
5
. Fit the
filler cap.
5 Place the blender onto the power unit, and turn clockwise
6
to lock.
●
The appliance will not operate if the blender is
incorrectly fitted to the interlock.
6 Select Auto, or a speed (refer to the recommended speed
chart) or use the pulse control.
safety
●
SCALD RISK: Hot ingredients should be allowed to cool to
room temperature before blending.
●
Always take care when handling the blade assembly and
avoid touching the cutting edge of the blades when
cleaning.
●
Only operate the blender with the lid in place.
●
Only use the goblet with the blade assembly supplied.
●
Never run the blender empty.
●
To ensure the long life of your blender, do not run it for
longer than 60 seconds.
●
S
moothie recipes - never blend frozen ingredients that have
formed a solid mass during freezing, break it up before
adding to the goblet.
●
I
mportant - The skirt on the base of the goblet is fitted
during manufacture and no attempt should be made to
remove it.
hints
●
When making mayonnaise, put all the ingredients, except
the oil, into the blender. Remove the filler cap. Then, with the
appliance running, add the oil slowly through the hole in the
lid.
●
Thick mixtures, e.g. pâtés and dips, may need scraping
down. If the mixture is difficult to process, add more liquid.
●
Ice crushing - operate the pulse in short bursts until crushed to
the desired consistency.
●
The processing of spices is not recommended as they may
damage the plastic parts.
●
The appliance will not work if the blender is incorrectly fitted.
●
To blend dry ingredients - cut into pieces, remove the filler
cap, then with the appliance running, drop the pieces down
one by one. Keep your hand over the opening. For best
results empty regularly.
●
Don’t use the blender as a storage container. Keep it empty
before and after use.
●
Never blend more than 1.6 litres (2 pts 8 fl oz) - less for
frothy liquids like milkshakes.
5
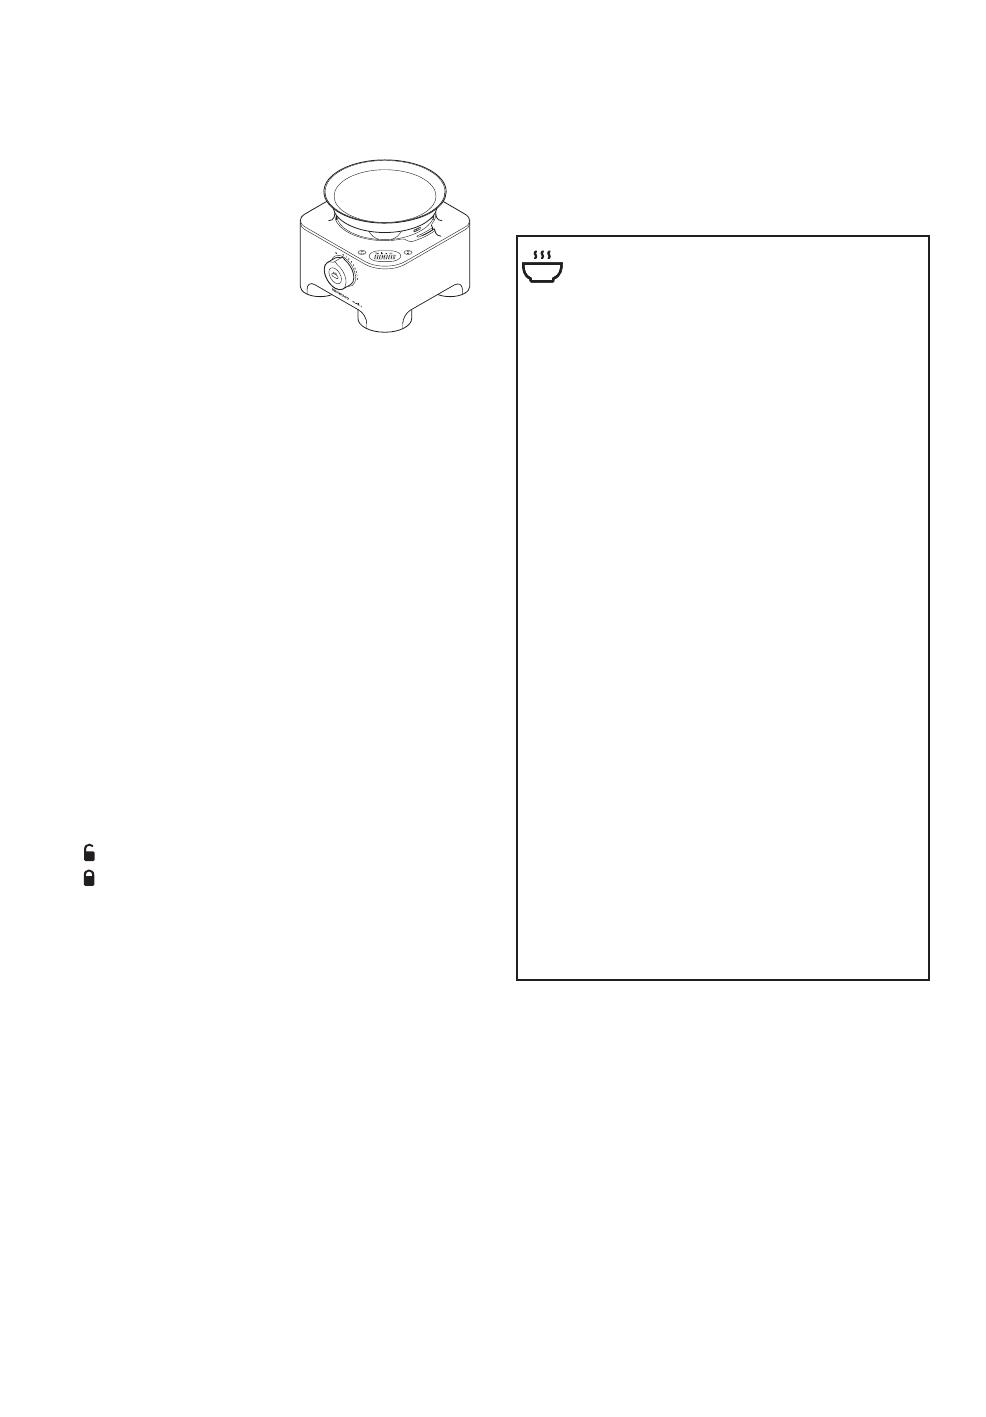
IMPORTANT: HOT
BLENDING
INSTRUCTIONS
To minimise the possibility of scalding when blending hot
i
ngredients keep hands and other exposed skin away from
t
he lid to prevent possible burns. The following precautions
must be observed:
●
C
AUTION: Blending very hot ingredients may
result in hot liquid and steam being forced
suddenly past the lid or filler cap
bq
.
●
We recommend that hot ingredients are
allowed to cool before blending.
●
NEVER exceed 1200mls/5 cups capacity if processing
hot liquids, such as soups (refer to the markings on the
goblet).
●
ALWAYS commence blending at a low speed and
gradually increase the speed. NEVER blend hot liquids
by using the Pulse setting.
●
Liquids which tend to foam such as milk, should be
limited to a maximum capacity of 1000mls/4 cups.
●
Take care when handling the blender as the goblet and
its contents will be very hot.
●
Take particular care when removing the lid. The lid is
designed to be a tight fit to prevent leakage. If necessary
protect your hands with a cloth or oven gloves when
handling.
●
Ensure the goblet is securely attached to the base and
when removing from the appliance, guide the base and
ensure it is removed together with the goblet.
●
Ensure that the lid and filler cap are securely in place
before every blending operation.
●
Always ensure that the vents in the filler cap are clear
before every blending operation
cl
.
●
When fitting the lid to the goblet always ensure that the
lid and goblet rim are clean and dry to ensure a good
seal and prevent spillage.


