Microboards GX Reference guide

Category
Print & Scan
Type
Reference guide

This manual is also suitable for

Quick Reference Guide
for Windows 7, Vista, and XP
Please visit our Technical Support website at www.microboards.com/support
For a more in-depth look at the installation
process, please refer to the Installation section
of the Users Manual.
Be sure your computer meets the Minimum System
Requirements as stated in the User’s Manual and that
you have read these instructions and the Manual prior
to contacting Microboards Technical Support with
installation or configuration questions!
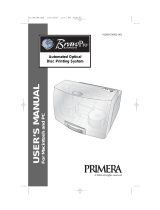
GX Disc Printer Installation:
1. Unpack the GX Disc Printer and place it in the selected workspace. This space
should have enough vertical space to allow for easy loading of media into the
input hopper .
2. Insert the GX Disc Printer Installation disk into the CD/DVD ROM drive on your
computer. The installer should open automatically.
If the installer does not automatically open, click the Start button and select
Run from the Start menu. Click the Browse button and go to the CD/DVD drive,
highlight Setup.exe, click the Open button, then click OK.
Please follow all directions on each window before clicking the Next button.
GX Disc Printer Installation
3. You will first be guided through the hardware setup. Please follow all directions
on each window before clicking the Next button.
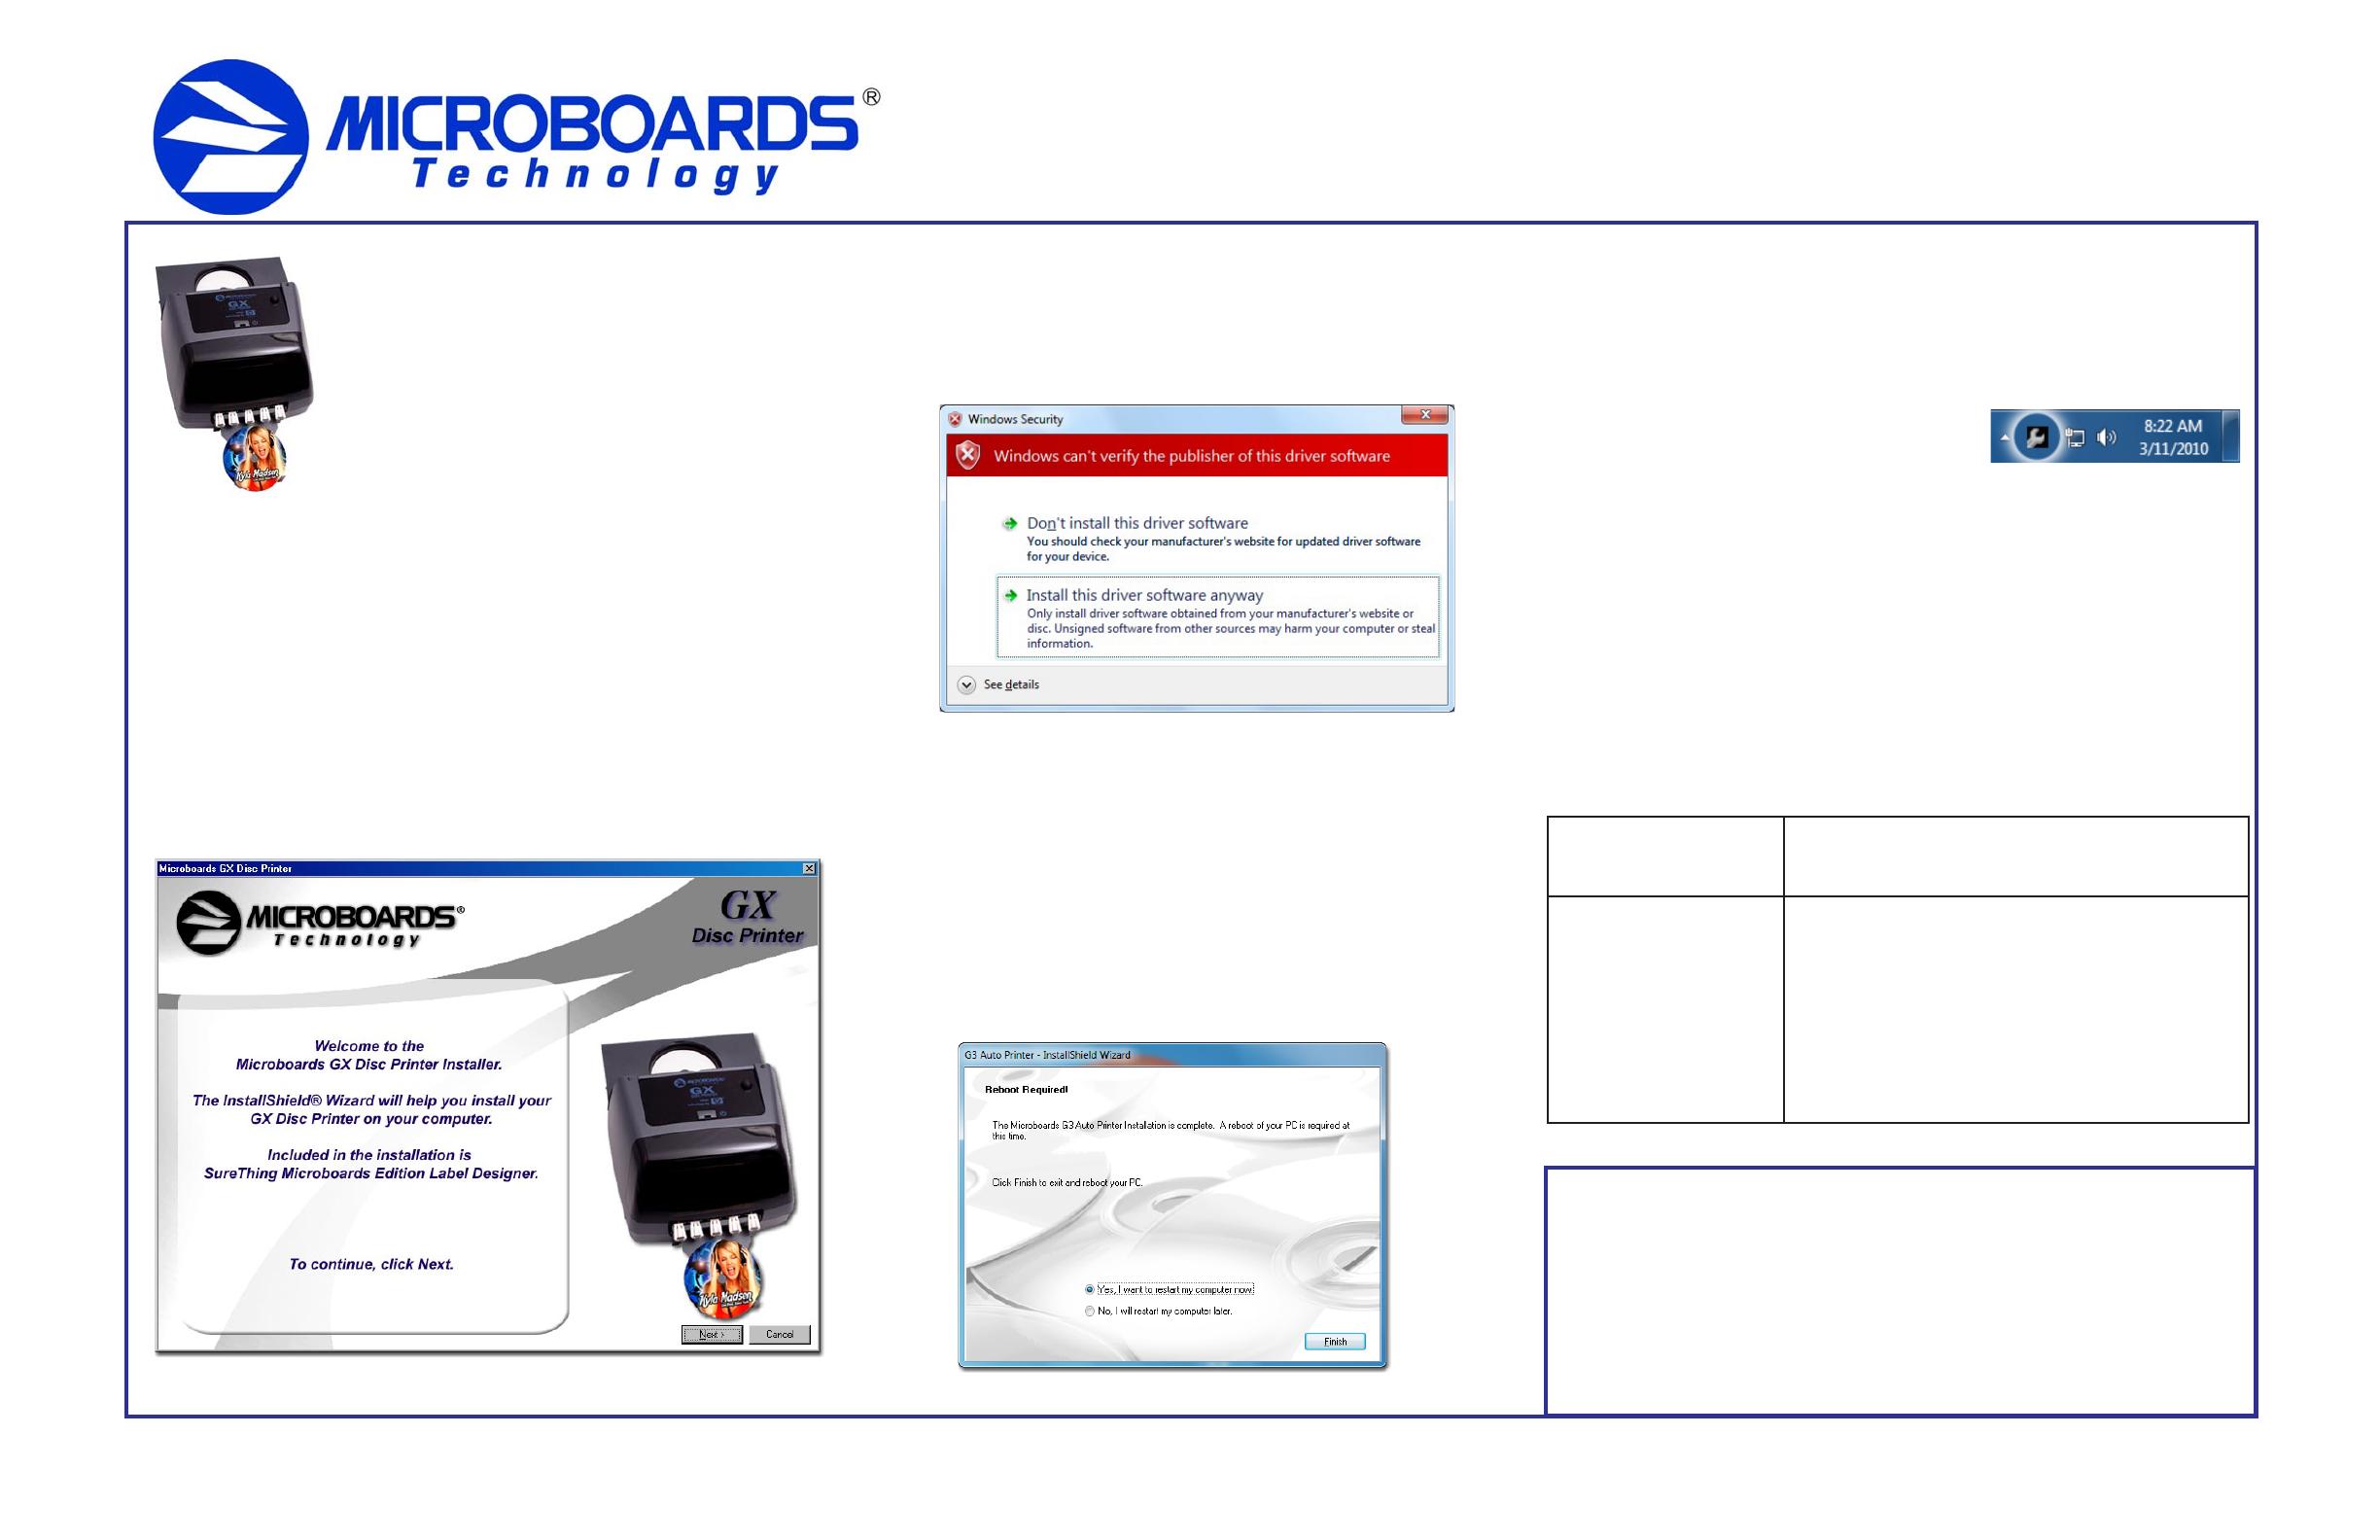
During the Installation process, you may see windows appear that refer to
the drivers not being verified by the operating system. Should any of these
windows appear, click the option to install the driver software.
If you do not install the driver software, your hardware
will not run successfully!
4. After the physical hardware setup is complete, you will be instructed to connect
the GX Disc Printer to the computer. Once this occurs, Windows will find your
new hardware and run through the driver installation process.
You may see an indication that a hardware device was not completely installed.
This is not unusual; the hardware installation will complete after the PC is
rebooted. Continue through the Installer to the last window.
5. Rebooting your PC is required before attempting to run your GX Disc
Printer! Click the Finish button to do so.
Do NOT connect your GX Disc Printer to your computer
until you are told to do so!!
COLOR INK CARTRIDGE CAN BE USED!
As is true with all printers, the quality of ink cartridge and the quality of the ink
within the cartridge will affect your output. To ensure quality results, the GX Disc
Printer will not operate with any other color ink cartridge in place.
The use of refilled ink cartridges will void your warranty!
ONLY MICROBOARDS GX-300HC
In order to guarantee quality results from the GX Disc Printer,
Printer not responding 1. Turn on power to Printer (front panel). Firmly press
the power button and wait several seconds for the
printer power LED to come on
2. Ink cartridge must be installed before turning on
the GX Disc Printer.
3. If the LED on the power button is blinking Red with
a cartridge installed, you may not have the ink
cartridge installed correctly. Turn the GX off, remove
the cartridge and reseat. Turn power back on.
Hardware not installing on
PC
1. Turn on power to GX Disc Printer (back panel)
2. Reseat USB connection
3. Installation CD in drive?
Installation Troubleshooting Guide:
The Microboards Printer Toolbox Installation
The Microboards Toolbox is installed silently during the GX Disc Printer
installation. This application is used for general maintenance functions.
After the installation completes, the Toolbox will start up. You will see an icon
appear in the tool tray in the lower right corner of your Windows desktop. To
access the Toolbox, double-click the icon circled below.
The Toolbox will also automatically start up after
rebooting the PC.
Installation of the GX Disc Printer is complete. The printer will need
to be aligned prior to printing disks. Please see the other side of this
guide or refer to the Users Manual for information on the alignment
process.
Quick Reference Guide
for Windows 7, Vista, and XP
Rev 10.03.26
Please visit our Technical Support website at www.microboards.com/support
GX Disc Printer Alignment
Your GX Disc Printer has been factory aligned to .1mm
precision. The values provided with the GX Disc Printer,
located on the back of the unit above the power plug, are the
offset values to be used in the Printing Preferences.
To set these values, please follow the steps listed below:
1. Access the Printing Preferences for the Microboards G Series. How this is
done will depend on the Operating System and the currently selected Start
Menu layout.
Windows 7: Select Devices and Printers from the Start button.
Windows Vista: Select the Control Panel from the Start button. Once the
Control Panel opens, select Printer from the Hardware and Sound section.
Windows XP, Classic Start Menu layout: You will need to go to the Settings
selection, then to the Printers and Faxes from the Start button.
Windows XP, Start Menu layout: Select Printers and Faxes from the
Windows Start button.
2. Right click on the icon for the Microboards G Series and select Printing
Preferences…
3. On the Print Quality tab, select Photo for the Paper Type and Best for the
Print Quality.
Photo Best should always be selected when aligning the printer, in order to
insure the greatest accuracy during the alignment process. Other settings
may not result in the best alignment.
4. Select the Alignment tab. The
.1mm Resolution setting must be selected
before setting alignment values (see below). Set the Top and Left Side alignment
values to those required for image alignment.
These settings will change the size of the top and left margins, respectively.
Decreasing the values will move the image up or to the left, increasing will
adjust down or to the right.
5. Click the Apply button to save the changes, found on the bottom of the Printing
Preferences window.
6. Start the SureThing application. Select a pre-designed full-coverage SureThing
disc image.
Place an blank disc in the input hopper and print the disc. Remember, Photo
Best mode should always be used when aligning the printer for the highest
accuracy.
7. Check the printed disc. If the settings are correct, the image should be centered
on the disc. If not, repeat steps 4 through 7, changing the Top and Left Side
amounts, using the graphic guide to the right of the alignment settings as a
reference to how the values should be changed.
8. Fine tuning may be required for different brands and can be done within the
printing application to avoid altering these global alignment values set in the
Printer Properties.
For further details on the alignment process, please refer to the
section on Alignment in the GX Disc Printer User’s Manual.
GX Disc Printer Configuration
COLOR INK CARTRIDGE CAN BE USED!
As is true with all printers, the quality of ink cartridge and the quality of the ink
within the cartridge will affect your output. To ensure quality results, the GX Disc
Printer will not operate with any other color ink cartridge in place.
The use of refilled ink cartridges will void your warranty!
ONLY MICROBOARDS GX-300HC
In order to guarantee quality results from the GX Disc Printer,
G Series Toolbox
Double-click the icon for the Microboards Toolbox that was placed on your PC’s
desktop during the installation process. The Test and Clean disc functions require
blank media be loaded before the buttons are clicked.
Clicking the Test Disc
button prints out a test
pattern to verify the
printer is functioning.
The Exercise Belt utility
should be run if the printer
has been idle for an
extended period of time,
and can be run multiple
times if necessary. The
belts will run at high
speed for a period of time
to recondition the belts.
It is not necessary to
load any media for this
utility.
Clicking the Clean Disc
button prints out a heavy
ink-usage pattern to clear
any clogged ink nozzles.
Be sure your computer meets the Minimum System Requirements as stated
in the User’s Manual and that you have read these instructions and the
Manual prior to contacting Microboards Technical Support with installation
or configuration questions!
  • Page 1 1
  • Page 2 2

Microboards GX Reference guide

Category
Print & Scan
Type
Reference guide
This manual is also suitable for

Ask a question and I''ll find the answer in the document

Finding information in a document is now easier with AI