Samsung 940BW User manual

Category
TVs & monitors
Type
User manual
Install drivers Install programs
SyncMaster 940BW/941BW/920BW
Notational
Failure to follow directions noted by this symbol could result in bodily harm or damage to
the equipment.
Prohibited Important to read and understand at all times
Do not disassemble Disconnect the plug from the outlet
Do not touch Ground to prevent an electric shock
Power
When not used for an extended period of time, set your computer to DPMS.
If using a screen saver, set it to active screen mode.
The images here are for reference only, and are not applicable in all cases (or countries).
Do not use a damaged or loose plug.
z
This may cause electric shock or fire.
Do not pull the plug out by the wire nor touch the plug with wet hands.
z
This may cause electric shock or fire.
Use only a properly grounded plug and receptacle.
z An improper ground may cause electric shock or equipment damage.
Insert the power plug firmly so that it does not come loose.
z
A bad connection may cause fire.
Do not excessively bend the plug and wire nor place heavy objects upon
them, which could cause damage.
z
This may cause electric shock or fire.
Do not connect too many extension cords or plugs to one outlet.
z
This may cause fire.
Do not disconnect the power cord while using the monitor.
z A surge may be caused by the separation and may damage the monitor.
Do not use the power cord when the connector or plug is dusty.
z
If the connector or plug of the power cord is dusty, clean it with a dry
cloth.
z Using the power cord with a dusty plug or connector may cause electric
shock or fire.
Installation
Be sure to contact an authorized Service Center, when installing your monitor in
a location with heavy dust, high or low temperatures, high humidity, and exposed
to chemical substances and where it operates for 24 hours such as at airports,
train stations etc.
Failure to do so may cause serious damage to your monitor.
Place your monitor in a location with low humidity and a minimum of
dust.
z Failure to do so may cause electric shock or fire inside the monitor.
Do not drop the monitor when moving it.
z This may cause damage to the product or the person carrying it.
Install the monitor base in a showcase or shelf so that the end of the
base does not protrude from the showcase or shelf.
z Dropping the product may cause damage to the product or the person
carrying it.
Do not place the product on an unstable or small surface area.
z Place the product on an even and stable surface, as the product may fall
and cause harm to someone walking by, specifically children.
Do not place the product on the floor.
z
Take care, as someone, specifically children may trip over it.
Keep any flammable objects such as candles, insecticides or cigarettes
away from the product.
z
Otherwise, this may cause fire.A melted coating may cause electric
shock or fire.
Keep any heating devices away from the power cable.
z
A melted coating may lead to electric shock or fire.
Do not install the product in places with poor ventilation, for instance, a
bookshelf, closet, etc.
z
Any increase in the internal temperature may cause fire.
Put down the monitor carefully.
z
Failing to do so may damage the monitor.
Do not place the monitor face down.
z This may damage the TFT-LCD surface.The installation of the bracket
must be done by a qualified professional.
Installing a wall bracket must be done by a qualified professional.
z
Installing the bracket by unqualified personnel may result in injury.
z Always use the mounting device specified in the owner's manual.
When installing the product, make sure to keep it away from the wall
(more than 10 cm/4 inches) for ventilation purposes.
z Poor ventilation may cause an increase in the internal temperature of the
product, resulting in a shortened component life and degraded
performance.
Keep the plastic packaging (bag) out of children's reach.
z
The plastic packaging (bag) may cause suffocation if children play with
it.
Clean
When cleaning the monitor case or the surface of the TFT-LCD screen, wipe with
a slightly moistened, soft fabric.
Do not spray water or detergent directly onto the monitor.
z
This may cause damage, electric shock or fire.
Use the recommended detergent with a smooth cloth.
If the connector between the plug and the pin is dusty or dirty, clean it
properly using a dry cloth.
z
A dirty connector may cause electric shock or fire.
Make sure to unplug the power cord before cleaning the product.
z
Otherwise, this may cause electric shock or fire.
Unplug the power cord from the power outlet and wipe the product using
a soft, dry cloth.
z
Do not use any chemicals such as wax, benzene, alcohol, thinners,
insecticide, air freshener, lubricant or detergent.
Contact the SAMSUNG customer care center or Customer Center for
interior cleaning once a year.
z
Keep the product's interior clean. Dust which has accumulated in the
interior over an extended period of time may cause a malfunction or fire.
Others
Do not remove the cover (or back).
z This may cause electric shock or fire.
z
Refer to a qualified servicing company.
If your monitor does not operate normally - in particular, if there is any
unusual sound or smell coming from the monitor - unplug it immediately
and contact an authorized dealer or the Service Center.
z This may cause electric shock or fire.
Keep the product away from places exposed to oil, smoke or moisture;
do not install inside a vehicle.
z
This may cause a malfunction, electric shock or fire.
z
In particular, avoid operating the monitor near water or outdoors where
the monitor could be exposed to snow or rain.
If the monitor is dropped or the casing is damaged, turn the monitor off
and unplug the power cord. Then contact the Service Center .
z The monitor may malfunction, causing electric shock or fire.
Disconnect the plug from the outlet during storms or lightning or if it is
not used for a long period of time.
z
Failure to do so may cause electric shock or fire.
Do not try to move the monitor by pulling only the wire or the signal
cable.
z This may cause a breakdown, electric shock or fire due to damage to
the cable.
Do not move the monitor right or left by pulling only the wire or the
signal cable.
z
This may cause a breakdown, electric shock or fire due to damage to
the cable.
Do not cover the vents on the monitor cabinet.
z
Bad ventilation may cause a breakdown or fire.
Do not place water containers, chemical products or small metal objects
on the monitor.
z
This may cause a malfunction, electric shock or fire.
z If a foreign substance enters the monitor, unplug the power cord and
contact the Service Center.
Keep the product away from combustible chemical sprays or
inflammable substances.
z This may cause an explosion or fire.
Never insert anything metallic into the monitor openings.
z This may cause electric shock, fire or injury.
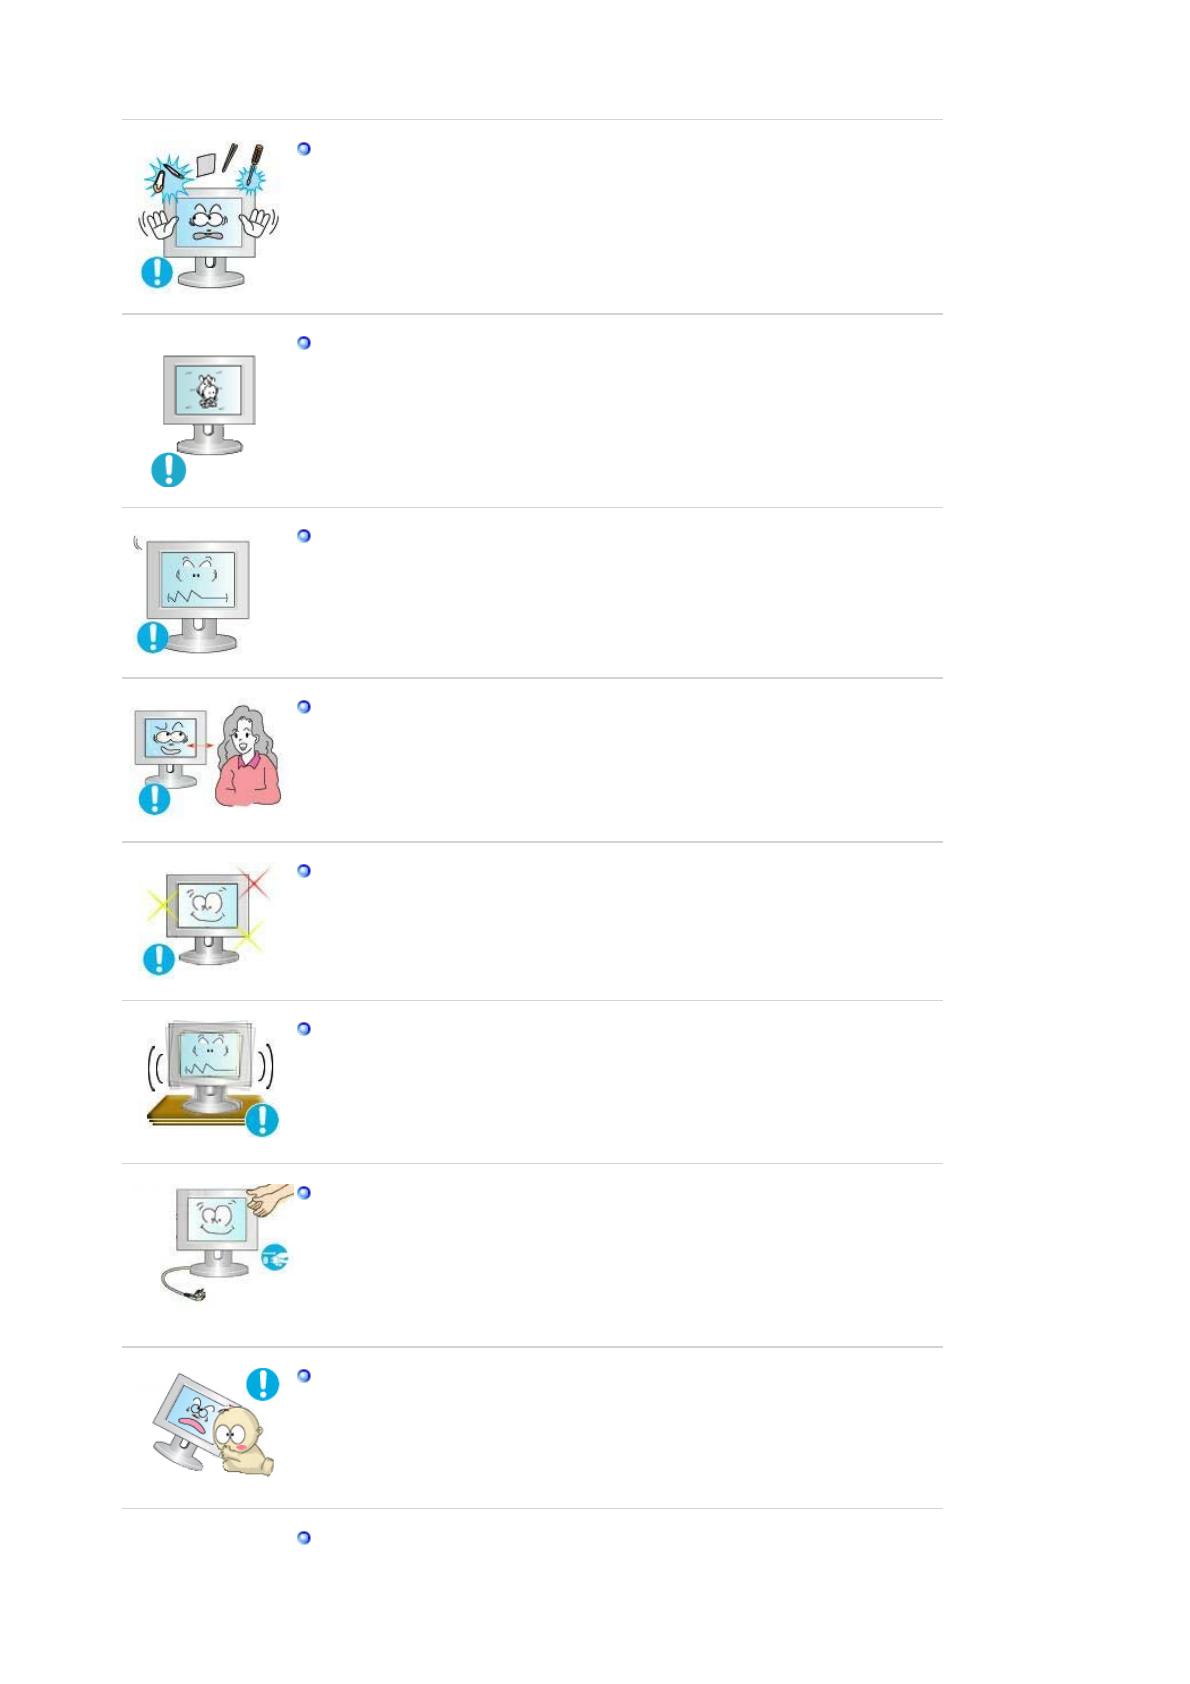
Do not insert metal objects such as chopsticks, wire and tools or
inflammable objects such as paper or matches into the vent, headphone
port or AV ports or etc.
z This may cause electric shock or fire. If an alien substances or water
enters the product, turn the product off, unplug the power connector
from the wall outlet and contact the Service Center.
When viewing a fixed screen for an extended period of time, residual
image or blurriness may appear.
z Change the mode to energy saving mode or set a screensaver to a
changing picture when away from the monitor for an extended period of
time.
Adjust the resolution and frequency to the level appropriate for the
model.
z An inappropriate resolution may cause undesirable picture quality.
19 inch Wide (48 cm) - 1440 X 900
Viewing the monitor continuously at a too close angle may result in
damage to your eyesight.
To ease eye strain, take at least a five-minute break after every hour of
using the monitor
.
Do not install the product on an unstable, uneven surface or a location
prone to vibrations.
z Dropping the product may cause damage to the product or the person
carrying it. Using the product in a location prone to vibrations may
shorten the lifetime of the product or may cause the product to catch fire.
When moving the monitor, turn off and unplug the power cord.
Make sure that all cables, including the antenna cable and cables
connected to other devices, are disconnected before moving the
monitor.
z
Failure to disconnect cables may damage it and cause fire or electric
shock.
Place the product out of children's reach, as they could damage by
hanging onto it.
z A falling product may cause injury to the person or even fatality.
When not using the product for an extended period of time, keep the
product unplugged.
z
Otherwise, this may cause heat emission from the accumulated dirt or
degraded insulation, causing electric shock or fire.
Do not place your children's favorite toys or any other objects of interest
on the product.
z
Children may try to climb on the product to retrieve an object. The
product could fall, causing injury or even fatality.
When lifting up or moving the monitor, do not lift the monitor upside
down while holding only the stand.
z This may cause your monitor to fall, and become damaged or cause
personal injury.
Good Postures When Using the Monitor
Try to maintain a good posture when using the monitor.
z
Keep your back straight.
z Keep a distance of about 45 ~ 50 cm between your eyes and
the monitor screen. Look at the screen from slightly above it,
and have the monitor directly in front of you.
z Tilt the monitor upwards by 10 ~20 degrees. Adjust the monitor
height so that the top of the monitor is slightly below eye level.
z Adjust the monitor angle so that there is no reflected light on
the screen.Try to maintain your arms perpendicular to your
armpits.
z Keep your arms level with the back of your hands.
z
Keep the angle of the elbow perpendicular.
z Keep the angle of the knees at more than 90 degree. Do not let
your feet fall up from the floor. Adjust the arm position so that it
is below the heart.
Features
RTA Monitor
RTA(Response Time Accelerator)
A function that accelerates the response speed of the panel so as to provide a sharper and
more natural video display.
z
RTA On
Activates the RTA function so that the panel operates at a higher
response speed than its original speed.
z
RTA Off
Deactivates the RTA function so that the panel operates at its original
response speed.
(
Note
: If you turn the power off and on again after switching RTA off, the RTA function is
automatically switched On (Factory Setting)
Please make sure the following items are included with your monitor.
If any items are missing, contact your dealer.
Contact a local deale
r
to bu
y
o
p
tional items.
Unpacking
Type 1
Monito
r
Bottom
Type 2
Monitor & Slidin
g
Stand
Manual
Quick Setup Guide
Warranty Card
(Not available in all
locations)
User's Guide,
Monitor Driver,
Natural Color software,
Ma
g
icTune™ software
Cable
D-sub Cable Power Cord DVI Cable
(
o
p
tion
)
Front
MENU button [ ]
Opens the OSD menu. Also use to exit the OSD menu or return to
the previous menu.
MagicBright™
[]
MagicBright™ is a new feature providing optimum viewing
environment depending on the contents of the image you are
watching. Currently six different modes are available: Custom, Text,
Internet, Game, Sport and Movie. Each mode has its own pre-
configured brightness value. You can easily select one of six
settings by simply pressing MagicBright™ control button.
1) Custom
Although the values are carefully chosen by our engineers, the
pre-configured values may not be comfortable to your eyes
depending on your taste.
If this is the case, adjust the brightness and contrast by using
the OSD menu.
2) Text
For documentations or works involving heavy text.
3) Internet
For working with a mixture of images such as text and
graphics.
4) Game
For watching motion pictures such as a game.
5) Sport
For watching motion pictures such as a sport.
6) Movie
For watching motion pictures such as a DVD or Video CD.
>>Click here to see an animation clip
Brightness button
[]
When OSD is not on the screen, push the button to adjust
brightness.
Adjust buttons [ ]
Adjust items in the menu.
Enter button [ ] /
Source button
Activates a highlighted menu item. /
Push the ' ', then selects the video signal while the OSD is off.
(When the ' ' button is pressed to change the input mode, a
message appears in the upper left of the screen displaying the
current mode -- analog or digital input signal.)
Note : If you select the digital mode, you must connect your monitor
to the graphic card's DVI port or DVD player's DVI Port using the
DVI cable or DVD player's HDMI port using the DVI to HDMI cable.
AUTO button
Use this button for auto adjustment.
Power button [ ]/
Power indicator
Use this button for turn the monitor on and off. /
This light glows blue during normal operation, and blinks blue once
as the monitor saves your adjustments.
See PowerSaver described in the manual for further information regarding power saving
functions. For energy conservation, turn your monitor OFF when it is not needed, or when
leaving it unattended for long periods.
Rear
Simple stand Sliding Stand
(The configuration at the back of the monitor may vary from product to product.)
POWER port
Connect the power cord for your monitor to the power port on the back
of the monitor.
DVI IN port
Connect the DVI Cable to the DVI port on the back of your monitor.
RGB IN port
Connect the signal cable to the 15-pin, D-sub port on the back of your
monitor.
Kensington Lock
The Kensington lock is a device used to physically fix the system
when using it in a public place. (The locking device has to be
purchased separately. )
For usin
g
a lockin
g
device, contact where
y
ou
p
urchase it.
ON [ | ] / OFF [O]
Switch the monitor on and off.
See Connecting the Monitor for further information regarding cable connections.
Connecting the Monitor
1.
Connect the power cord for your monitor to the power port on the back of the monitor.
Plug the power cord for the monitor into a nearby outlet.
2-1.
Using the D-sub (Analog) connector on the video card.
Connect the signal cable to the 15-pin, D-sub port on the back of your monitor.
[ RGB IN ]
2-2.
Using the DVI (Digital) connector on the video card.
Connect the DVI Cable to the DVI Port on the back of your Monitor.
[ DVI IN ]
2-3.
Connected to a Macintosh.
Connect the monitor to the Macintosh computer using the D-sub connection cable.
2-4.
In the case of an old model Macintosh, you need to connect the monitor using a special Mac
adapter (Option).
3.
Turn on your computer and monitor. If your monitor displays an image, installation is
complete.
Connecting Digital DVD
1. DVI cable
1.
Input devices such as digital DVD are connected to the
DVI IN
terminal of the monitor using
the DVI cable.
2.
Then, start the DVD with a DVD disc inserted.
3.
Select
Digital
using the
SOURCE
button.
2. DVI-HDMI cable
1.
The HDMI terminal of digital DVD player is connected to the
DVI IN
terminal of the monitor
using the HDMI-DVI cable.
2.
Then, start the DVD with a DVD disc inserted.
3.
Select
Digital
using the
SOURCE
button.
Using the Stand
Monitor Assembl
y
Monitor and Bottom
Slidin
g
Stand
A.
Stand Stopper
Attaching a Base
This monitor accepts a 75 mm x 75 mm VESA-compliant mounting interface pad.
Simple stand Sliding Stand
A.
Monitor
B.
Mounting interface pad (Sold separately)
1. Turn off your monitor and unplug its power cord.
2. Lay the LCD monitor face-down on a flat surface with a cushion beneath it to protect the
screen.
3. Remove four screws and then remove the stand from the LCD monitor.
4. Align the mounting interface pad with the holes in the rear cover mounting Pad and secure it
with four screws that came with the arm-type base, wall mount hanger or other base.
Installing the Monitor Driver (Automatic)
When prompted by the operating system for the monitor driver, insert the CD-ROM
included with this monitor. Driver installation is slightly different from one operating
system to another. Follow the directions appropriate for the operating system you
have.
Prepare a blank disk and download the driver program file at the Internet web site shown
here.
z
Internet web site : http://www.samsung.com/ (Worldwide)
http://www.samsung.com/monitor (U.S.A)
http://www.sec.co.kr/monitor (Korea)
http://www.samsungmonitor.com.cn/ (China)
1. Insert CD into the CD-ROM drive.
2. Click
"Windows"
3. Choose your monitor model in the model list, then click the
"OK"
button.
4. If you can see following message window, then click the
"Continue Anyway"
button.
Then click
"OK"
button. (Microsoft
®
Windows
®
XP/2000 Operating System)
5. Monitor driver installation is completed.
This monitor driver is under certifying MS logo,and this installation don't
damage your system.The certified driver will be posted on Samsung
Monitor homepage
http://www.samsung.com/.
Installing the Monitor Driver (Manual)
Windows XP | Windows 2000 |Windows Me |Windows NT | Linux
When prompted by the operating system for the monitor driver, insert the CD-ROM
included with this monitor. Driver installation is slightly different from one operating
system to another. Follow the directions appropriate for the operating system you
have.
Prepare a blank disk and download the driver program file at the Internet web site shown
here.
z
Internet web site : http://www.samsung.com/ (Worldwide)
http://www.samsung.com/monitor (U.S.A)
http://www.sec.co.kr/monitor (Korea)
http://www.samsungmonitor.com.cn/ (China)
Microsoft
®
Windows
®
XP Operating System
1. Insert CD into the CD-ROM driver.
2. Click "
Start
" —> "
Control Panel
" then click the "
Appearance and Themes
" Icon.
3. Click "
Display
" icon and choose the "
Settings
" tab then click "
Advanced..
".
4. Click the "
Properties
" button on the "
Monitor
" tab and select "
Driver
" tab.
5. Click "
Update Driver..
" and select "
Install from a list or..
" then click "
Next
" button.
6. Select "
Don't search ,I will..
" then click "
Next
" and then click "
Have disk
".
7. Click the "
Browse
" button then choose A:(D:\Driver) and choose your monitor model in the
model list and click the "
Next
" button.
8. If you can see following "
Message
" window, then click the "
Continue Anyway
" button. Then
click "
OK
" button.
This monitor driver is under certified MS logo,and this installation doesn't damage your
system.The certified driver will be posted on Samsung Monitor homepage.
http://www.samsung.com/
9. Click the "
Close
" button then click "
OK
" button continually.
10. Monitor driver installation is completed.
Microsoft
®
Windows
®
2000 Operating System
When you can see "Digital Signature Not Found" on your monitor, follow these steps.
1. Choose "
OK
" button on the "
Insert disk
" window.
2. Click the "
Browse
" button on the "
File Needed
" window.
3. Choose A:(D:\Driver) then click the "Open" button and then click "
OK
" button.
How to install
  • Page 1 1
  • Page 2 2
  • Page 3 3
  • Page 4 4
  • Page 5 5
  • Page 6 6
  • Page 7 7
  • Page 8 8
  • Page 9 9
  • Page 10 10
  • Page 11 11
  • Page 12 12
  • Page 13 13
  • Page 14 14
  • Page 15 15
  • Page 16 16
  • Page 17 17
  • Page 18 18
  • Page 19 19
  • Page 20 20
  • Page 21 21
  • Page 22 22
  • Page 23 23
  • Page 24 24
  • Page 25 25
  • Page 26 26
  • Page 27 27
  • Page 28 28
  • Page 29 29
  • Page 30 30
  • Page 31 31
  • Page 32 32
  • Page 33 33
  • Page 34 34
  • Page 35 35
  • Page 36 36
  • Page 37 37
  • Page 38 38
  • Page 39 39
  • Page 40 40
  • Page 41 41
  • Page 42 42
  • Page 43 43
  • Page 44 44
  • Page 45 45
  • Page 46 46
  • Page 47 47
  • Page 48 48
  • Page 49 49
  • Page 50 50
  • Page 51 51
  • Page 52 52
  • Page 53 53
  • Page 54 54
  • Page 55 55
  • Page 56 56
  • Page 57 57
  • Page 58 58
  • Page 59 59
  • Page 60 60
  • Page 61 61
  • Page 62 62
  • Page 63 63
  • Page 64 64
  • Page 65 65
  • Page 66 66
  • Page 67 67

Samsung 940BW User manual

Category
TVs & monitors
Type
User manual

Ask a question and I''ll find the answer in the document

Finding information in a document is now easier with AI