In a convection oven, the fan-circulated hot air continually
distributes heat more evenly than the natural movement of air in a
standard thermal oven. This movement of hot air maintains a
consistent temperature throughout the oven, cooking foods more
evenly, crisping surfaces while sealing in moisture and yielding
crustier breads.
Most foods can be cooked by lowering cooking temperatures
25°F to 50°F (14°C to 28°C) and cooking time can be shortened
by as much as 30 percent, especially for large turkeys and roasts.
• It is important not to cover foods so that surface areas remain
exposed to the circulating air, allowing browning and crisping.
• Keep heat loss to a minimum by only opening the oven door
when necessary.
• Choose cookie sheets without sides and roasting pans with
lower sides to allow air to move freely around the food.
• Test baked goods for doneness a few minutes before the
minimum cooking time with an alternative method such as a
toothpick.
• Use a meat thermometer or the temperature probe to
determine the doneness of meats and poultry. Check the
temperature of pork and poultry in two or three places.
To Convection Bake:
Before convection baking, position the racks according to the
"Positioning Racks and Bakeware" section. When using two
racks, place them on guides 2 and 4. When using three racks,
place them on guides 1,3 and 5.
1. Press CONVECTION BAKE.
Press the number pads to enter a temperature other than
325°F (163°C). The convection bake range can be set
between 170°F and 500°F (77°C and 260°C).
2. Press START.
"Lo °'' will appear on the lower oven display if the actual oven
temperature is under 170°F (77°C).
When the actual oven temperature reaches 170°F (77°C), the
lower oven display will show the oven temperature increasing
in 5° increments.
When the set temperature is reached, if enabled, one tone will
sound.
3. Press LOWER OVEN CANCEL when finished cooking.
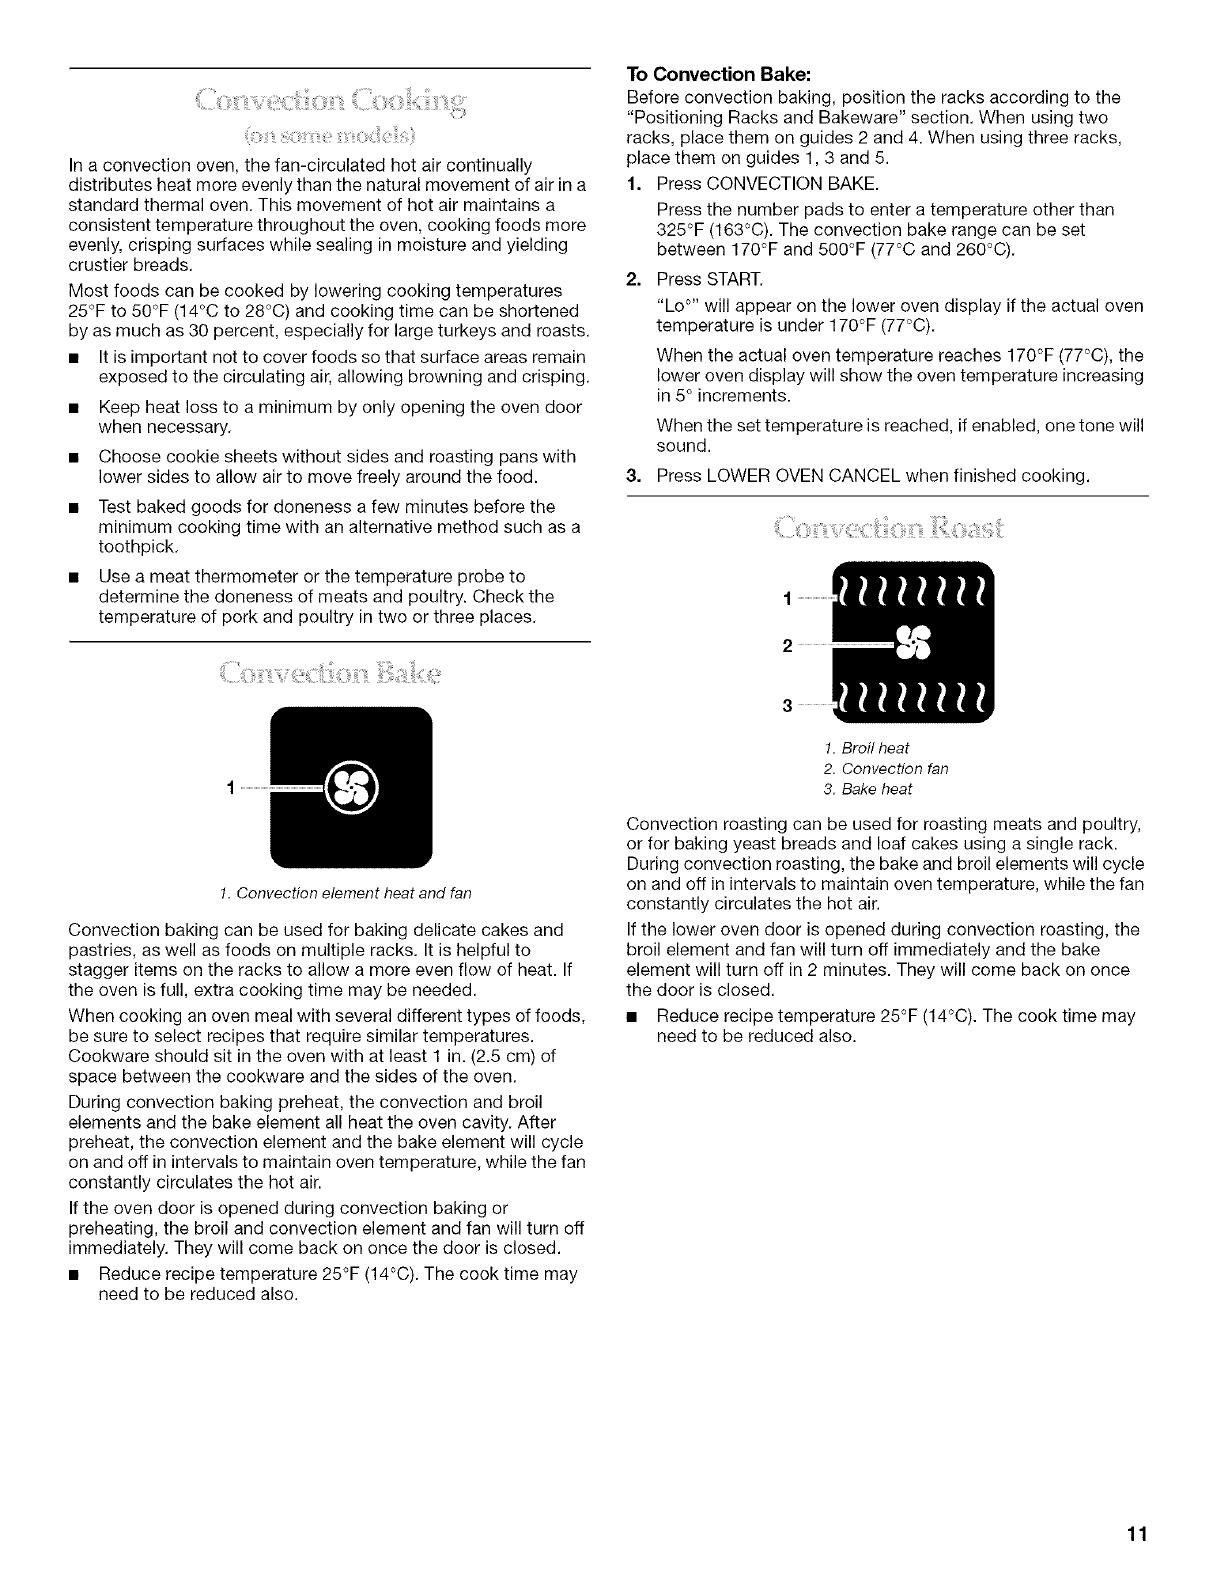
1
2
1. Convection element heat and fan
Convection baking can be used for baking delicate cakes and
pastries, as well as foods on multiple racks. It is helpful to
stagger items on the racks to allow a more even flow of heat. If
the oven is full, extra cooking time may be needed.
When cooking an oven meal with several different types of foods,
be sure to select recipes that require similar temperatures.
Cookware should sit in the oven with at least 1 in. (2.5 cm) of
space between the cookware and the sides of the oven.
During convection baking preheat, the convection and broil
elements and the bake element all heat the oven cavity. After
preheat, the convection element and the bake element will cycle
on and off in intervals to maintain oven temperature, while the fan
constantly circulates the hot air.
If the oven door is opened during convection baking or
preheating, the broil and convection element and fan will turn off
immediately. They will come back on once the door is closed.
• Reduce recipe temperature 25°F (14°C). The cook time may
need to be reduced also.
1. Broil heat
2. Convection fan
3. Bake heat
Convection roasting can be used for roasting meats and poultry,
or for baking yeast breads and loaf cakes using a single rack.
During convection roasting, the bake and broil elements will cycle
on and off in intervals to maintain oven temperature, while the fan
constantly circulates the hot air.
If the lower oven door is opened during convection roasting, the
broil element and fan will turn off immediately and the bake
element will turn off in 2 minutes. They will come back on once
the door is closed.
• Reduce recipe temperature 25°F (14°C). The cook time may
need to be reduced also.
11


