OUTSIDE MOUNT INSTALLATION INSTRUCTIONS
Measure the exact width and height of the area to be covered. Important - the total width of the
selected shutter set should be a minimum of 2 1/2 in. wider than the inside of your window.
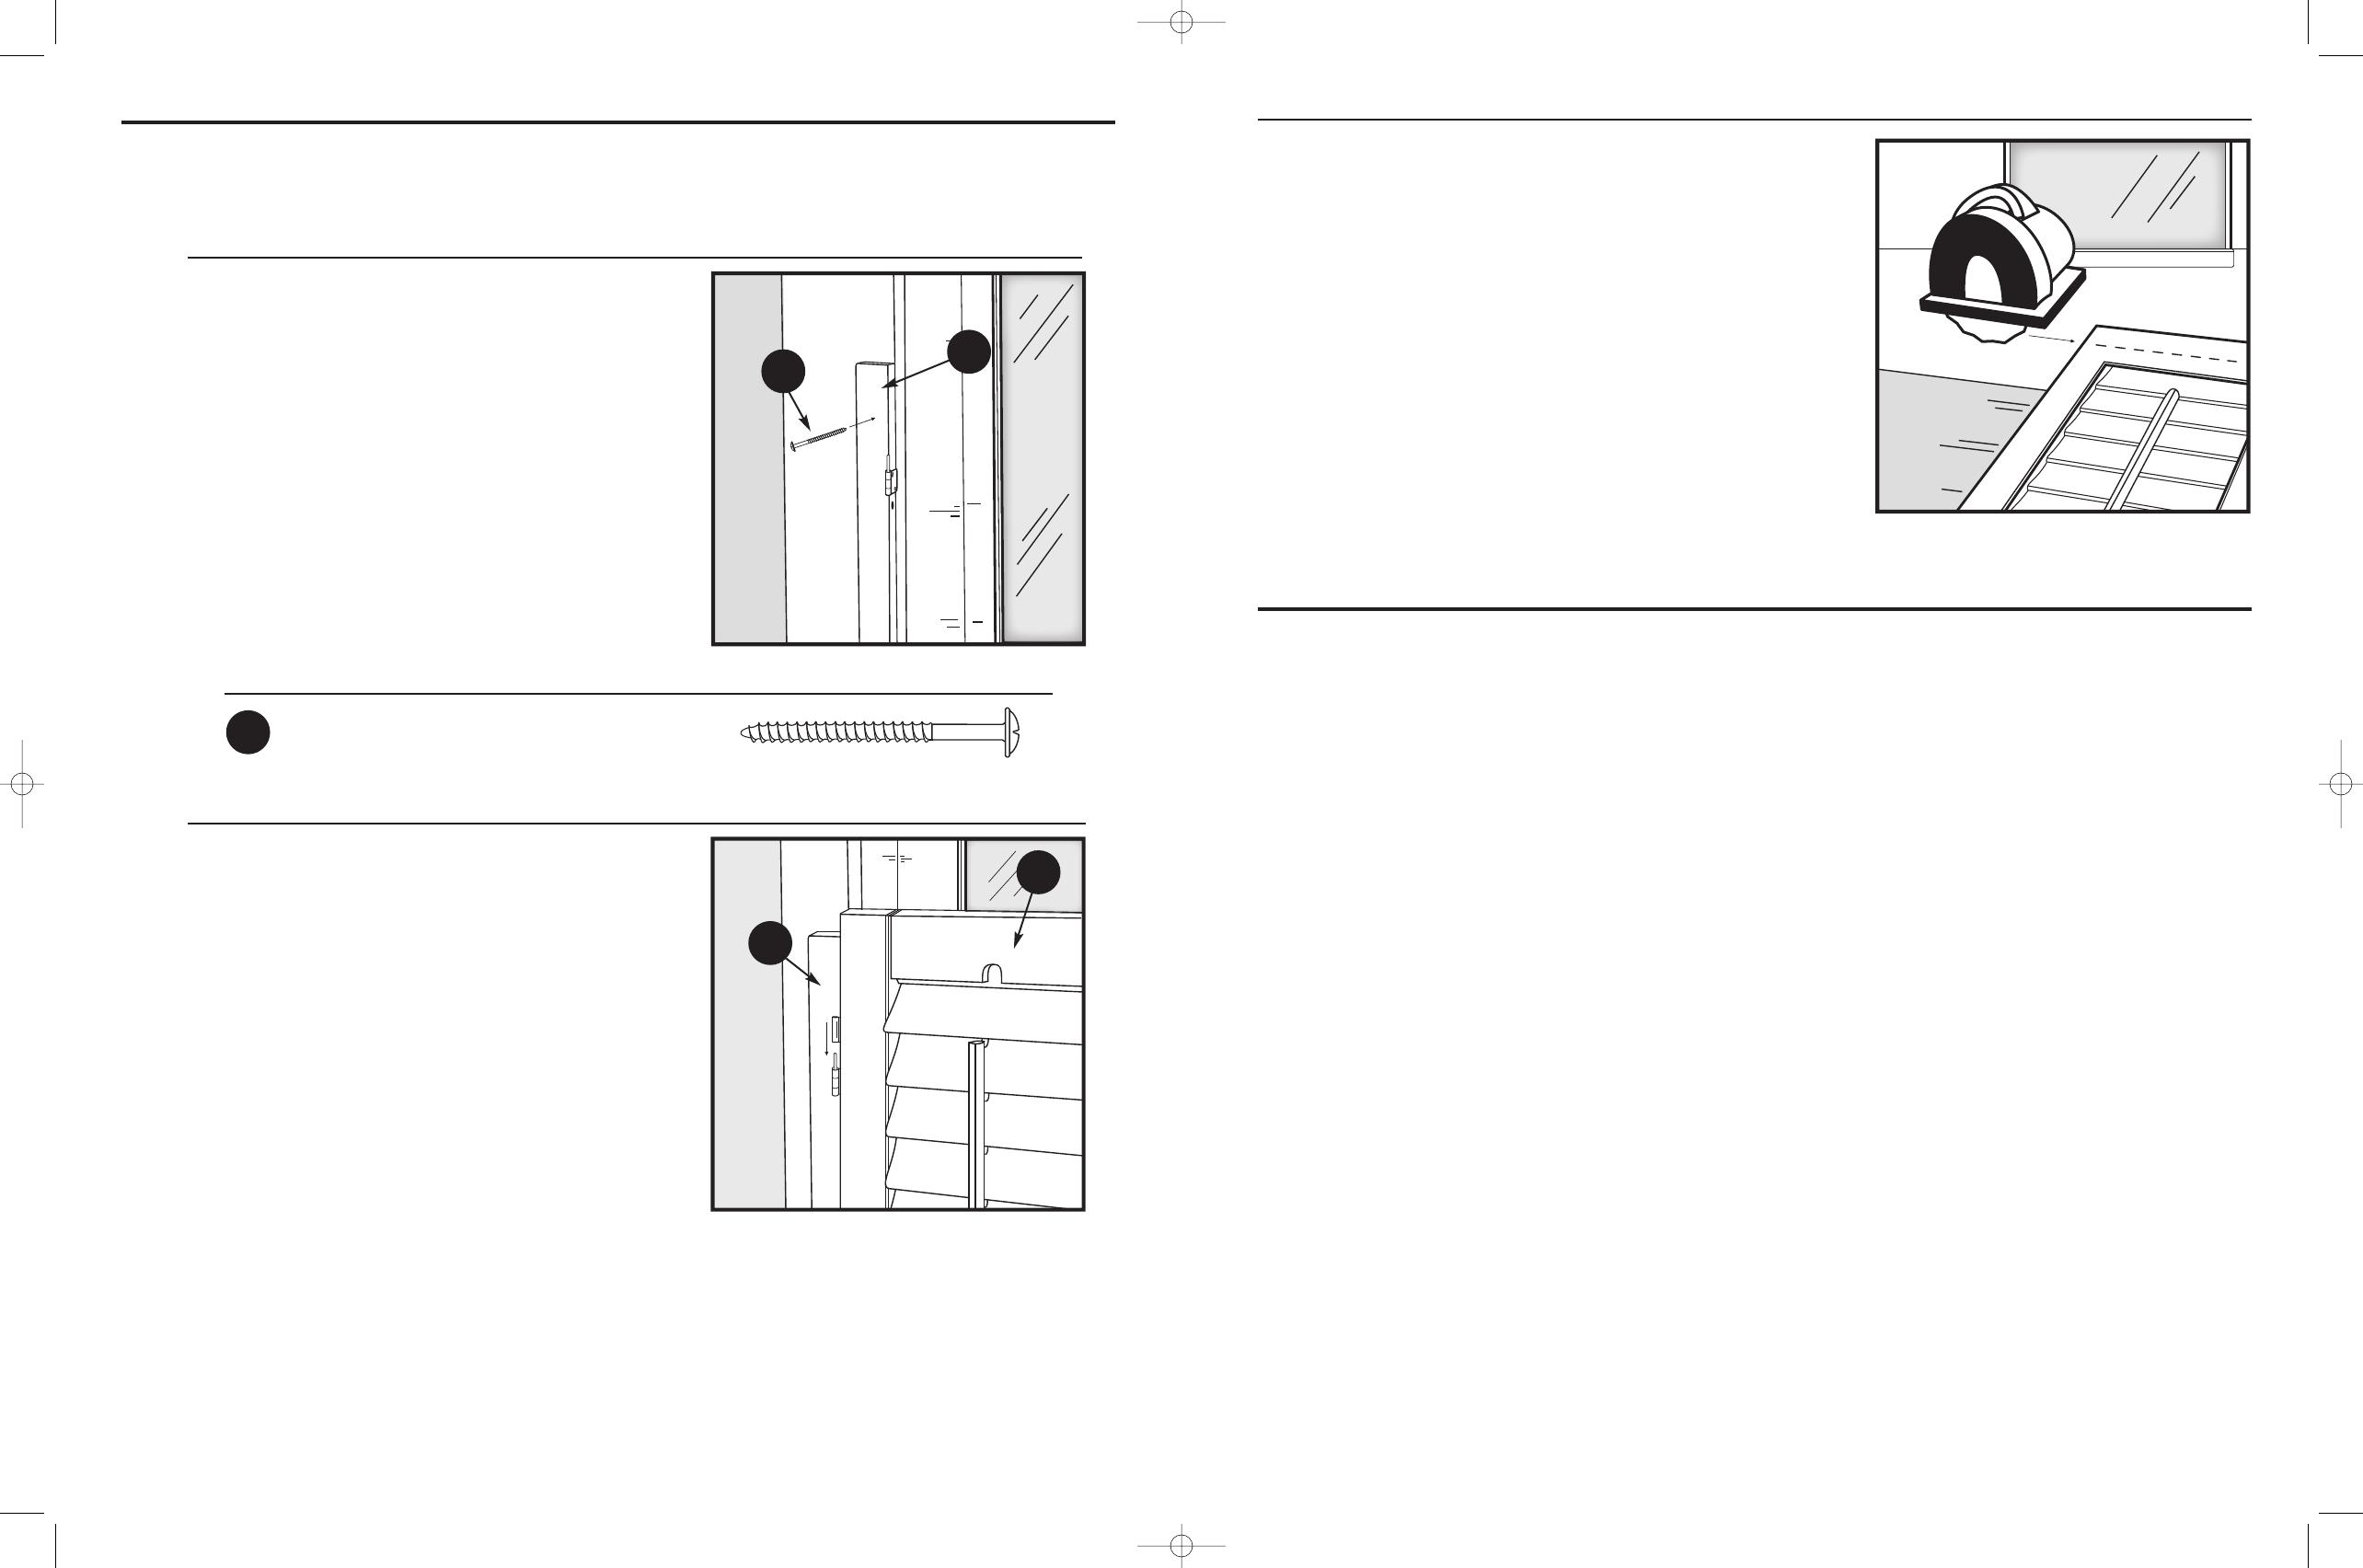
Step 1: (Fig. 3)
Drill a hole through the face of the hanging
strip (B). Use the 2 in. screws (BB) provided by
screwing through the hanging strips (B) and into
your molding or wall depending upon the place
of installation.
IMPORTANT - Always use a proper anchoring
device (not included).
NOTE - All shutters can be shortened prior to
installation. See page 6 for instructions.
Step 2: (Fig 4.)
Hang the shutter panels (A) onto the hanging
strips (B).
Optional: Install knob (DD) and hook (GG) set
using the 1 in. screw (CC) and flat washer (FF).
Hardware Used
BB
Fig. 3
2 in. Screw x4 or 6
Fig. 4
5
B
BB
A
B
Page 5
ALL SHUTTERS CAN BE SHORTENED
The overall height of your shutter panels (A) can be
adjusted by trimming the top and bottom rails.
Plantation shutters may be trimmed up to 1/4 in. on the
top and 1 1/4 in. on the bottom. Trim the rails by using
a fine tooth circular saw.
IMPORTANT -
Do not exceed the maximum recommended trimming.
CARE AND MAINTENANCE
Wipe with a damp cloth or very mild spray cleaner. Dry immediately with dry cloth. Do not use
heavy cleaning solvents.
Fig. 5
6
ONE YEAR WARRANTY
Whole Space hereby warrants and guarantees to the original purchaser of these shutters that, when
installed, operated and maintained in accordance with the stated procedures, this product shall be free
from defects in materials and workmanship during the periods of warranty.
Also, due to the inherent nature of metals, hardware and hinges are only covered for operation not finish.
Whole Space’s obligations under
this warranty shall be limited to, at its option, the repair or replacement of all or any part of the shutters,
which Whole Space determines to be defective, either in material or workmanship, under normal use and
service. Shipping charges and labor costs for measuring and installation are excluded.
This warranty does not include any conditions or damages resulting from accidents, alterations, misuse,
abuse, misapplications, exposure to the elements, excessive water, moisture or humidity, fading or
discoloration overtime, fire, flood, or other acts of God. We will not be liable for shipping charges, labor
costs for measuring, disassembly, removal, reassembly, or reinstallation of this product, nor for damage
or loss to other property.
For wood shutter, due to the inherent nature of wood, one year warranty on fading is given from the date of
installation. This warranty does not apply to conditions characteristic to the product caused by normal wear
and tear. The natural beauty of wood often includes grain patterns which appear randomly throughout the
shutter. These variations have no effect on the durability and structural integrity of the shutter. This is
natural with wood, therefore considered acceptable, and an indication of genuine quality.
Wood shutters are manufactured to industry standards. Minor imperfections or blemishes not noticeable
under ordinary light from a distance of three feet are not considered defects. Warp of any components
that does not exceed 1/32” per foot will not be considered a defect.


