8
GB
Getting Started
z To change the location of, or erase, a preset station
See “Organizing the Preset Stations” on page 13.
z To store stations with data broadcasts
Select “AUTO-BETICAL Audio & Data” in step 4 above.
While receiving the data broadcast, the data is output
only to the DAB RDI OUT connector.
z To confirm preset stations
1 Press DAB, FM or AM whichever you want to
confirm.
2 Turn TUNING/SELECT.
You can receive the broadcasts of the preset station.
Notes
• DAB stations are sorted by ensemble frequency from low
to high. In the ensemble, each service are
arranged by programme service name alphabetically.
• If you move to another area, repeat this procedure to store
stations in your new area.
• For details on tuning stored stations, see page 9.
• Each FM station is stored with the following setting:
- ANTENNA ATTENUAT: OFF
- IF BAND WIDTH: WIDE
- FM mode (Auto stereo/Monaural): Auto Stereo
If you want to preset the diffrent setting for each FM
station, change settings according to the procedures in
“Tips for Better FM Reception” on page 18, then preset
stations again.
• If you move the aerial after storing stations using Auto-
betical Select, the stored settings may no longer be valid. If
this happens, store the stations again.
• There is no sound when you receive DAB data broadcasts.
Storing DAB/FM Stations
Automatically (Auto-betical
Select)
With Auto-betical Select you can automatically store
up to a combined total of 99 DAB and FM stations. At
the same time, stations are stored in alphabetical order
for each broadcast band without redundancy.
Additionally, Auto-betical Select only stores the
stations with the clearest signals. If you want to store
DAB, FM or AM (MW and LW) stations one by one,
see “Receiving Broadcasts” on page 10 and “Storing
Stations Manually” on page 11.
Before you begin, make sure you have:
• connected DAB, FM and AM aerials to the tuner as
indicated on pages 4 and 5.
1 Tune down the volume on the amplifier, then turn
on the amplifier and select the TUNER mode.
2 Press POWER to turn on the tuner.
3 Press MENU.
4 Turn TUNING/SELECT so that “AUTO-
BETICAL Audio Only” appears.
5 Press ENTER.
The tuner scans all the DAB and FM stations in the
broadcast area.
While scanning, “Now AUTO-BETICAL” appears
in the display.
For DAB and FM RDS stations, the tuner first
checks for stations broadcasting the same
programme, then stores only the one with the
clearest signal. The selected DAB and FM RDS
stations are sorted alphabetically by their
Programme Service name, then assigned a number
from 1 for each broadcast band. For more details
on DAB and FM RDS, see page 10 (DAB) and 14
(FM RDS) .
Regular FM stations are also assigned preset
numbers and stored after the FM RDS stations.
You can store up to a combined total of 99 stations
in all broadcast band.
When scanning finishes, “AUTO-BETICAL End”
flashes in the display.
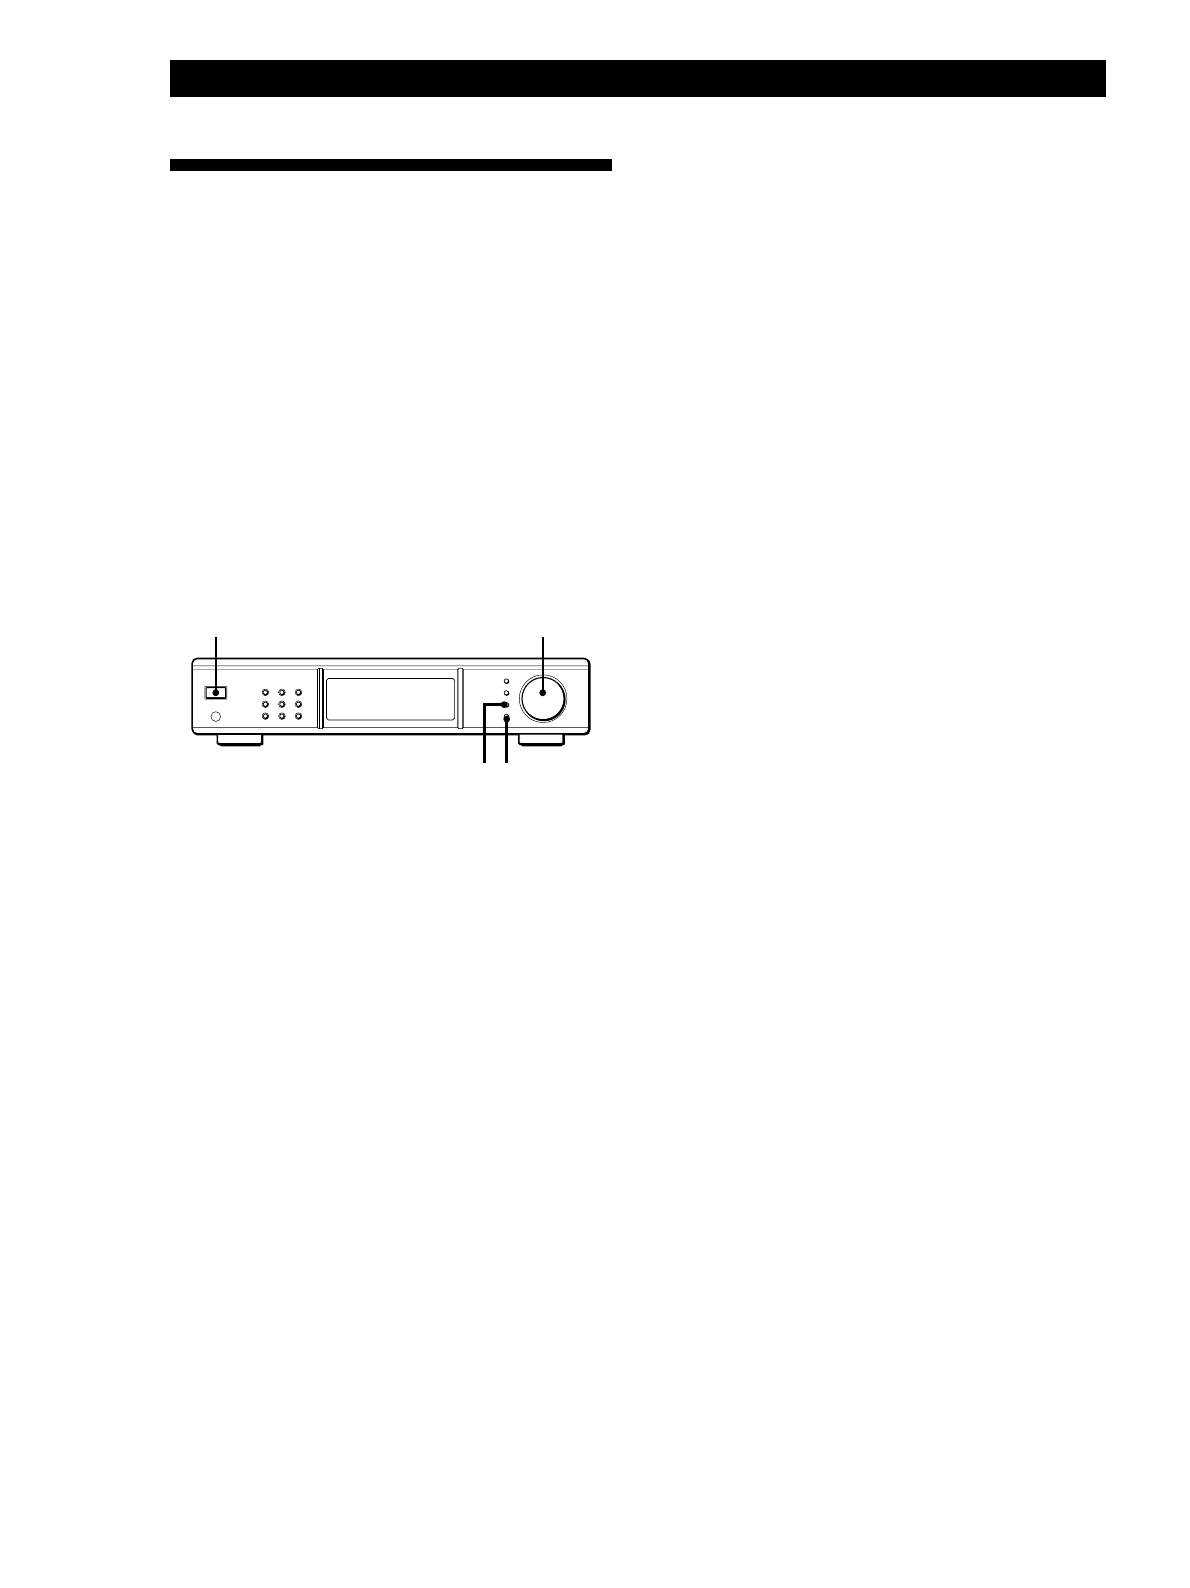
POWER TUNING/SELECT
MENU ENTER


