3M
Shearbolt Connectors
QCI Series
Instructions
F CAUTION
Working around energized systems may cause serious injury or death.
Installation should be performed by personnel familiar with good safety practice
in handling electrical equipment. De-energize and ground all electrical systems
before installing product.
Connector Outside Diameter Typical Length
w/Centering Rings
QCI 2-250 1.10" (28 mm) 4.41" (112 mm)
QCI 1/0-350 1.30" (33 mm) 5.12" (130 mm)
QCI 4/0-600 1.50" (38 mm) 5.75" (146 mm)
QCI 350-750 1.65" (42 mm) 6.93" (176 mm)
QCI 500-1000 2.05" (52 mm) 7.83" (199 mm)
QCI 1000-1250 2.10" (53 mm) 8.25" (210 mm)*
* No centering rings used with this connector.
3
August 2012
78-8127-9877-1-D
Kit Contents
1 3M
Shearbolt Connectors QCI
(includes centering rings as appropriate)
1 3M
Foil Tape Connector Wrap 1115B
1 Instruction Sheet
1.0 Notes
1.1 Unless the 3M
Shearbolt Connector is supplied
with a cable accessory kit, always check with the
cable accessory manufacturer to make certain that
the shearbolt connector will work properly with the
accessory before installing the connector.
1.2 Do not remove bolts from the connector.
1.3 These shearbolt connectors can be used with both copper
and aluminum conductors.
1.4 These shearbolt connectors can be used to join
conductors of equal size or different sizes, provided that
both conductors are within the range of the connector.
1.5 The connector is pre-greased. Do not remove the
connector grease.
1.6 These connectors are designed to be used in 3M
Cold
Shrink QS-III Splices. Check with other manufacturers
before using with their splice kits.
2.0 Insulation Cutback Dimensions
2.1 Prepare the cable cutbacks per the accessory
manufacturers instructions. The ends of the conductors
must be square cut. Using your QCI connector number,
remove the cable insulation length shown in the
following table.
Connector Insulation Cutback
QCI 2-250 2.00" (51 mm)
QCI 1/0-350 2.75" (70 mm)
QCI 4/0-600 3.0" (76 mm)
QCI 350-750 3.50" (89 mm)
QCI 500-1000 3.75" (95 mm)
QCI 1000-1250 4.125" (105 mm)
2.2 Use the following table and your conductor size to
determine the appropriate connector centering ring.
Install the centering ring, unless conductor size
indicates “No ring,” by screwing the ring clockwise
into the connector end. For size transitions, use the ring
appropriate to each conductor size.
Connector Conductor Size
(AWG, kcmil)
Connector Centering
RingColor
QCI 2-250 2-1/0 Grey
2/0–3/0 Black
4/0–250 No ring
QCI 1/0-350 1/0–2/0 Blue
3/0–4/0 Black
250 White
350 No ring
QCI 4/0-600 4/0 Blue
250 Black
350 White
500–600 No ring
QCI 350-750 350 White
500–750 No ring
QCI 500-1000 500 White
750-1000 No ring
QCI 1000-1250 1000-1250 No ring
* If conductor does not fit in the centering ring, use the next larger size ring or no ring
if there’s no larger ring.
3.0 Installation Steps
3.1 Aluminum conductors must be wire brushed shortly
before installing the connector. The conductor must be
clean and dry before installing the connector.
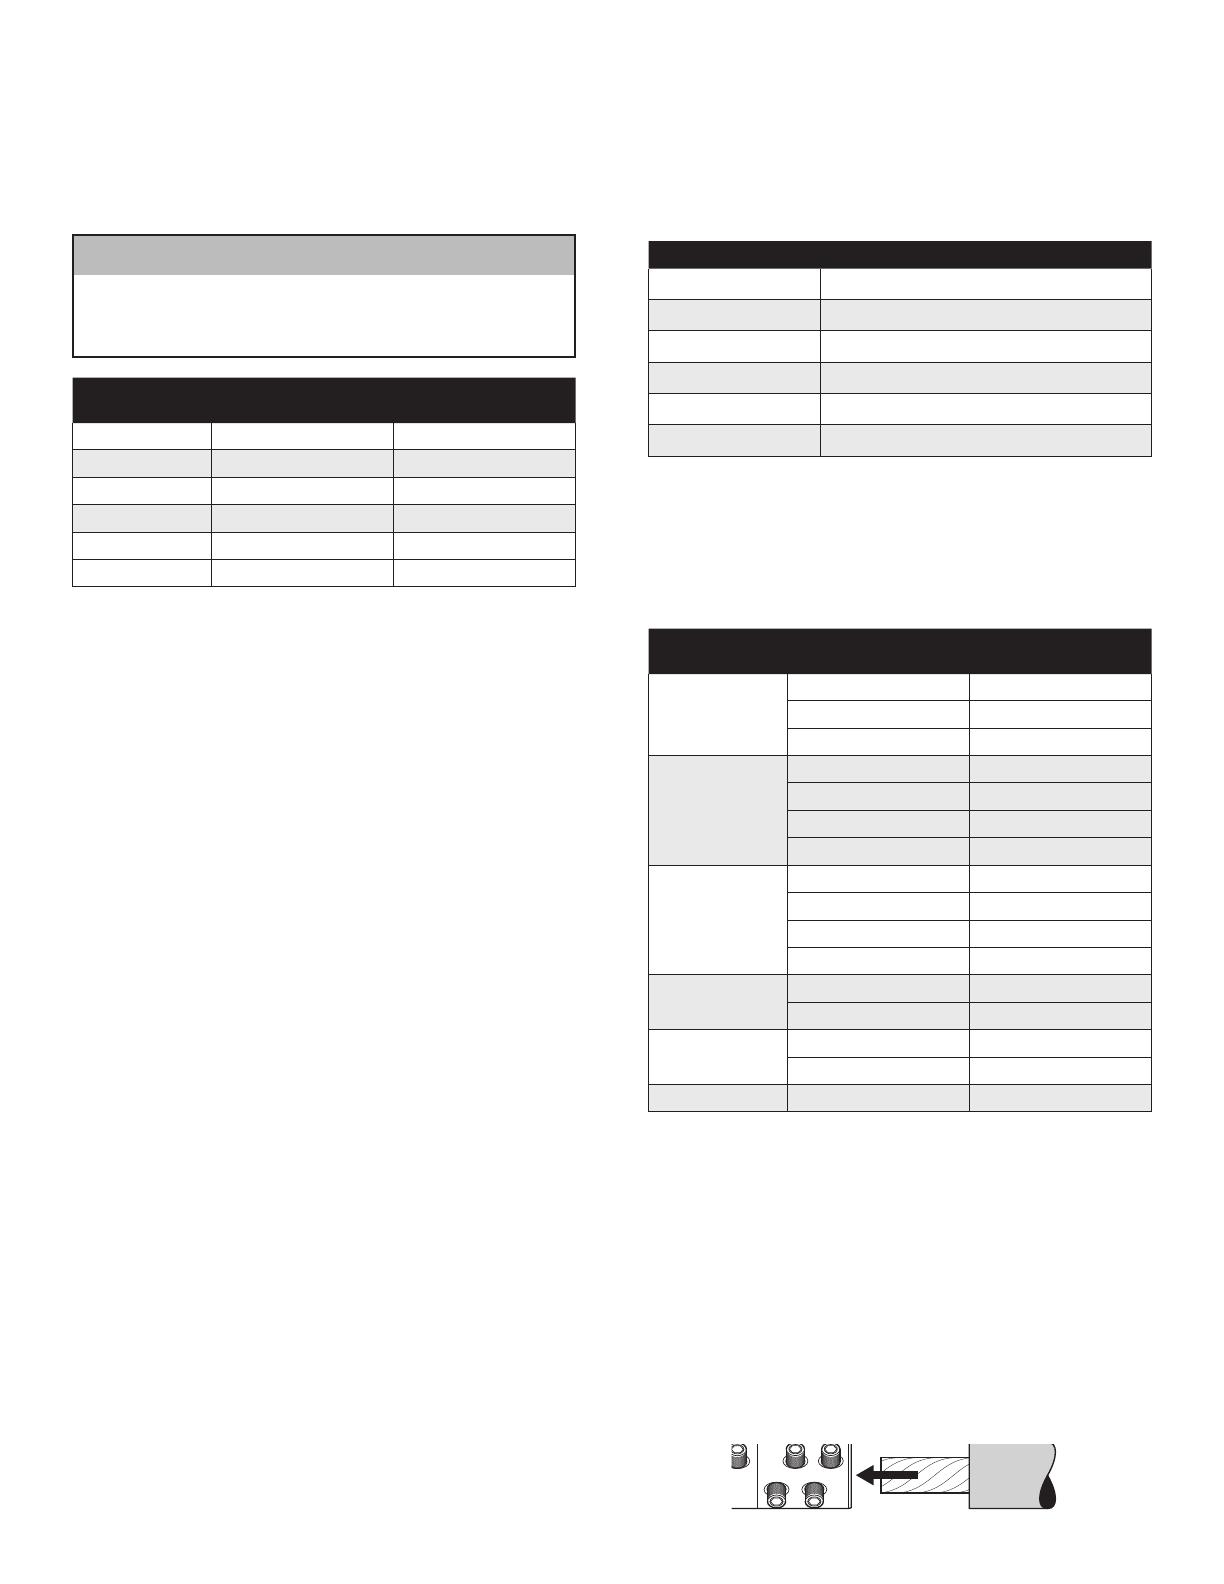
3.2 Check that screws are not protruding into the connector
bore. Unscrew the bolts, as needed, to clear the bore.
Do not remove the bolts from the connector. Feed the
stripped cable ends into the connector until conductor
contacts the connector center stop. Hand tighten all of
the bolts to the conductor.
3.3 Shear the bolts, by using the correct hex key/socket and
following the sequence appropriate for the number of
connector bolts (see illustration below). The installer
can use a ratchet with the correct hex key/socket and/or
an electric impact wrench to tighten and shear the bolts.
If using an electric impact wrench, the wrench must
be 18 volts or greater and have a torque of 160 ft.-lbs.
(217N•m)orgreater.
3M
Shearbolt Connector Hex Key/Socket Size
QCI 2-250 5 mm
QCI 1/0-350 6 mm
QCI 4/0-600 8 mm
QCI 350-750 8 mm
QCI 500-1000 8 mm
QCI 1000-1250 8 mm
3
1
6
2
5
4
31 8 6
2
2
1
4
3
4 57
Tighten bolts from outside in
8-Screw Connector
6-Screw Connector
4-Screw Connector
3.4 Discard the sheared bolt tops. They can be recycled.
3.5 Clean the surface of the connector to remove any debris
or grease.
3.6 Apply the included 3M
Foil Tape Connector Wrap
1115B. Start by checking the foil tape width, before
removing the liner. The tape must extend from connector
taper to connector taper (it may extend down the tapers
a small amount). The longer length will wrap around the
connector.
3.7 Remove the liner from the foil tape. Align the foil edge
with the recessed bolt wells in a direction that covers the
sheared bolts.
Wrap 3M
Foil Tape
Connector Wrap 1115B
around connector
Align edge with
bolt wells
3.8 Once foil tape is properly aligned, continue wrapping
the foil tape around the connector until it covers the bolt
wells with a second layer. Press down the ends of the
tape at the final edge and near the connector tapers.
End of Wrap 3M
Foil Tape
Connector Wrap 1115B
bolt wells with second layer
Press down edges
3M is a trademark of 3M Company.
Important Notice
All statements, technical information, and recommendations related to 3M's products are based on information believed to be reliable, but the accuracy or completeness is not
guaranteed.
Before using this product, you must evaluate it and determine if it is suitable for your intended application.
You assume all risks and liability associated with such
use.
Any statements related to the product which are not contained in 3M's current publications, or any contrary statements contained on your purchase order shall have no
force or effect unless expressly agreed upon, in writing, by an authorized officer of 3M.
Warranty; Limited Remedy; Limited Liability.
This product will be free from defects in material and manufacture for a period of one (1) year from the time of purchase.
3M MAKES NO OTHER WARRANTIES INCLUDING,
BUT NOT LIMITED TO, ANY IMPLIED WARRANTY OF MERCHANTABILITY OR FITNESS FOR A PARTICULAR PURPOSE.
If this product is defective within the warranty
period stated above, your exclusive remedy shall be, at 3M's option, to replace or repair the 3M product or refund the purchase price of the 3M product.
Except where
prohibited by law, 3M will not be liable for any indirect, special, incidental or consequential loss or damage arising from this 3M product, regardless of the
legal theory asserted.
3
Electrical Markets Division
6801 River Place Blvd.
Austin, TX 78726-9000
800.245.3573
Fax 800.245.0329
www.3M.com/electrical
Please Recycle. Printed in USA.
© 3M 2012. All Rights Reserved.
78-8127-9877-1-D
  • Page 1 1
  • Page 2 2

Ask a question and I''ll find the answer in the document

Finding information in a document is now easier with AI