LIGHT MY BRICKS 10257 Operating instructions
- Type
- Operating instructions
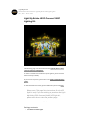
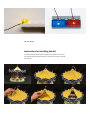
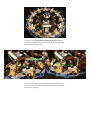
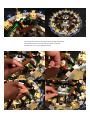
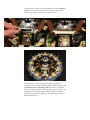
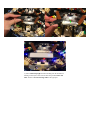
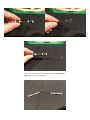
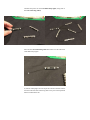
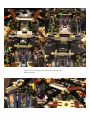
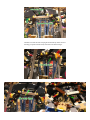
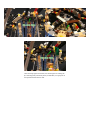
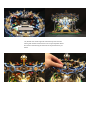
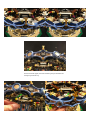
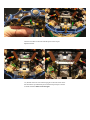
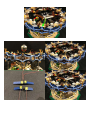
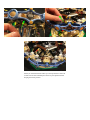
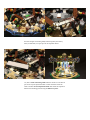
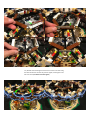
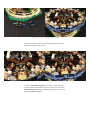
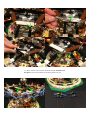
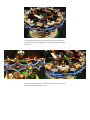
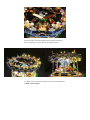
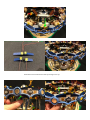
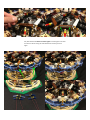
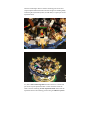
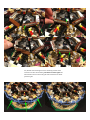
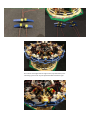
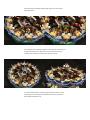
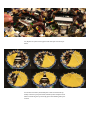
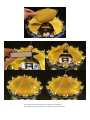
LIGHT MY BRICKS 10257 is an LED lighting kit designed to enhance the LEGO Carousel (10257) set. With a variety of components like Bit Lights, Strip Lights, and Expansion Boards, this kit allows for customizable lighting effects. The Multi-Colour Changing Light Strings create a dynamic atmosphere, while the White Strip Lights provide ambient illumination. The kit includes all necessary cables and accessories for easy installation. Unleash your creativity and bring your LEGO Carousel to life with LIGHT MY BRICKS 10257!
LIGHT MY BRICKS 10257 is an LED lighting kit designed to enhance the LEGO Carousel (10257) set. With a variety of components like Bit Lights, Strip Lights, and Expansion Boards, this kit allows for customizable lighting effects. The Multi-Colour Changing Light Strings create a dynamic atmosphere, while the White Strip Lights provide ambient illumination. The kit includes all necessary cables and accessories for easy installation. Unleash your creativity and bring your LEGO Carousel to life with LIGHT MY BRICKS 10257!


-
 1
1
-
 2
2
-
 3
3
-
 4
4
-
 5
5
-
 6
6
-
 7
7
-
 8
8
-
 9
9
-
 10
10
-
 11
11
-
 12
12
-
 13
13
-
 14
14
-
 15
15
-
 16
16
-
 17
17
-
 18
18
-
 19
19
-
 20
20
-
 21
21
-
 22
22
-
 23
23
-
 24
24
-
 25
25
-
 26
26
-
 27
27
-
 28
28
-
 29
29
-
 30
30
-
 31
31
-
 32
32
-
 33
33
-
 34
34
-
 35
35
-
 36
36
-
 37
37
-
 38
38
-
 39
39
-
 40
40
-
 41
41
-
 42
42
-
 43
43
-
 44
44


LIGHT MY BRICKS 10257 Operating instructions
- Type
- Operating instructions
LIGHT MY BRICKS 10257 is an LED lighting kit designed to enhance the LEGO Carousel (10257) set. With a variety of components like Bit Lights, Strip Lights, and Expansion Boards, this kit allows for customizable lighting effects. The Multi-Colour Changing Light Strings create a dynamic atmosphere, while the White Strip Lights provide ambient illumination. The kit includes all necessary cables and accessories for easy installation. Unleash your creativity and bring your LEGO Carousel to life with LIGHT MY BRICKS 10257!
Ask a question and I''ll find the answer in the document
Finding information in a document is now easier with AI
Related papers
-
LIGHT MY BRICKS 10235 Operating instructions
-
-
-
-
-
-
-
-
-