Instruction Manual
7
If you want to access the locked device temporarily, simply highlight it and press
<ENTER>, the OSD will ask you for the password. After entering the correct password,
you are allowed to use the device. This device is automatically re-locked once you switch
to another port. During Scan mode, OSD skips the security-enabled device.
NOTE: If you forget the password, the only way to permanently erase all of the
passwords is to: For SV831DUSBU and SV1631DUSBU, press and hold the 1 and 2 front
panel buttons, then hold 7 and 8. Release 7 and 8, then release 1 and 2. For SV431DUSBU,
press 3 and 4 instead of 7 and 8.
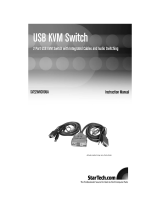
Function key <F4>: More functions are available by hitting <F4>. A new screen pops
up displaying more functions as described below. Most of them
are marked with a triangle (
►
) indicating there are options to
choose from. Using the <UP> and <DOWN> arrow keys, select the
functions and press <ENTER>. Available options will be shown in
the middle of the screen. Again, using the <UP> and <DOWN>
arrow keys to view options then press <ENTER> to select it. You
can press <ESCAPE> to exit at any time.
Auto Scan
In this mode, the KVM Switch automatically switches from one power-on computer to
the next, sequentially, in a xed interval. During AutoScan mode, the OSD displays the
name of the selected computer.
When Auto Scan detects any keyboard or mouse activity, it suspends the scanning
until activity stops; it then resumes with the next computer in sequence. To abort Auto
Scan mode, press the left <CTRL> twice, or, press any front button. Scan Type and Scan
Rate set the scan pattern. Scan Type (<F4>: More\Scan Type) determines if scanned
computers must also be eye mark selected. Scan Rate(<F4>: More\Scan Rate) sets the
display interval when a computer is selected before selecting the next one.
Manual Scan
Scan through power-on computers one by one by keyboard control. You can type
(<F4>: More\Scan Type) to determine if scanned computers must also be eye mark
selected. Press the <UP> arrow key to select the previous computer and the <DOWN>
arrow key to select the next computer. Press any other key to abort Manual Scan mode.
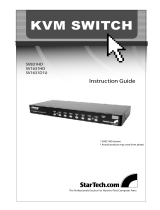
Scan Type:
Ready PC +
N
: In Scan mode, scans through power-on computers and those with the
eye mark on the selected ports.
Ready PC: In Scan mode, scans through all power-on computers.
N
only: In Scan mode, scans through any selected computer regardless of computer
power status with an eye mark.
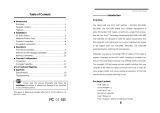
Scan Rate: Sets the duration of a computer displayed in Auto Scan mode. The options
are 3 seconds, 8 seconds, 15 seconds and 30 seconds. The non-volatile memory stores
the Scan Rate setting.