The following features are available only
for FM Radio Data System stations.
Searching for your favorite
Programmes—Programme
Type (PTY) Search
(Hold)
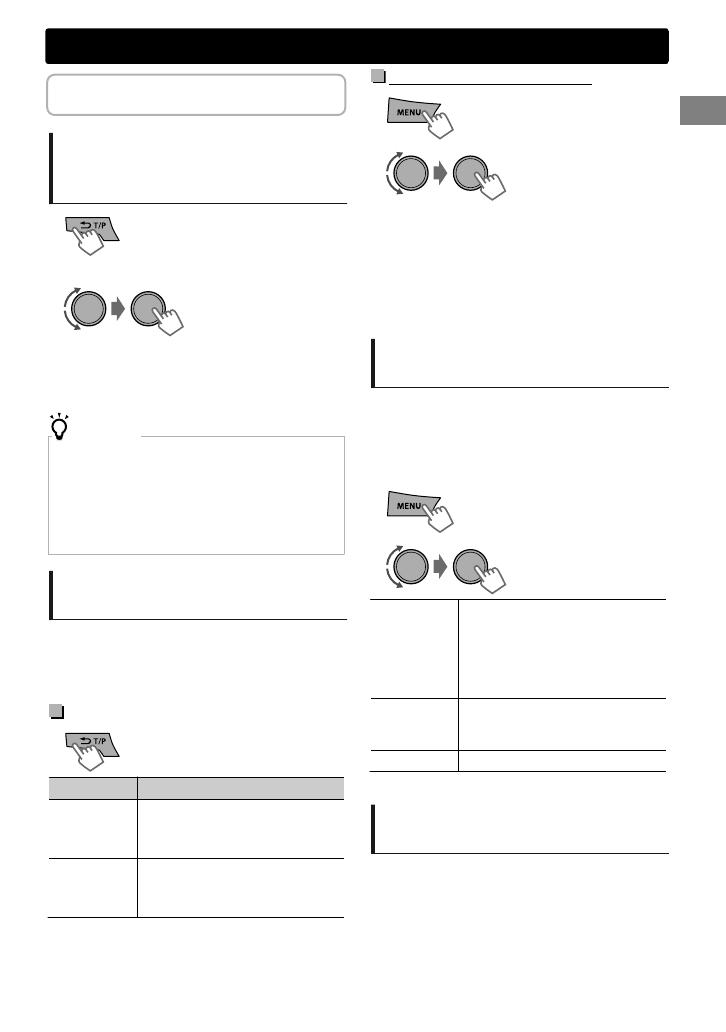
1
PTY Search starts.
If there is a station broadcasting a programme of the
same PTY code as you have selected, that station is
tuned in.
2
Select a PTY code.
PTY codes
NEWS, AFFAIRS, INFO, SPORT, EDUCATE, DRAMA, CULTURE,
SCIENCE, VARIED, POP M (music), ROCK M (music), EASY M
(music), LIGHT M (music), CLASSICS, OTHER M (music),
WEATHER, FINANCE, CHILDREN, SOCIAL, RELIGION,
PHONEIN, TRAVEL, LEISURE, JAZZ, COUNTRY, NATION M
(music), OLDIES, FOLK M (music), DOCUMENT
Activating TA/News Standby
Reception
Standby Reception allows the unit to switch
temporarily to Traffic Announcement (TA) or
NEWS programme from any source other than
AM.
TA Standby Reception
TP indicator TA Standby Reception
Lights up
The unit will temporarily switch
to Traffic Announcement (TA) if
available.
Flashes
Not yet activated. Tune in to
another station providing the
Radio Data System signals.
To deactivate, press again.
NEWS Standby Reception
1
-<TUNER>
-<NEWS-STBY>
-<ON>/<OFF>
The unit will temporarily switch to News
Programme if available.
2
If the volume is adjusted during reception of
Traffic Announcement or News Bulletin or Alarm,
the adjusted volume is automatically memorized.
It will be applied the next time the unit switches
to Traffic Announcement or News.
Tracking the same programme
—Network-Tracking Reception
When driving in an area where FM reception is
not sufficient enough, this unit automatically
tunes in to another FM Radio Data System station
of the same network, possibly broadcasting the
same programme with stronger signals.
1
-<TUNER>
-<AF-REG> *
2
[AF ON]
Automatically searches for
another station broadcasting the
same programme in the same
Radio Data System network with
better reception when the
current reception is poor.
AF-REG ON
Switches to another station only
in the specific region using the
AF control.
OFF
Cancels.
* AF-REG: Alternative Frequencies-Regional
Automatic station selection—
Programme Search
When the signal of a preset station you have
selected is weak, this unit searches for another
station possibly broadcasting the same
programme as the original preset station is
broadcasting.
<P-SEARCH> (' page 20)
Radio
ENGLISHޓ|
7
2012/12/14ޓ17:11:8KD-X250BT_E_EN


