6
7
• Several other don’ts:
o Do not operate blender without the lid on the blending jar.
o Do not store foods in the blending jar.
o Do not overfill the blender. (The blender is more efficient with less rather than
more.)
o Do not use pulse (P) for more than 5 seconds at a time. Release the pulse (P)
button; allow the blender to rest briefly, then continue.
o Do not run blender for longer than 30 seconds when using dry foods and
2 minutes when blending liquids. Scrape down sides on blending jar, if
necessary and continue blending.
o Do not use if blender jar is chipped or cracked.
• Tasks not recommended for the blender:
o Whipping cream
o Beating egg whites
o Mixing dough
o Mashing potatoes
o Grinding meats
o Extracting juice from fruits and vegetables
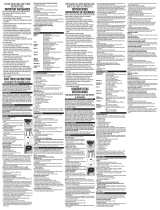
8. Open the lid cap to add ingredients while the blender is
running and drop ingredients through the opening (D).
Important: Do not remove the lid while the blender is running.
9. When finished, press the pulse/off (P/0) button. Make sure
blades have completely stopped before attempting to remove
the blending jar from the base.
10. To remove the jar, grasp the handle and lift straight up.
Do not twist the jar.
11. Remove lid to pour.
12. Always unplug the appliance when not in use.
BLENDING TIPS AND TECHNIQUES
• Cut food into pieces no larger than ¾-inch for use in the blender.
• When preparing foods that have several different kinds of ingredients, always add liquid
ingredients first.
• When ingredients splatter onto the sides of the jar or the mixture is very thick, press
the off (0) button to turn appliance off. Remove the lid and use a rubber spatula to
scrape down the sides of the jar and to redistribute the food pushing food toward the
blades. Replace the lid and continue blending.
Important: Blender should always have lid in place when in use.
Caution: Do not place blending jar on base when motor is running.
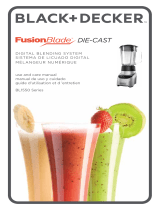
• The lid cap holds up to 1 oz. liquid and can be used as a
measure and when adding ingredients such as juices, milk,
cream and liquor (E).
• When making bread crumbs, chopping nuts or grinding coffee
beans make sure blending jar is completely dry.
• When using pulse (P) function use short bursts. Allow the
blades to stop rotating between pulses. Do not use pulse (P)
for more than 2 minutes.
• Use the pulse (P) button to begin the blending process when preparing beverages that
include ice cubes; this helps to produce a smoother texture.
• The pulse (P) function is helpful when short bursts of power are needed such as when
preparing thick smoothies or milkshakes, chopping nuts or grinding coffee beans.
• It is helpful to begin the blending process on the lowest speed and then increase to a
higher speed, if necessary.
• To stop blending, press the off (0) button at any time.
When blending hot liquids always let them cool at least 5 minutes before
blending. Before beginning to blend, remove the measuring cup lid insert
and put it back with the opened side tilted away from you. Cover lid with a
cloth to avoid splattering and only use lowest speed (1). Do not blend more
than 2½ to 3 cups at a time.
• DO NOT place any of the following in the blender:
o Large pieces of frozen foods
o Tough foods such as raw turnips, sweet potatoes and potatoes
o Bones
o Hard salami, pepperoni and hard sausages
o Boiling liquids (cool for 5 minutes before placing in blending jar)
ENGLISH
D
E
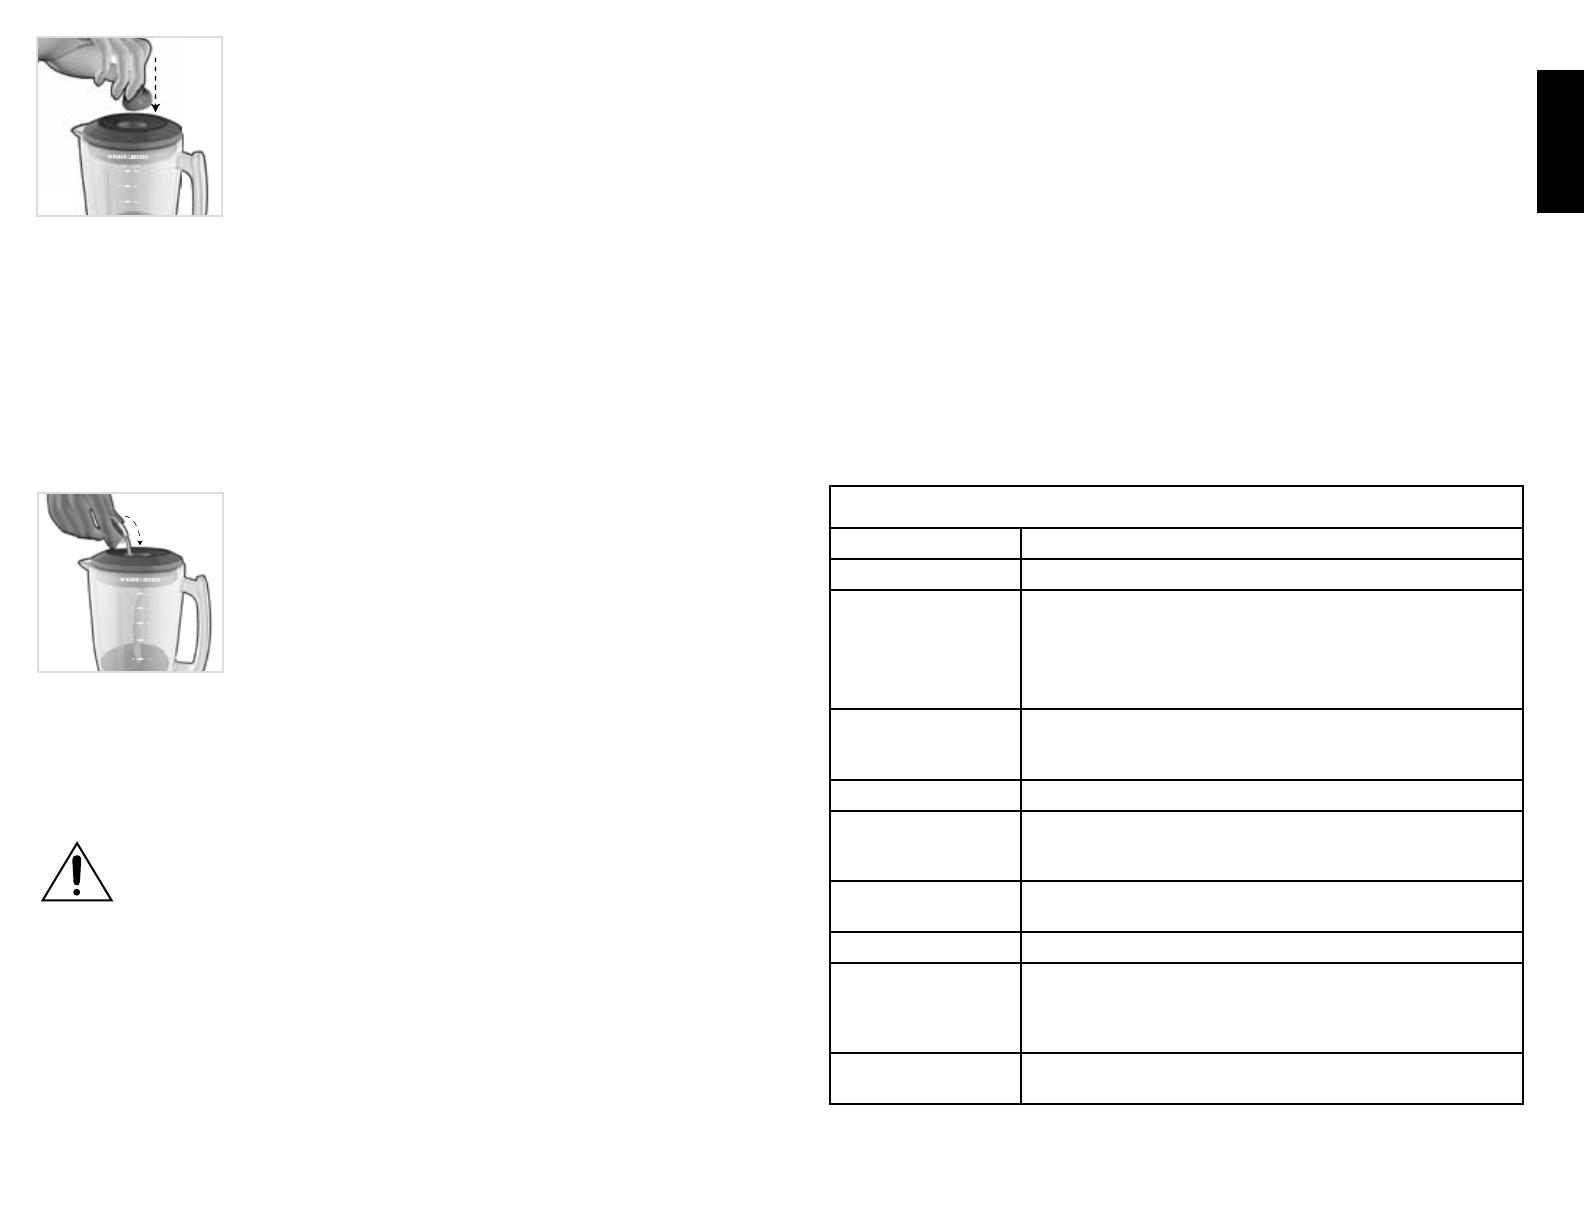
SPEED CHART
Pulse/Off (P/0)
Use for thick mixtures
Low (LO)
Select to change to low (LO) speeds
Stir (1)
Liquefy frozen juices, drink mixes and condensed soups
Remove lumps from gravies
Prepare salad dressings
Prepare sauces
Puree hot liquids
Blend (2)
Mix puddings
Combine pancake and waffle batter or mixes
Beat eggs for omelets and custards
Crumb (3)
Make cookie, cereal and bread crumbs
Chop (4)
Chop fruits and vegetables
Chop cooked meats
Chop nuts, coarse-to-fine
Clean (5)
Blend drop of dishwashing liquid and hot water
to clean blender
High (HI)
Select to change to high (HI) speeds
Grate (6)
Grate hard cheeses and coconut
Make superfine sugar
Make cookie, cereal and bread crumbs
Grind coffee beans, spices and chocolate
Beat (7)
Beat eggs for omelets and custards