7
ACCESSORIES
GENERAL
I
F ACCESSORIES CONTAINING METAL comes in contact
with the oven interior, while the oven is in op-
eration, sparking can occur and the oven could
be damaged.
TURNTABLE SUPPORT
USE THE TURNTABLE SUPPORT under the
Glass turntable. Never put any oth-
er utensils on the turntable sup-
port.
Fit the turntable support in the oven.
GLASS TURNTABLE
USE THE GLASS TURNTABLE with all cooking meth-
ods. It collects the dripping juic-
es and food particles that other-
wise would stain and soil the in-
terior of the oven.
Place the Glass turntable on the turntable
support.
E
NSURE THAT THE UTENSILS YOU USE are oven proof
and allow microwaves to
pass through them before
cooking.
W
HEN YOU PUT FOOD AND ACCESSORIES in the micro-
wave oven, ensure that they do not come in
contact with the interior of the oven.
This is especially important with accesso-
ries made of metal or metal parts.
A
LWAYS ENSURE that the turntable is able to turn
freely before starting the oven.
T
HERE ARE a number of accessories available on
the market. Before you buy, ensure they are
suitable for microwave use.
BABY BOTTLE HOLDER
U
SE THE BABY BOTTLE HOLD-
ER when heating baby food
in bottles that are too tall
to stand-alone in the oven.
Please see also, the chapter ”Precautions”,
for more information about heating baby food.
START PROTECTION / CHILD LOCK
THIS AUTOMATIC SAFETY FUNCTION IS ACTIVATED ONE
MINUTE AFTER the oven has returned to
“stand by mode“. (The oven is in
“stand by” when the 24-hour clock is
displayed or if the clock has not been
set, when the display is blank).
T
HE DOOR MUST BE OPENED AND CLOSED e.g. putting
food into it, before the safety lock is released.
Else the display will show “DOOR“.
dOOR
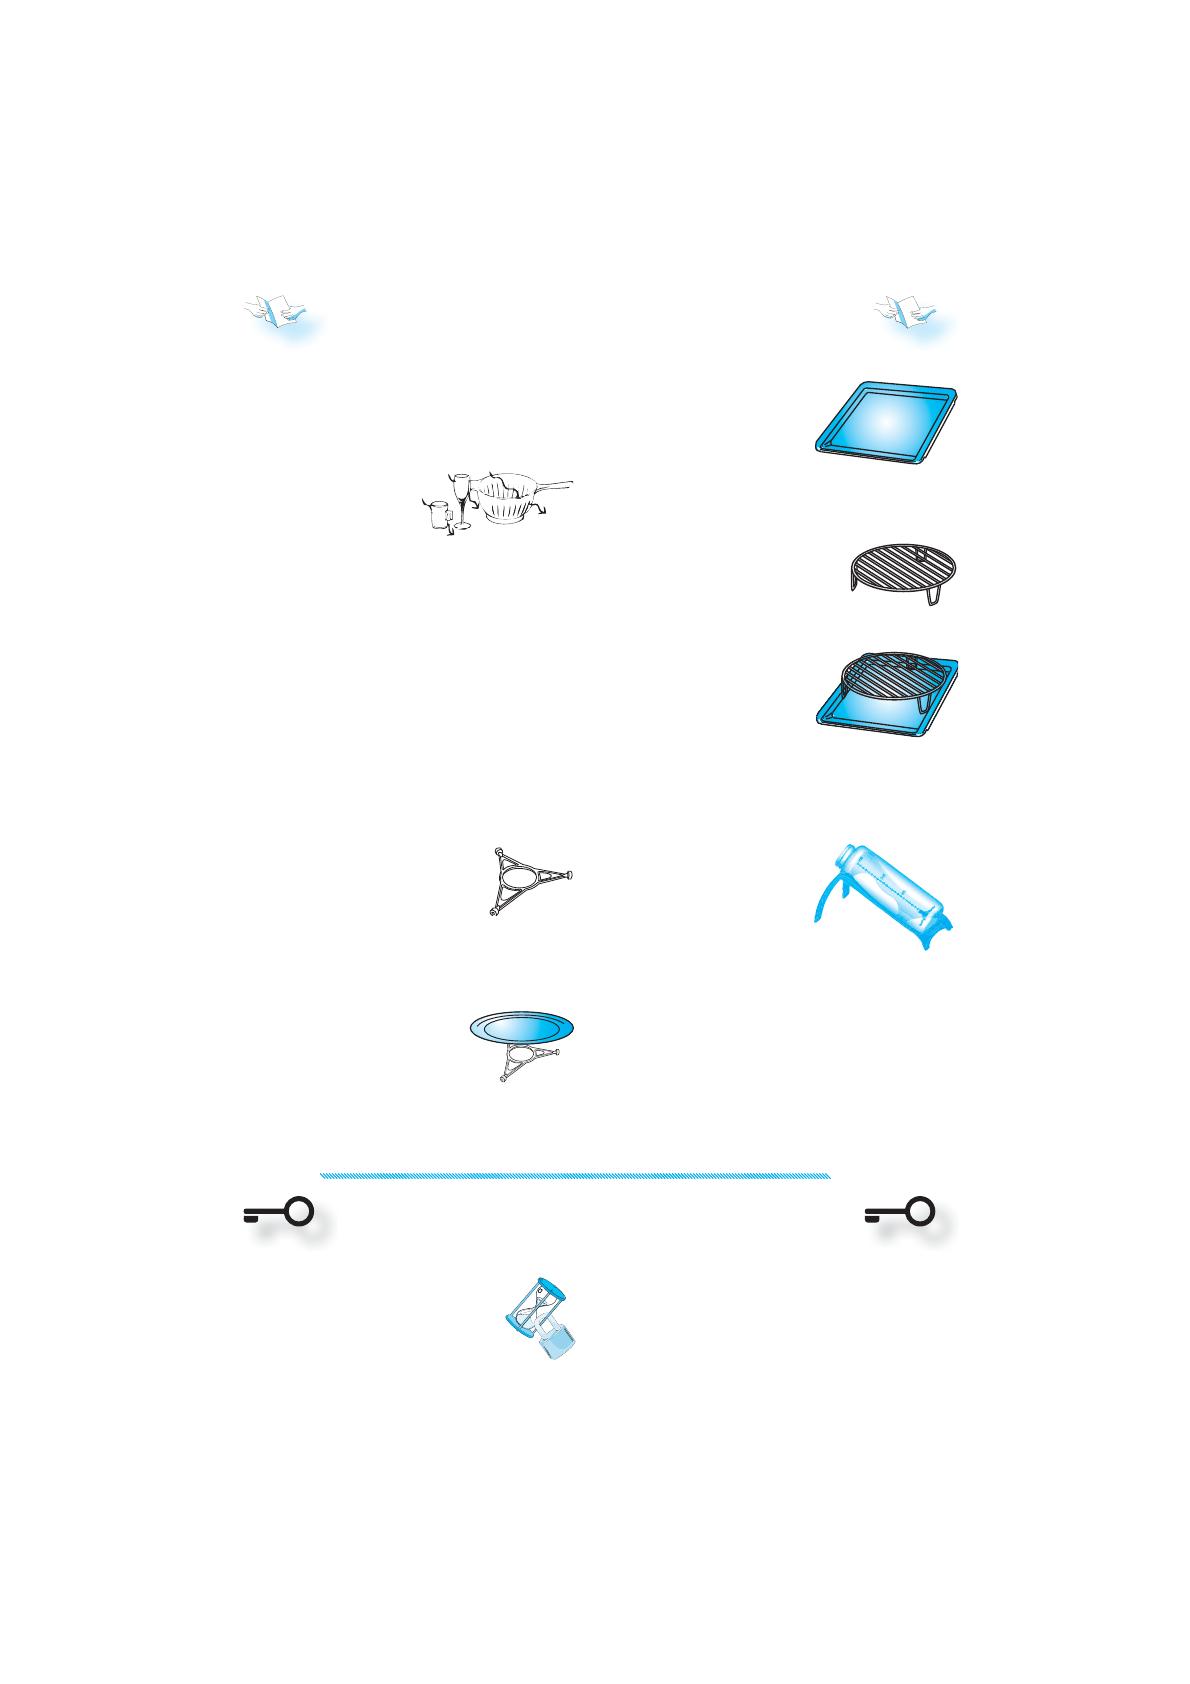
BAKING PLATE
USE THE BAKINGPLATE when
cooking in forced air only
or when grilling. Never use
it in combination with microwaves.
WIRE RACK
U
SE THE WIRE RACK when cook-
ing and baking with Forced Air,
Grill, Forced Air Combi, Auto
Forced Air Combi or Turbo Grill Combi.
WHEN GRILLING WITHOUT MICRO-
WAVES, place the wire rack
on the baking plate in or-
der to elevate the food
closer to the grill element
in the ceiling.


