English - 6
Troubleshooting
If the TV seems to have a problem, first try this list of possible
problems and solutions. If none of these troubleshooting tips
apply, then call your nearest Samsung authorized service
center.
Poor picture.
Try another channel.
Adjust the antenna.
Check all wire connections.
Poor sound quality.
Try another channel.
Adjust the antenna.
No picture or sound.
Try another channel.
Press the SOURCE button.
Make sure the TV is plugged in.
Check the antenna connections.
Make sure the MUTE button is off.
No color, wrong colors or tints.
Make sure the program is broadcast in color.
Adjust the picture settings.
Picture rolls vertically.
Adjust the antenna.
Check all wire connections.
If you are using a VCR, check the tracking.
The TV operates erratically.
Unplug the TV for 30 seconds, then try operating it again.
Your remote control does not operate your TV.
Make sure the remote has batteries.
Check that the “+” and “-” ends of the batteries are
inserted correctly.
Check that the batteries are drained.
continued...
The TV won’t turn on.
Make sure the wall outlet is working.
Make sure the TV is plugged in.
Make sure the remote has batteries.
Remote control malfunctions
Replace the remote control batteries.
Clean the upper edge of the remote control (transmission
window).
Check that the “+” and “-” ends of the batteries are
inserted correctly.
Check that the batteries are drained.
Sound - MTS
(Multi-channel Television Sound)
Depending on the particular
program being broadcast, you
can listen to “Mono”, “Stereo”, or
“SAP”.
Press the MTS button on the
remote control repeatedly to
select “Stereo”, “Mono”, or
“SAP(Secondary Audio Program)”
.
Move Return
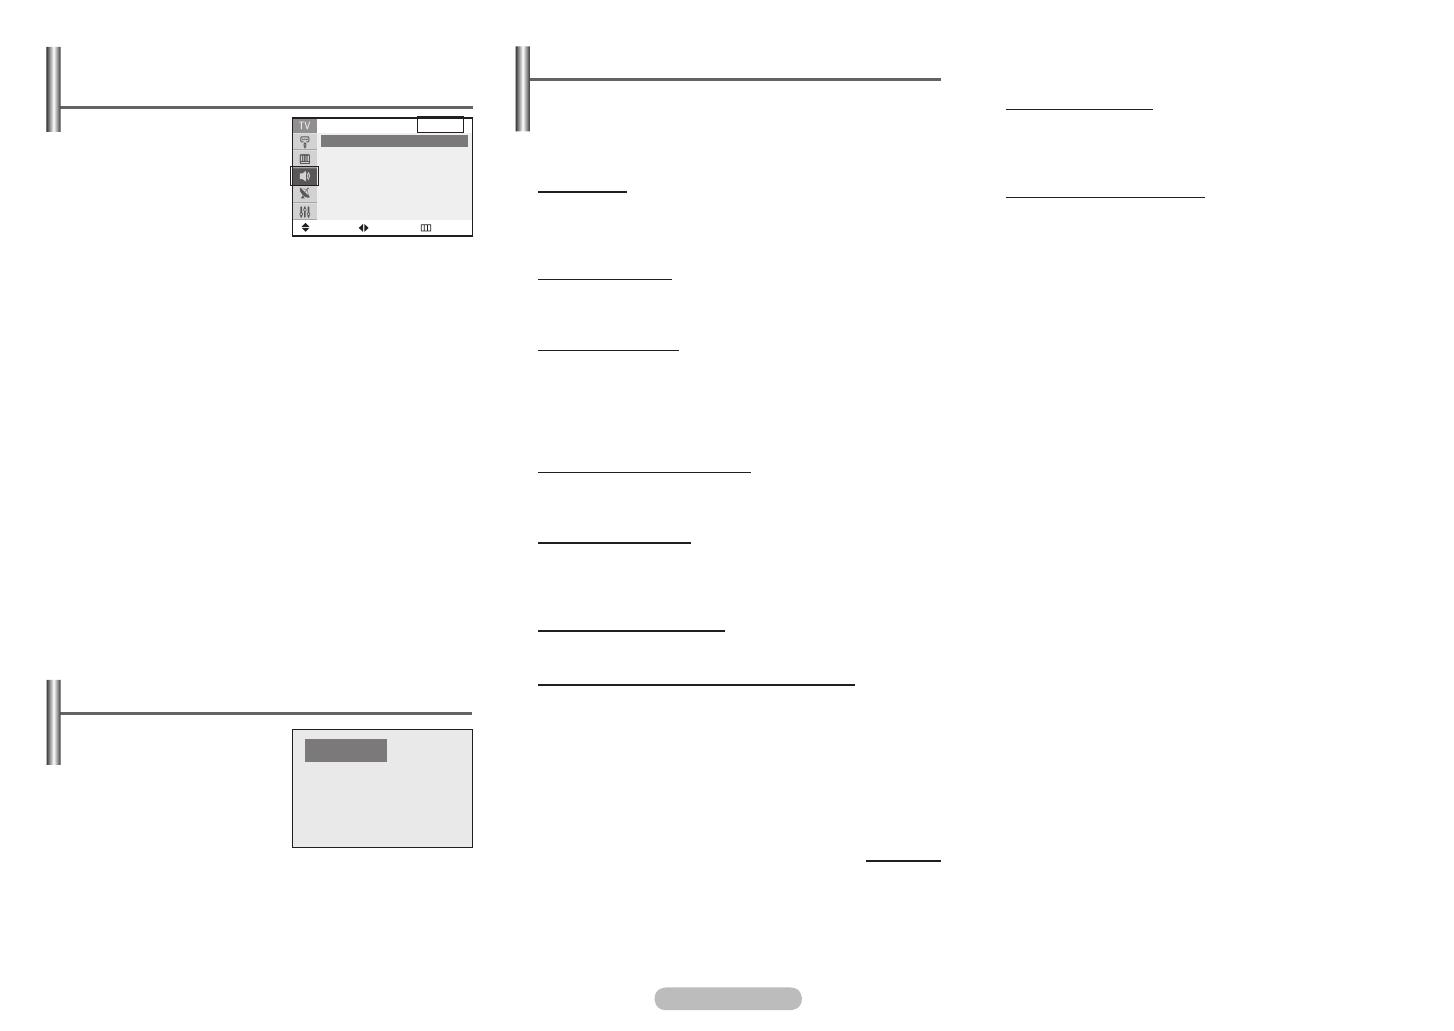
Sound
Mode : Custom ►
Adjust
►
Turbo Sound : Off ►
Auto Volume
: Off
►
AV
Mono
AA68-03905G-01_Eng.indd 6 2007-03-14 ソタネト 4:02:00
Adjust
Sound - Mode / Adjust /
Auto Volume / Turbo Sound
Mode : Standard / Music /
Movie / Speech / Custom
You can select the type of
special sound effect to be
used when watching a given
broadcast.
Adjust : Bass / Treble / Balance
The television has several settings which allow you to
control the sound qualit
y.
If you make any changes to these settings, the sound
mode is automatically switched to Custom
.
Auto Volume (depending on the model)
Each broadcasting station has its own signal conditions,
and so it is not easy to adjust the volume every time the
channel is changed.
This feature lets you automatically
adjust the volume of the desired channel by lowering the
sound output when the modulation signal is high or by
raising the sound output when the modulation signal is
lo
w.
Turbo Sound
This feature suitably emphasizes both higher and lower
bands of sound (and includes other e
ffects). You can enjoy
more magnificent and dynamic sound when watching
music, movie, or other channels.
This key has a function only when you have selected AV or
Component mode
➢
➢


