4
20. ALWAYS DISCONNECT WINCH
POWER LEADS TO BATTERY
BEFORE WORKING IN OR
AROUND THE WINCH DRUM so
that the winch cannot be turned
on accidentally.
21. When moving a load, slowly
take up the wire rope slack until
it becomes taut. Stop, recheck
all winching connections. Be
sure the hook is properly seated.
If a nylon sling is used, check the
attachment to the load.
22. When using your winch to move
a load, place the vehicle t rans-
mission in neutral, set vehicle
brake, and chock all wheels.
23. DO NOT USE THE WINCH TO
HOLD LOADS IN PLACE.
Use other means of
securing loads such
as tie down straps.
24. USE ONLY FACTORY APPROVED
SWITCHES, REMOTE CONTROLS
AND ACCESSORIES. Use of non-
factory approved components
may cause injury or property
damage and could void your
warranty.
25. DO NOT MACHINE OR WELD
ANY PART OF THE WINCH. Such
alterations may weaken the
structural integrity of the winch
and could void your warranty.
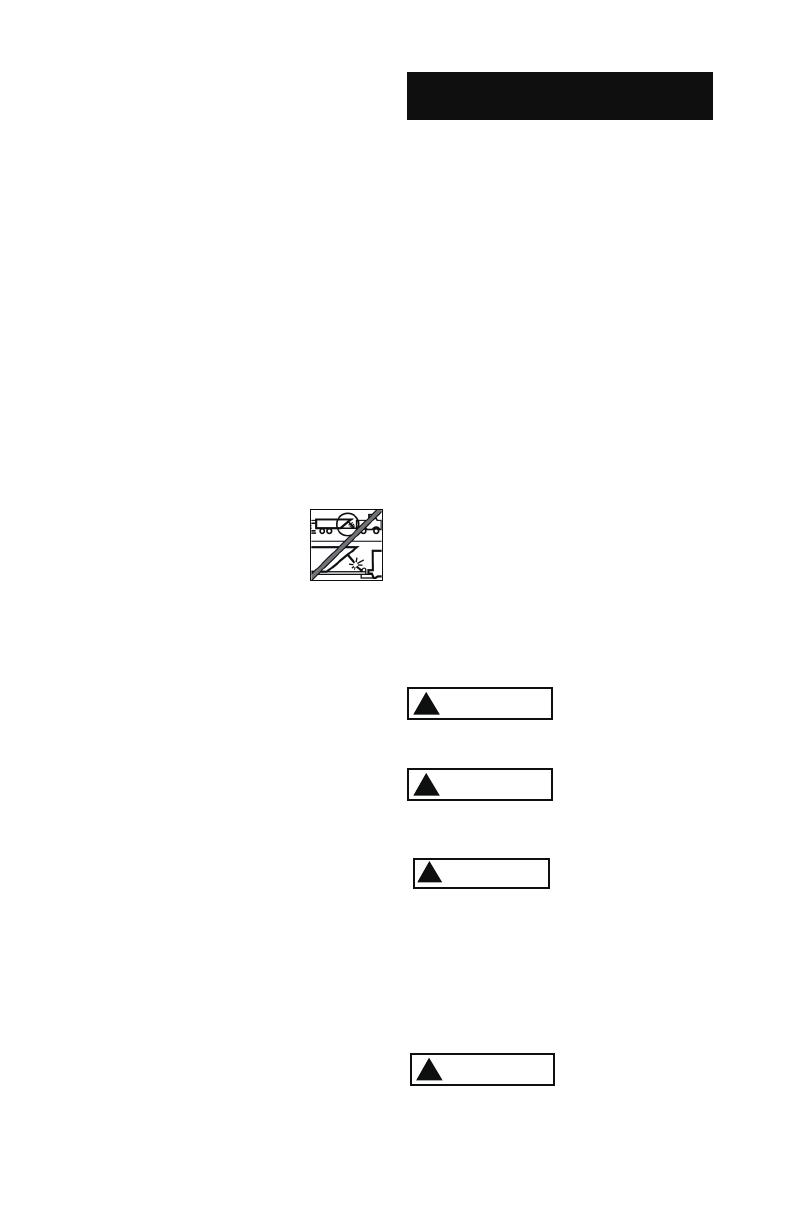
26. DO NOT CONNECT WINCH TO
EITHER 110V AC HOUSE CUR-
RENT OR 220V MAINS AS WINCH
BURNOUT OR FATAL SHOCK
MAY OCCUR.
27. Never allow shock loads to be
applied to winch or wire rope.
28. Use caution when pulling or
lowering a load up and down a
ramp or incline. Keep people,
pets and property clear of the
path of the load.
Correct installation of your winch is
required for proper operation.
INSTALLATION
WARNING
!
weaker than ISO grade 8.8
Do not substitute
any strength grade
Step (1)
Disconnect the vehicle battery leads
from the battery.
Step (2)
Secure winch (Figure) to mounting
plate or structural support mount bolts,
flat washers, and lock washers provided.
Typical mount is to a flat secure
surface capable of handling the
required loads.
Step (3)
Remove bottom roller from the roller
fairlead. Turn the freespool knob to
disengage and pull a few inches of
wire rope from the drum. Pass the
wire end under the remaining roller,
and then replace the bottom roller.
Next secure the roller fairlead
to the mounting roller
plate or structural support
bolts, flat washers,
and lock washers provided.
WARNING
!
Be sure that both
the mounting plate
and winch hardware have been prop-
erly tightened.
CAUTION
!
No part of the vehicle
(skid plates, wiring,
auxiliary lights, tires, ect.) should
impede the operation of your
winch. When mounting, check all
vehicle and winch parts for free ope-
ration. Be sure that the winch
mounting location does not significantly
reduce ground clearance.
WARNING
!
This winch MUST be
mounted with the
wire rope in the underwind direction.
Improper mounting could damage
your winch and void your warranty.
4


