17
EN
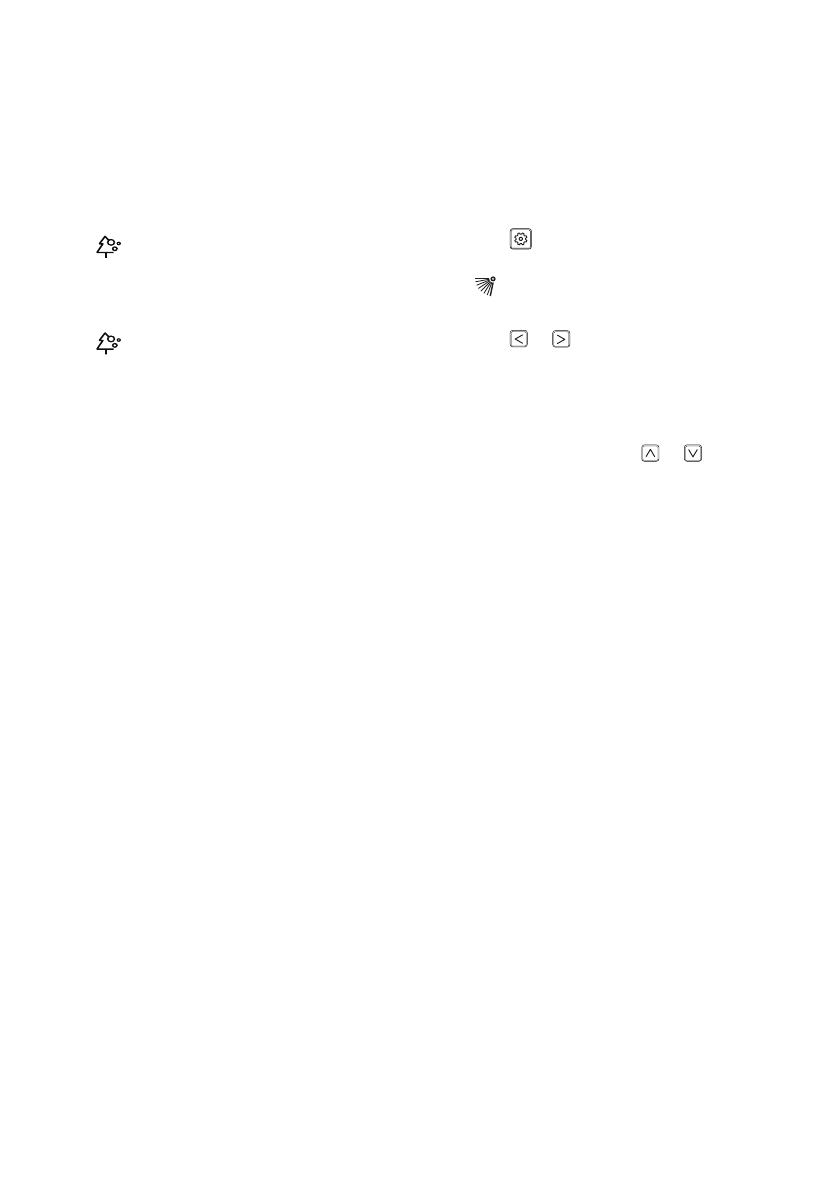
Using the Air Purification
Function
It supplies clean and fresh air with ion particles
and the filter.
1
Press SUB FUNC button repeatedly to
select Air Purification.
• is displayed on the display screen.
2
Press OK/CLEAR button to select or cancel
the function.
• icon appears or disappears on SUB
FUNC display part up to selection.
3
Press ESC button to exit the setup mode.
NOTE
• After setup, it automatically exits setup mode
if there is no button input for 25 seconds.
• When exiting without pressing the set button,
the changed value is not applied.
• The menu item might not be partially selected
according to product function.
• If you want independent cleaning air drive,
please setup cleaning air by pressing
additional drive button at ventilation drive.
• Some functions may not be supported,
depending on the model.
Using Special Functions
Vane Angle Control Function
Ceiling Cassette- 4Way
It adjusts the angle at which the air flows.
1
Press button repeatedly to select Vane
Angle Control.
• is display on the display screen.
2
Press or button to set the desired
vane number.
• Vane Number: No. 1, 2, 3, 4, All,
Standard.
3
Select vane angle using or button.
4
Press OK/CLEAR button to complete and
activate the setting process.
5
Press ESC button to exit the setup mode.
NOTE
• After setup, it automatically exits setup mode
if there is no button input for 60 seconds.
• When "standard" is selected for the vane
number, the wind angle does not move.
• When exiting without pressing the set button,
the changed value is not applied.
• Airflow direction function will be released
whenever the vane angle is set.
• The menu item might not be partially selected
according to product function.