Av : Changing the Depth of Field
shooti.gTip
®_When using an aperture with a high f/number, note that camera
shake can occur in low light scenes.
A higher aperture f/number will make the shutter speed slower.
Under low light, the shutter speed can be as long as 30 sec. In such
cases, increase the ISO speed and hold the camera steady or use a
tripod.
_ The depth of field depends not only on the aperture, but also on
the lens and on the subject distance.
Since wide-angle lenses have a wide depth of field (range of
acceptable focus in front of and behind the point of focus), you need
not set a high aperture f/number to obtain a sharp picture from the
foreground to the background. On the other hand, a telephoto lens
has a narrow depth of field.
And the closer the subject, the narrower the depth of field. A farther
subject will have a wider depth of field.
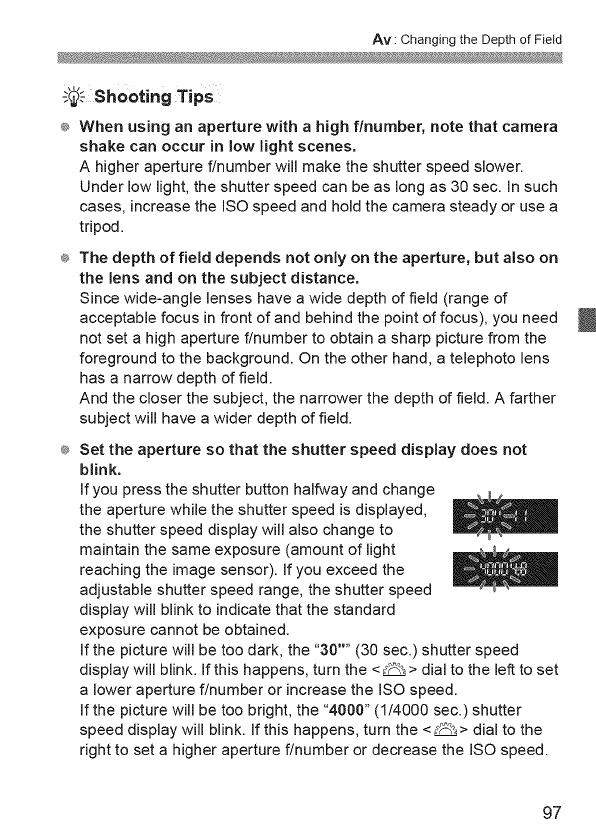
®_Set the aperture so that the shutter speed display does not
blink.
If you press the shutter button halfway and change
the aperture while the shutter speed is displayed,
the shutter speed display will also change to
maintain the same exposure (amount of light
reaching the image sensor). If you exceed the
adjustable shutter speed range, the shutter speed
display will blink to indicate that the standard
exposure cannot be obtained.
If the picture will be too dark, the "30'' (30 sec.) shutter speed
display will blink. Ifthis happens, turn the <_ > dial to the left to set
a lower aperture f/number or increase the ISO speed.
If the picture will be too bright, the "4000" (1/4000 sec.) shutter
speed display will blink. If this happens, turn the <_> dial to the
right to set a higher aperture f/number or decrease the ISO speed.
97


