10 | TROUBLESHOOTING
TROUBLESHOOTING
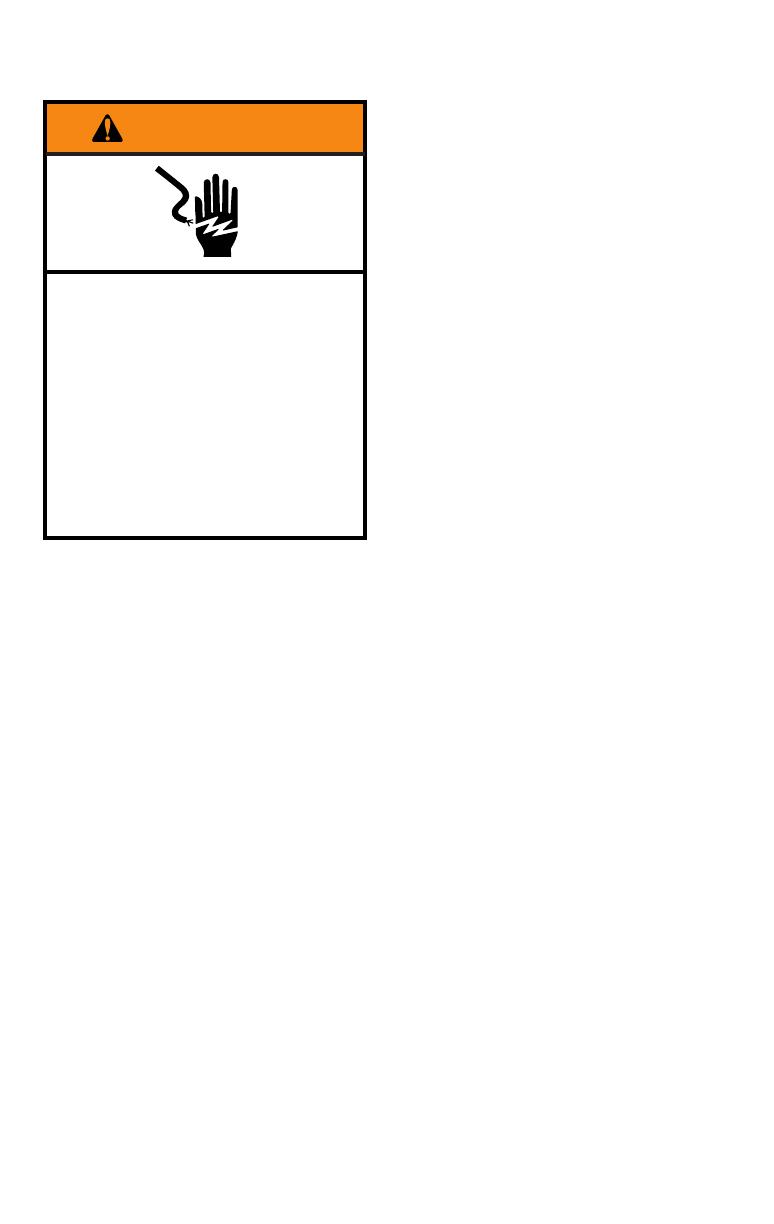
Electrical Shock Hazard
Plug into a grounded 3 prong
outlet.
Do not remove ground prong.
Do not use an adapter.
Do not use an extension cord.
Failure to follow these
instructions can result in
death, fire, or electrical shock.
WARNING
1. When the Blender is plugged in
and the main power On/Off toggle
switch is on, the Blender will go into
Standby mode (flashing white indicator
light). However, after 10 minutes of
no activity the Blender will go into
Sleep mode and the indicator light
will turn off.
• To wake up the Blender simply flip
the START/STOP toggle switch up
or down. This will put the Blender
back into Standby mode.
2. If the status indicator light flashes
an orange color, the Blender is in
error mode. This can be caused by:
using a spatula in the blender jar that
locks up the blade or having an ice
cube or hard food in a location that
locks up the blade.
• Correct the problem by turning off
the Blender using the dedicated off
switch in the back, or by unplugging
the Blender. Remove the blender jar
from the base, and clear the items.
Place the blender jar back on the
base, and then turn the Blender
back on to continue regular use.
3. If the Blender stops while blending:
• After 6 minutes of run time, the
Blender will automatically shut off
and go into Sleep mode, and the
LED light will turn off. You can wake
the Blender back up using the
toggle switches (Start/Stop or Pulse
High/Pulse Low). If the Blender stops
in less than 6 minutes, it is possible
there is an internal error with the
Blender. Contact an authorized
service center for assistance.
4. If the ingredients of a recipe aren’t
blending:
• There may be times when an air
pocket is created around the blade,
causing the ingredients to miss the
blending blade. Use your Flex Edge
tamper to assist during the blend by
pushing ingredients into the blade,
or stir to move ingredients around
the blender jar. If that does not work,
stop the Blender, remove the blender
jar from the base, and use a spatula
to rearrange ingredients in the
blender jar. For certain recipes,
try adding more liquid.
5. If you experience an overflow from
the blender jar:
• Unplug the Blender. Remove the
jar and jar pad. Clean the blender
housing, jar pad, and exterior
of the jar. Dry each part thoroughly,
and then re-install the jar pad.
• If the overflow is on or over the
control dial, it can be removed
by gently and firmly pulling it off.
After cleaning and drying, reinstall
the knob. To avoid damage to the
graphics, do not apply too much
force or use abrasive cleansers.
If the problem cannot be corrected:
See the “Warranty and service” section.
Do not return the Blender to the retailer;
retailers do not provide service.
W10797340B_EN_v07.indd 10 3/28/16 3:27 PM


