13
Performance
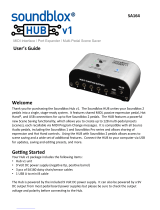
Adjusting the Volume Level for Individual
Zones
You can use the LEVEL [LOWER], [UPPER2], and [UPPER1] knobs to
adjust the volume of each zone.
MEMO
Use the [VOLUME] knob when adjusting the overall volume level
(p. 4).
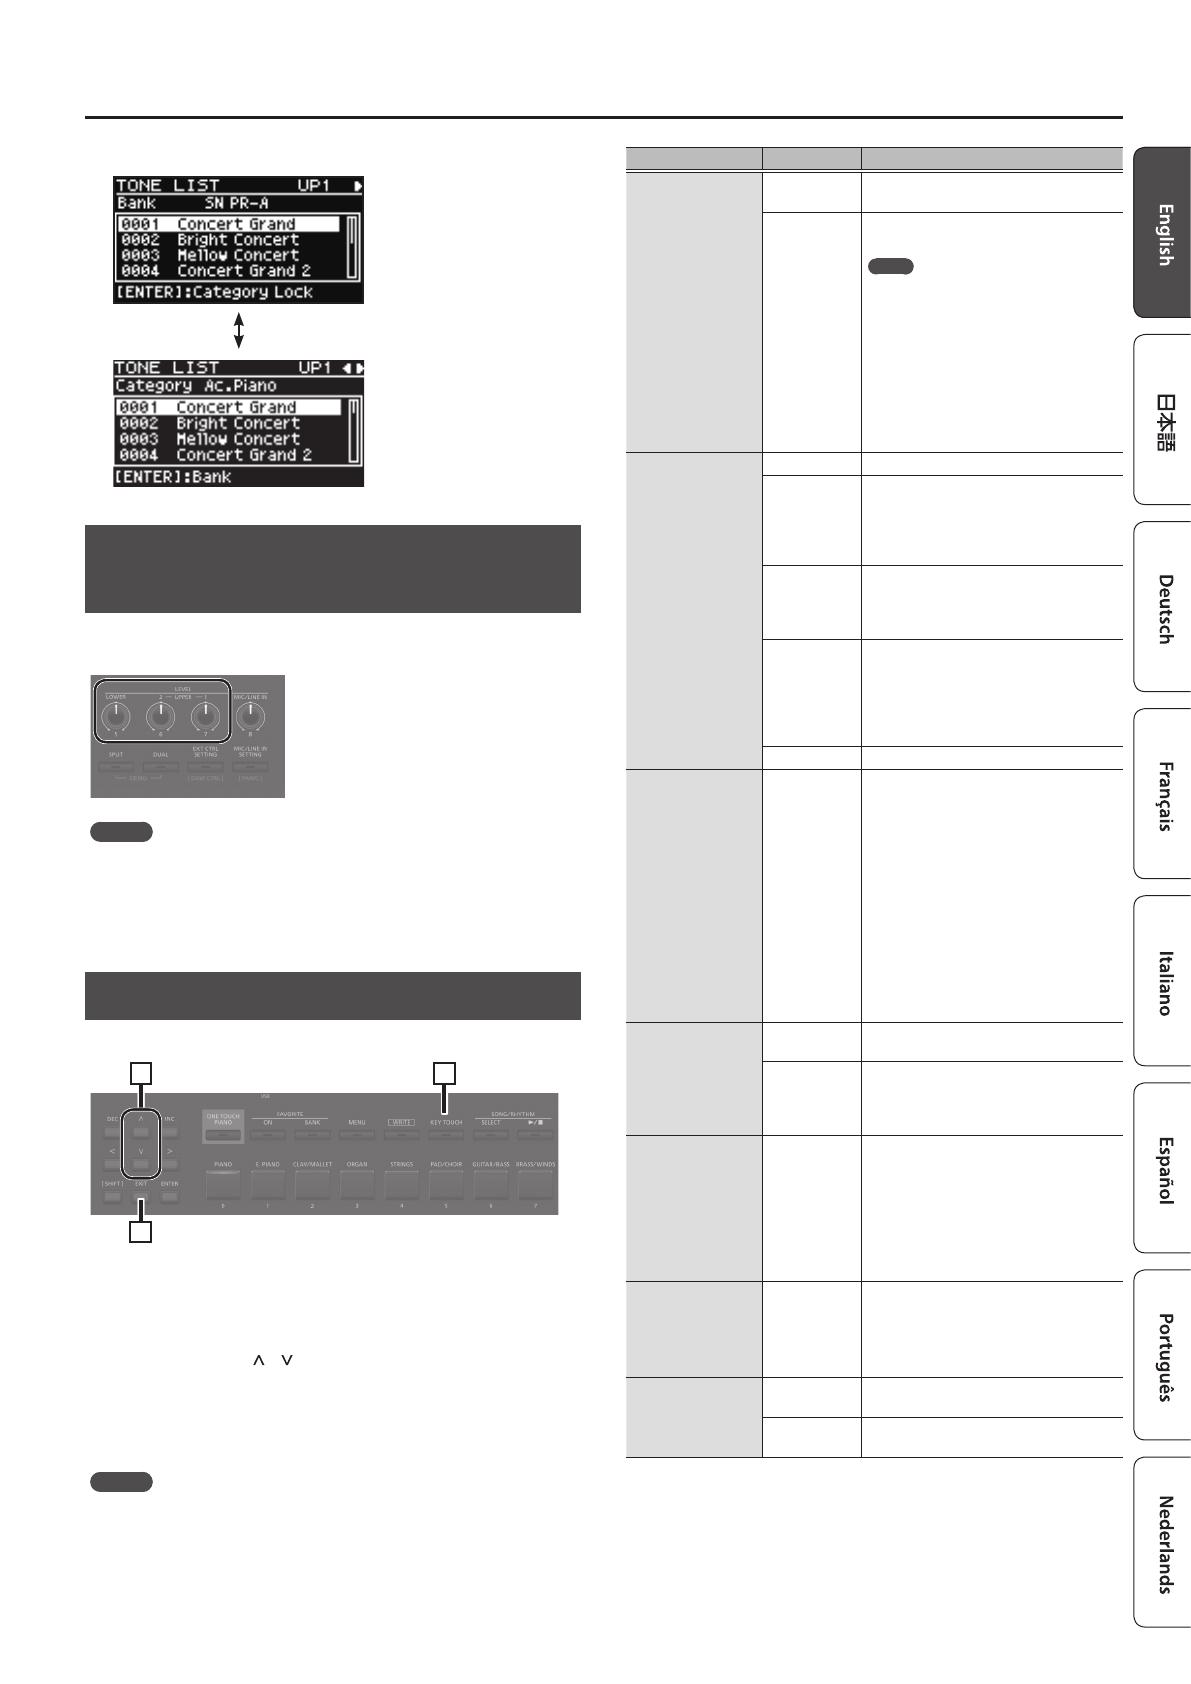
Changing the Key Touch
You can make advanced settings for the touch used for the keys.
1
3
2
1. Press the [KEY TOUCH] button.
The keyboard touch settings screen appears.
2. Use the cursor [ ] [ ] buttons to select a parameter,
and use the [DEC] [INC] buttons to change its value.
3. Press [EXIT] to return to the previous screen.
MEMO
The key touch settings can be saved individually for each Scene. To
save the settings, refer to “Saving a Scene (Write)” (p. 23).
Parameter Value Explanation
Source
SCENE
The key touch settings specied by the
Scene are enabled.
SYS
The key touch settings specied for the
system are enabled.
MEMO
If you want the key touch to be the same
for multiple Scenes, set Source to “SYS.”
You can access the shared key touch
settings via [MENU]0[SYSTEM]0[KEY
TOUCH]. To save the settings, execute the
system write operation (p. 27).
If you’ve selected a Scene whose Source is
set to “SYS,” you can press the [KEY TOUCH]
button to access the SYSTEM Key Touch
setting screen.
Velo Crv
(Velocity Curve)
SPR LIGHT An even lighter setting than LIGHT.
LIGHT
This sets the keyboard to a light touch. You
can achieve fortissimo () play with a less
forceful touch than usual, so the keyboard
feels lighter. This setting makes it easy to
play, even for children.
MEDIUM
This sets the keyboard to the standard
touch. You can play with the most natural
touch. This is the closest to the touch of an
acoustic piano.
HEAVY
This sets the keyboard to a heavy touch.
You have to nger the keyboard more
forcefully than usual in order to play
fortissimo (), so the keyboard touch feels
heavier. Dynamic ngering adds even
more feeling to what you play.
SPR HEAVY An even heavier setting than HEAVY.
Velo Oset
(Velocity Oset)
-10–+9
This setting provides even more precise
adjustment of the key touch than available
with the Velocity Curve setting alone.
This allows you to achieve a more precise
setting for the Velocity Curve by specifying
an intermediate value between Key Touch
settings. The touch sensitivity becomes
heavier as the value increases.
When this parameter is set to a value
that exceeds the upper or lower limit,
the setting for Velocity Curve (one of ve
possible values) is automatically changed
to accommodate the value you’ve
specied.
Velocity
REAL
Volume levels and the way sounds are
played change in response to the velocity.
1–127
The xed velocity value you specify here
will determine the volume and the way
the sound is produced, regardless of your
keyboard playing strength.
Velo Dly Sens
(Velocity Delay
Sensitivity)
-63–+63
This sets the interval from the time the key
is played to when the sound is produced.
As the value is decreased, the timing of
the sound is delayed more when more
force is used to play the keys. As the value
is increased, the timing of the sound is
delayed more when less force is used to
play the keys.
Velo Keyfollow
(Velocity Keyfollow
Sensitivity)
-63–+63
This setting changes the touch sensitivity
according to the key range being used.
As the value is increased, the touch
becomes heavier in the upper registers,
and lighter in the lower keys.
KeyO Pos
(Key O Position)
STANDARD
Note-o will occur at the depth of a
conventional piano.
DEEP
Note-o will occur at a deeper position.
This is suitable for electric piano sounds.