1
1. Have You Completed the Camera Setup?
Camera setup must be performed before JVC CAM Control is used.
Be sure to check that the camera video and audio can be played from the Web browser
before proceeding to the next step.
For details on setting up the camera, refer to the instruction manual supplied with the camera.
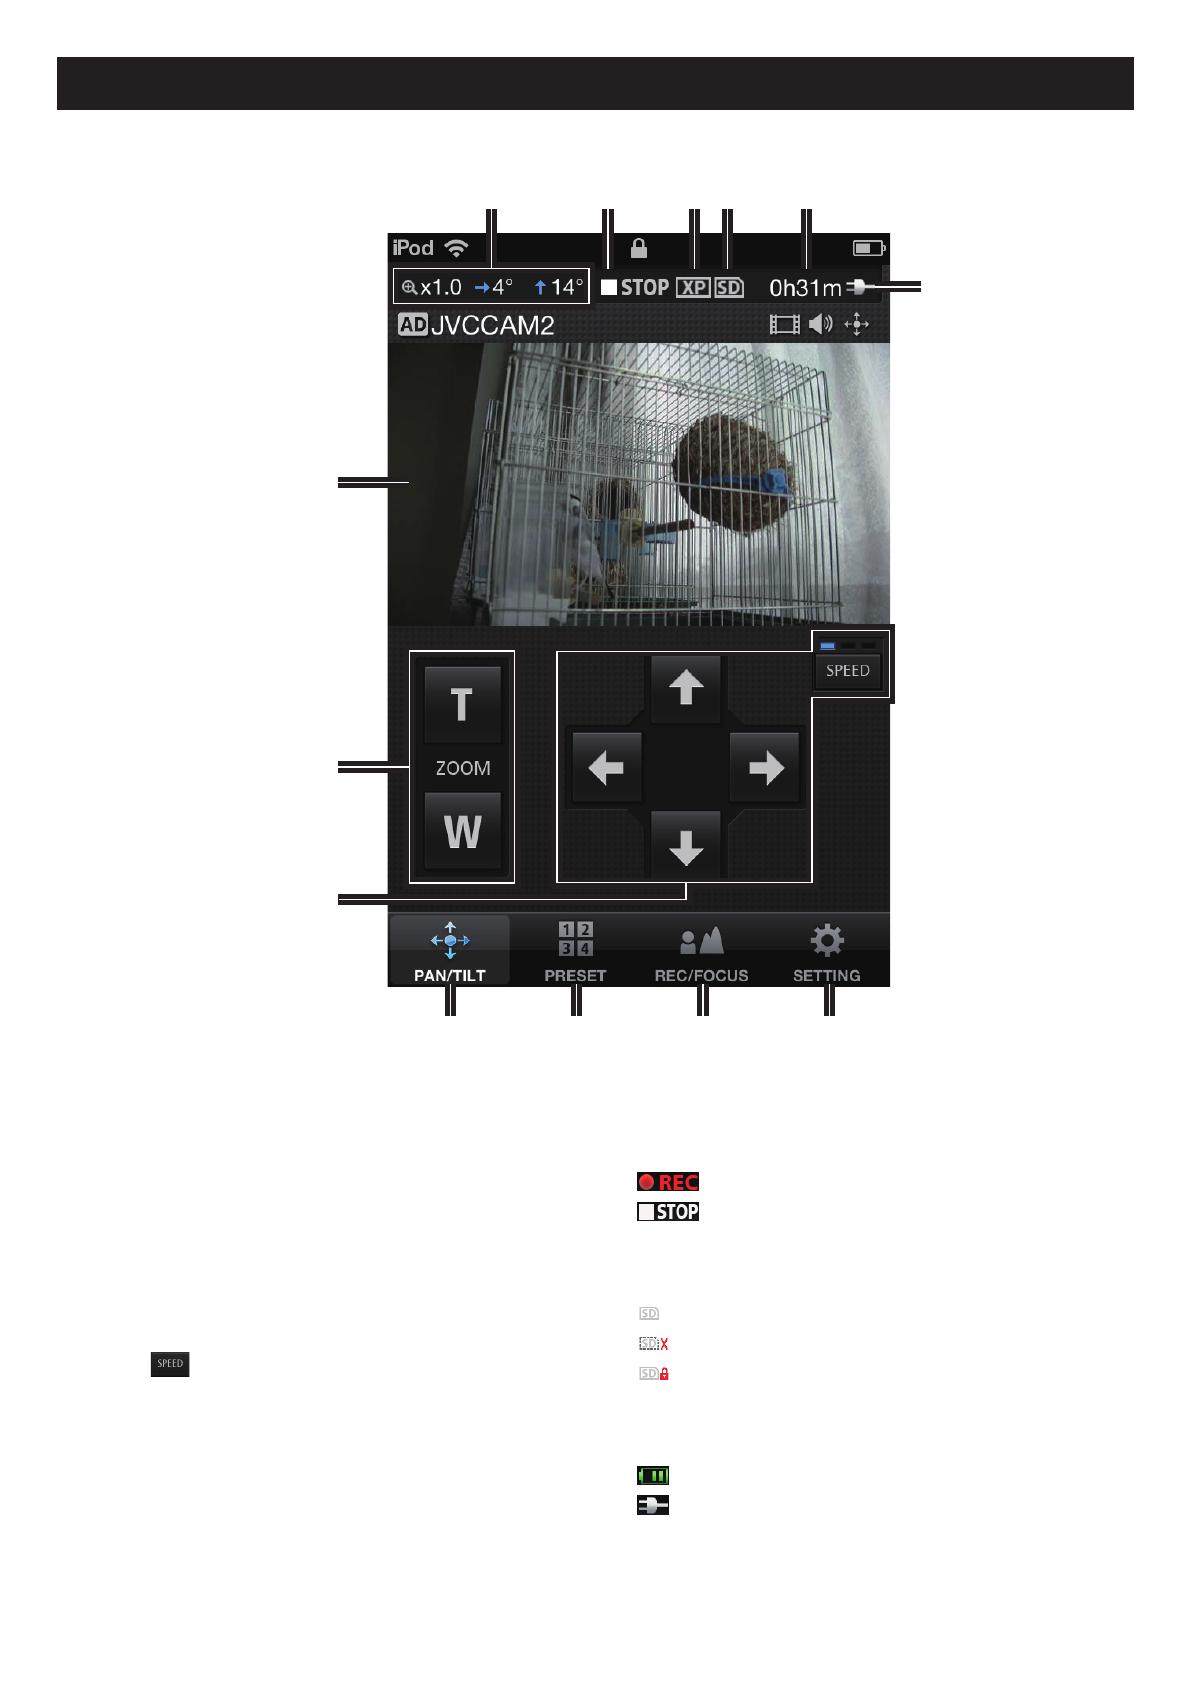
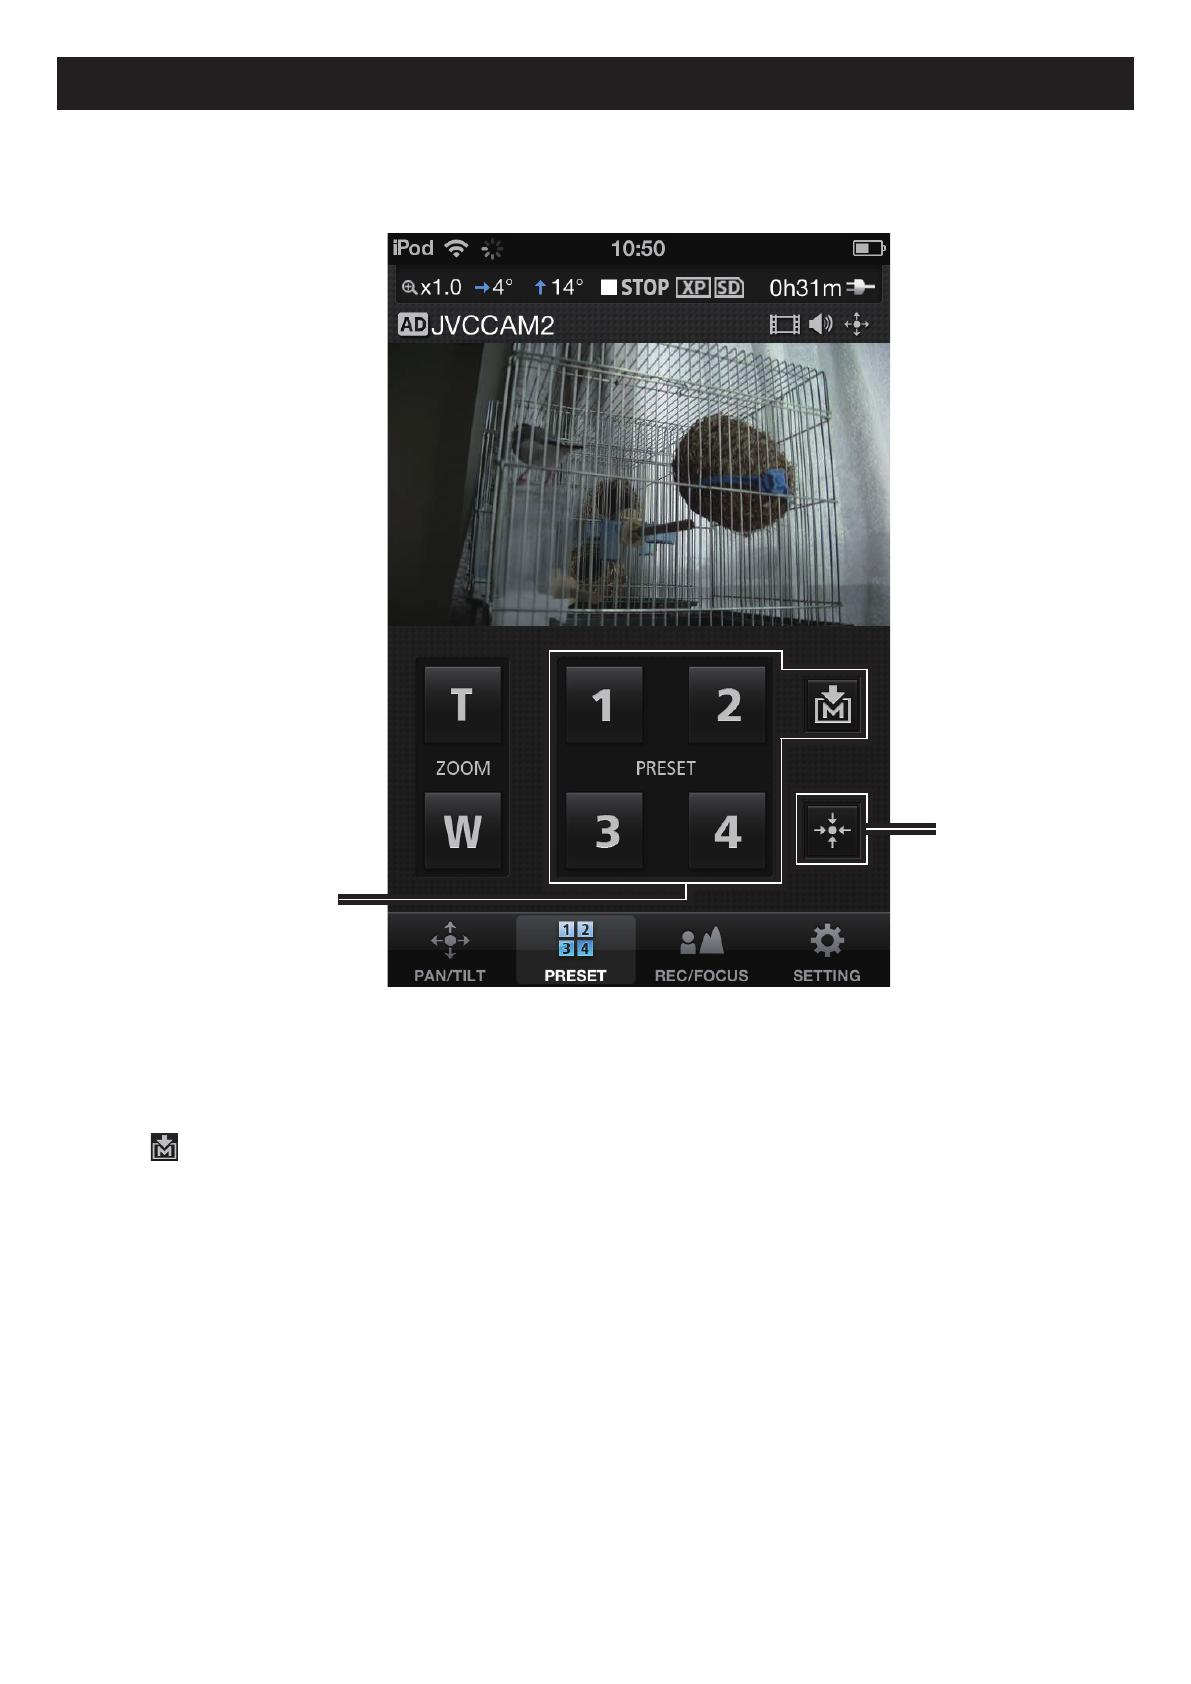
Chapter 1 Quick Operation Guide
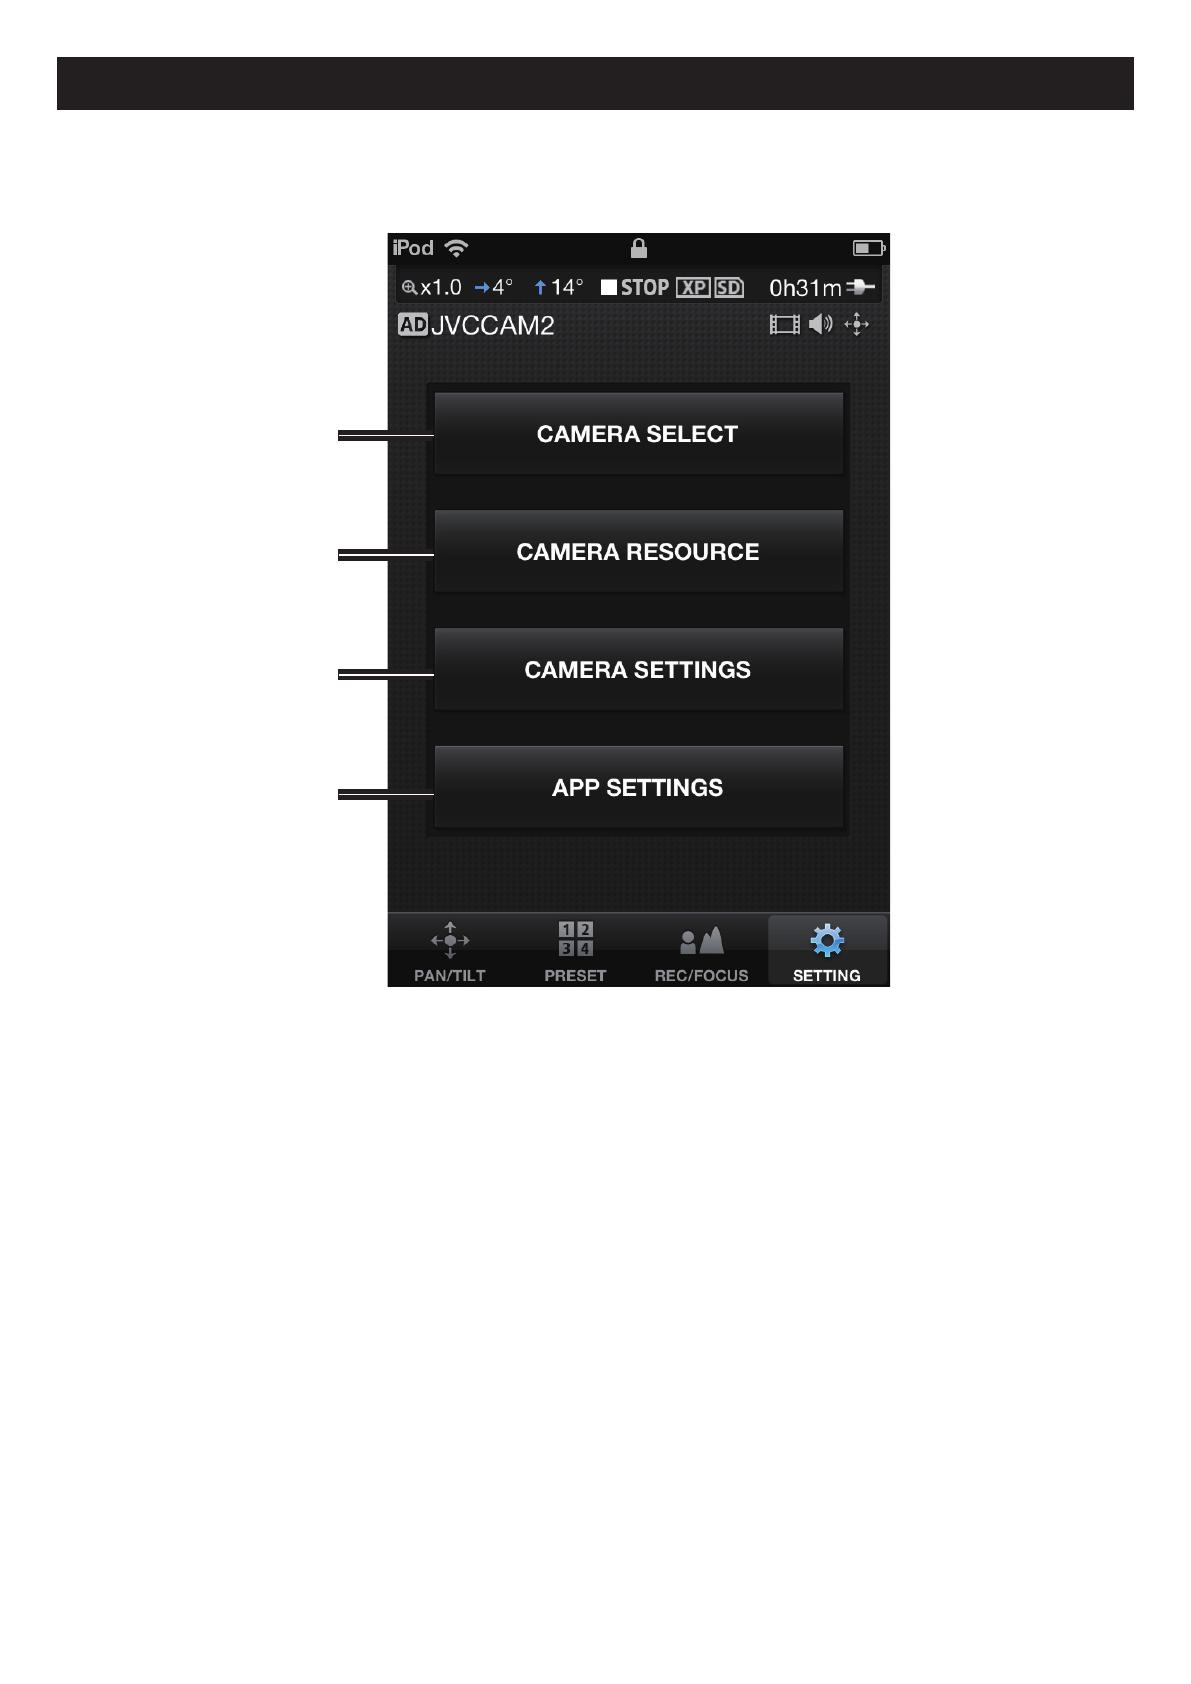
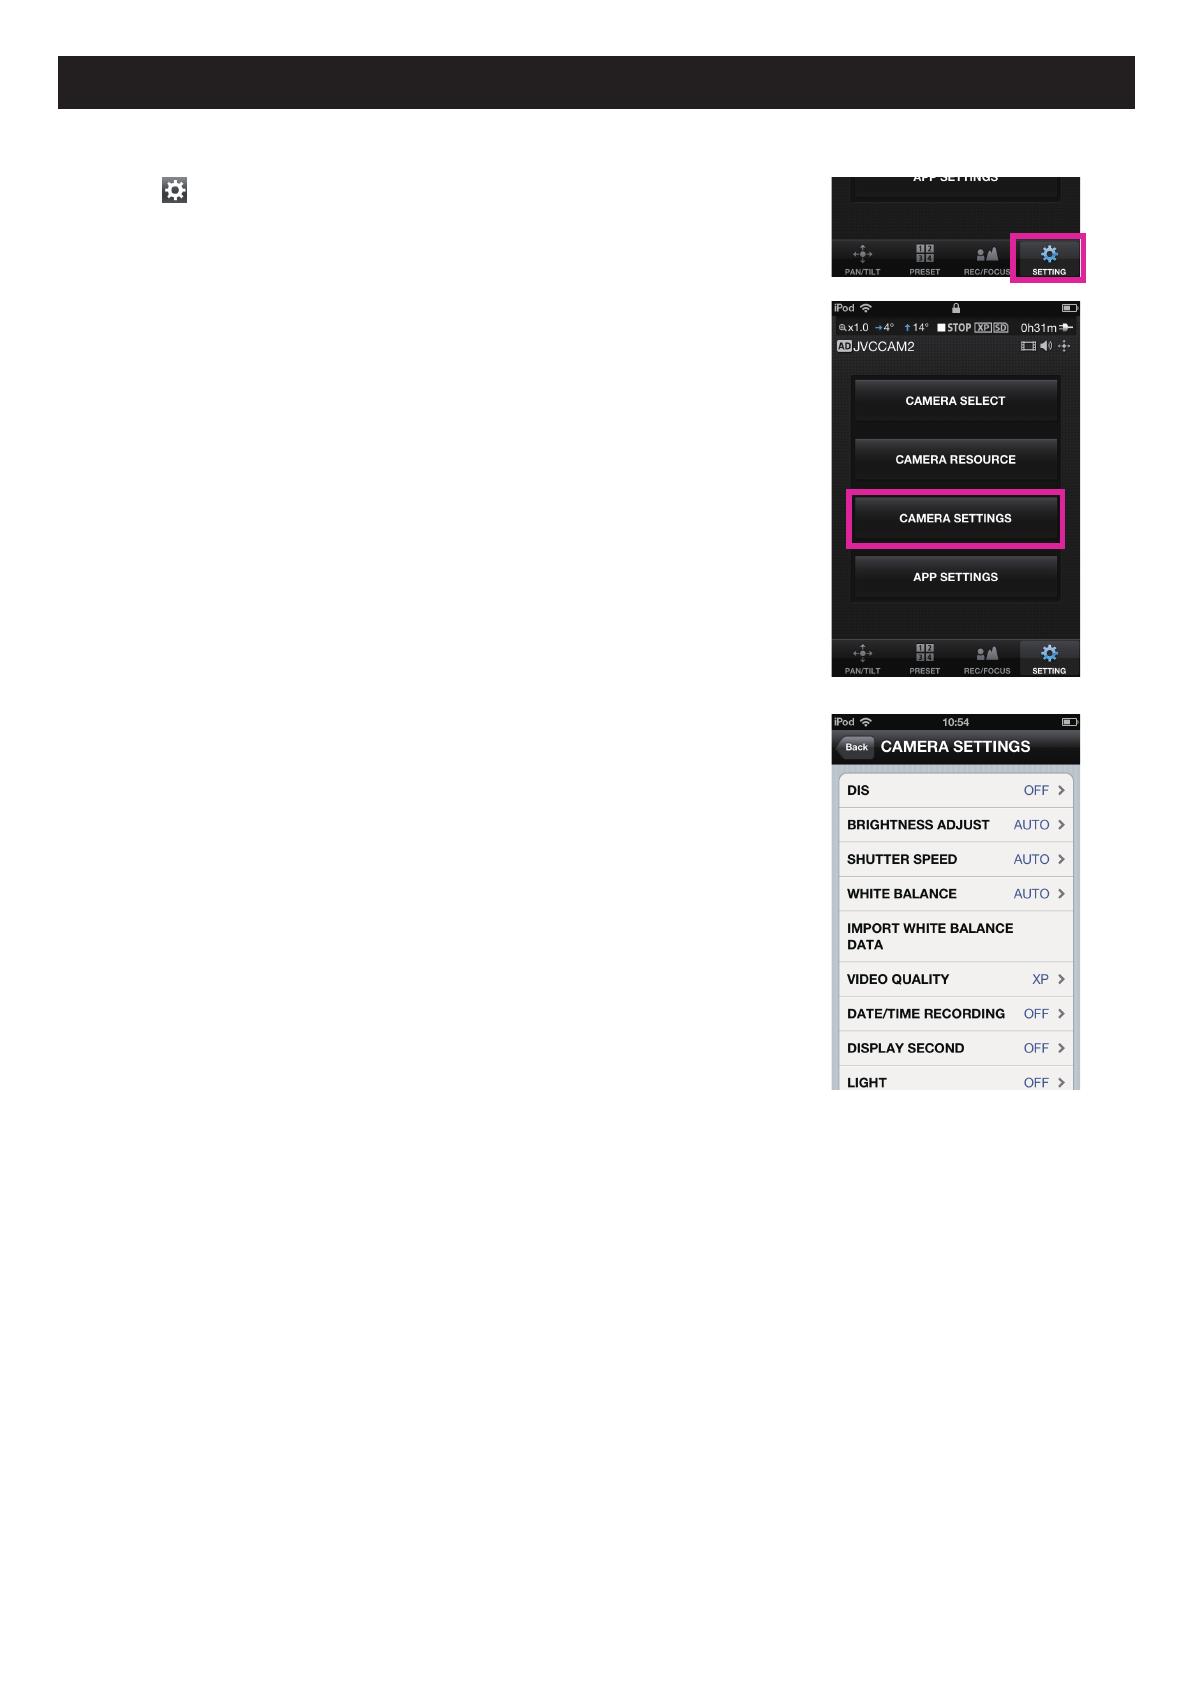
4. Registering the Camera to Use
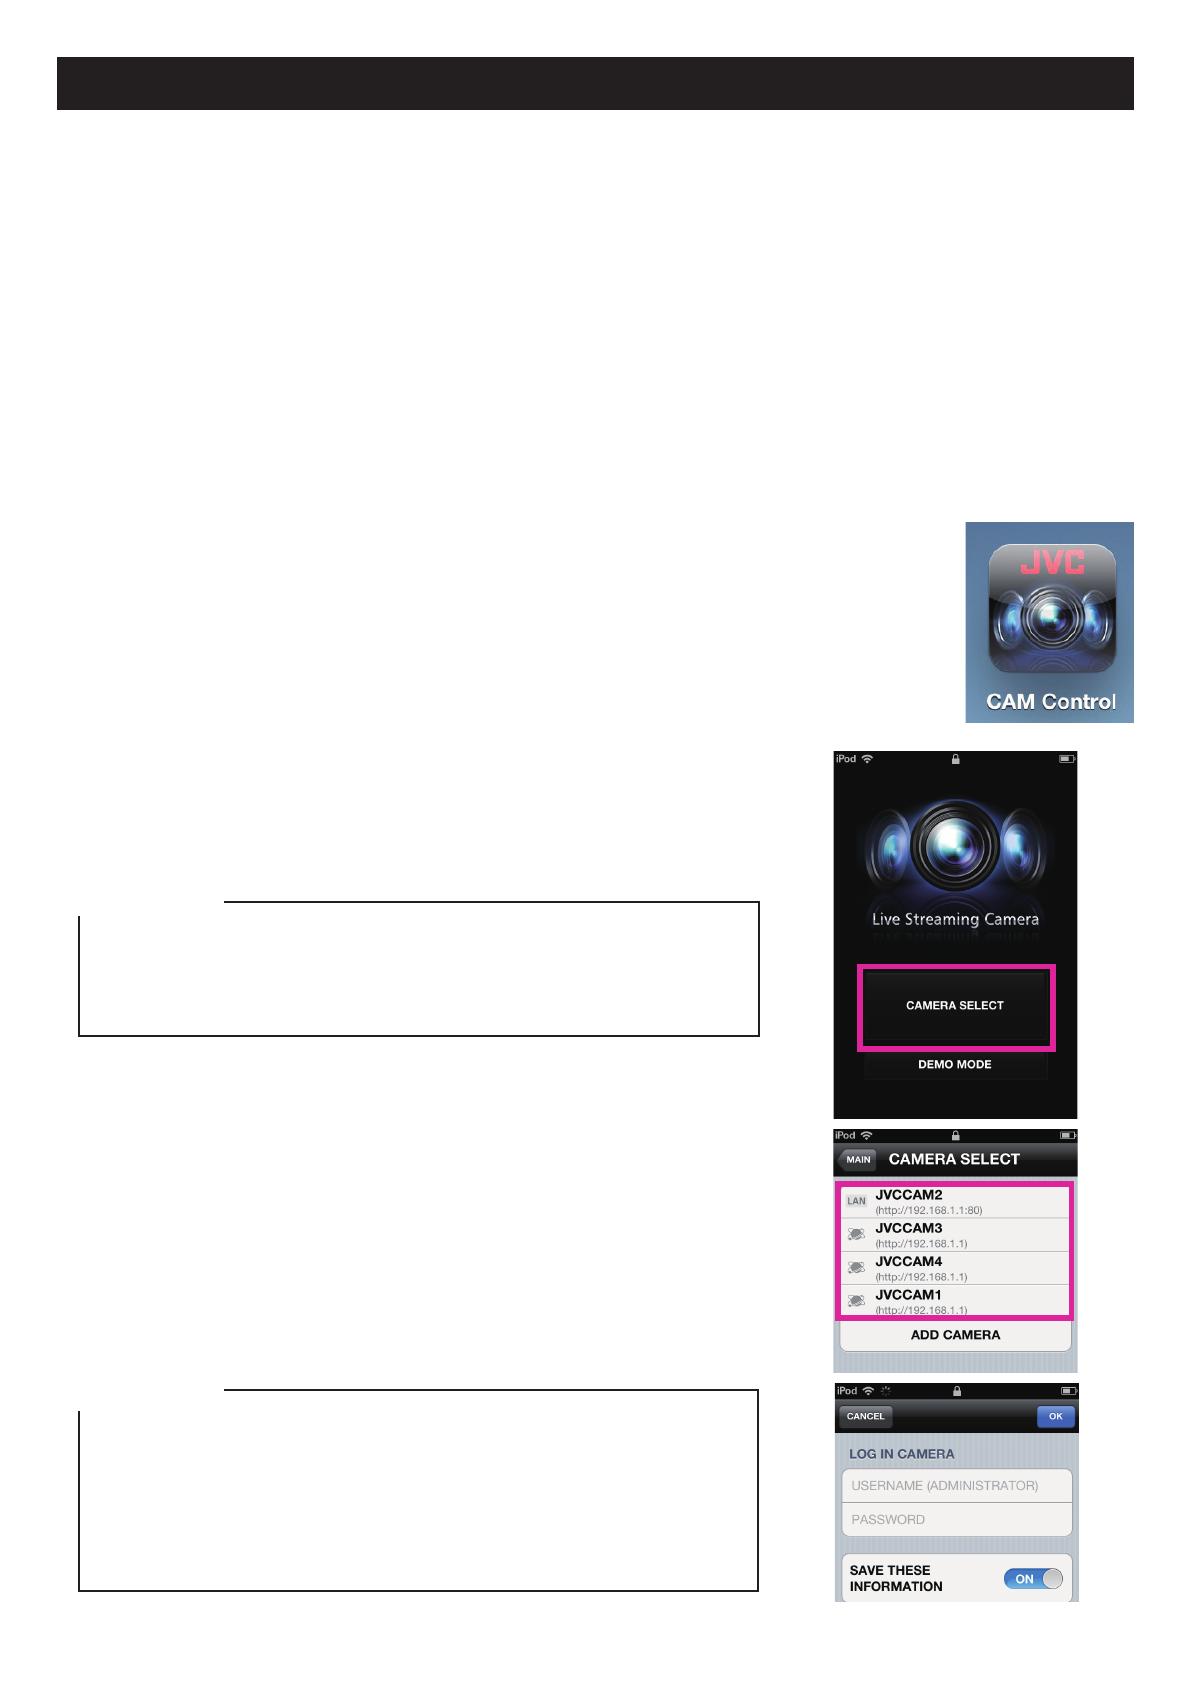
The app starts.
Touch the [CAMERA SELECT] button.
[Caution]
This app can only be used with a Wi-Fi connection. If
an error is displayed after touching the button, check
whether the iPhone is connected to a Wi-Fi network.
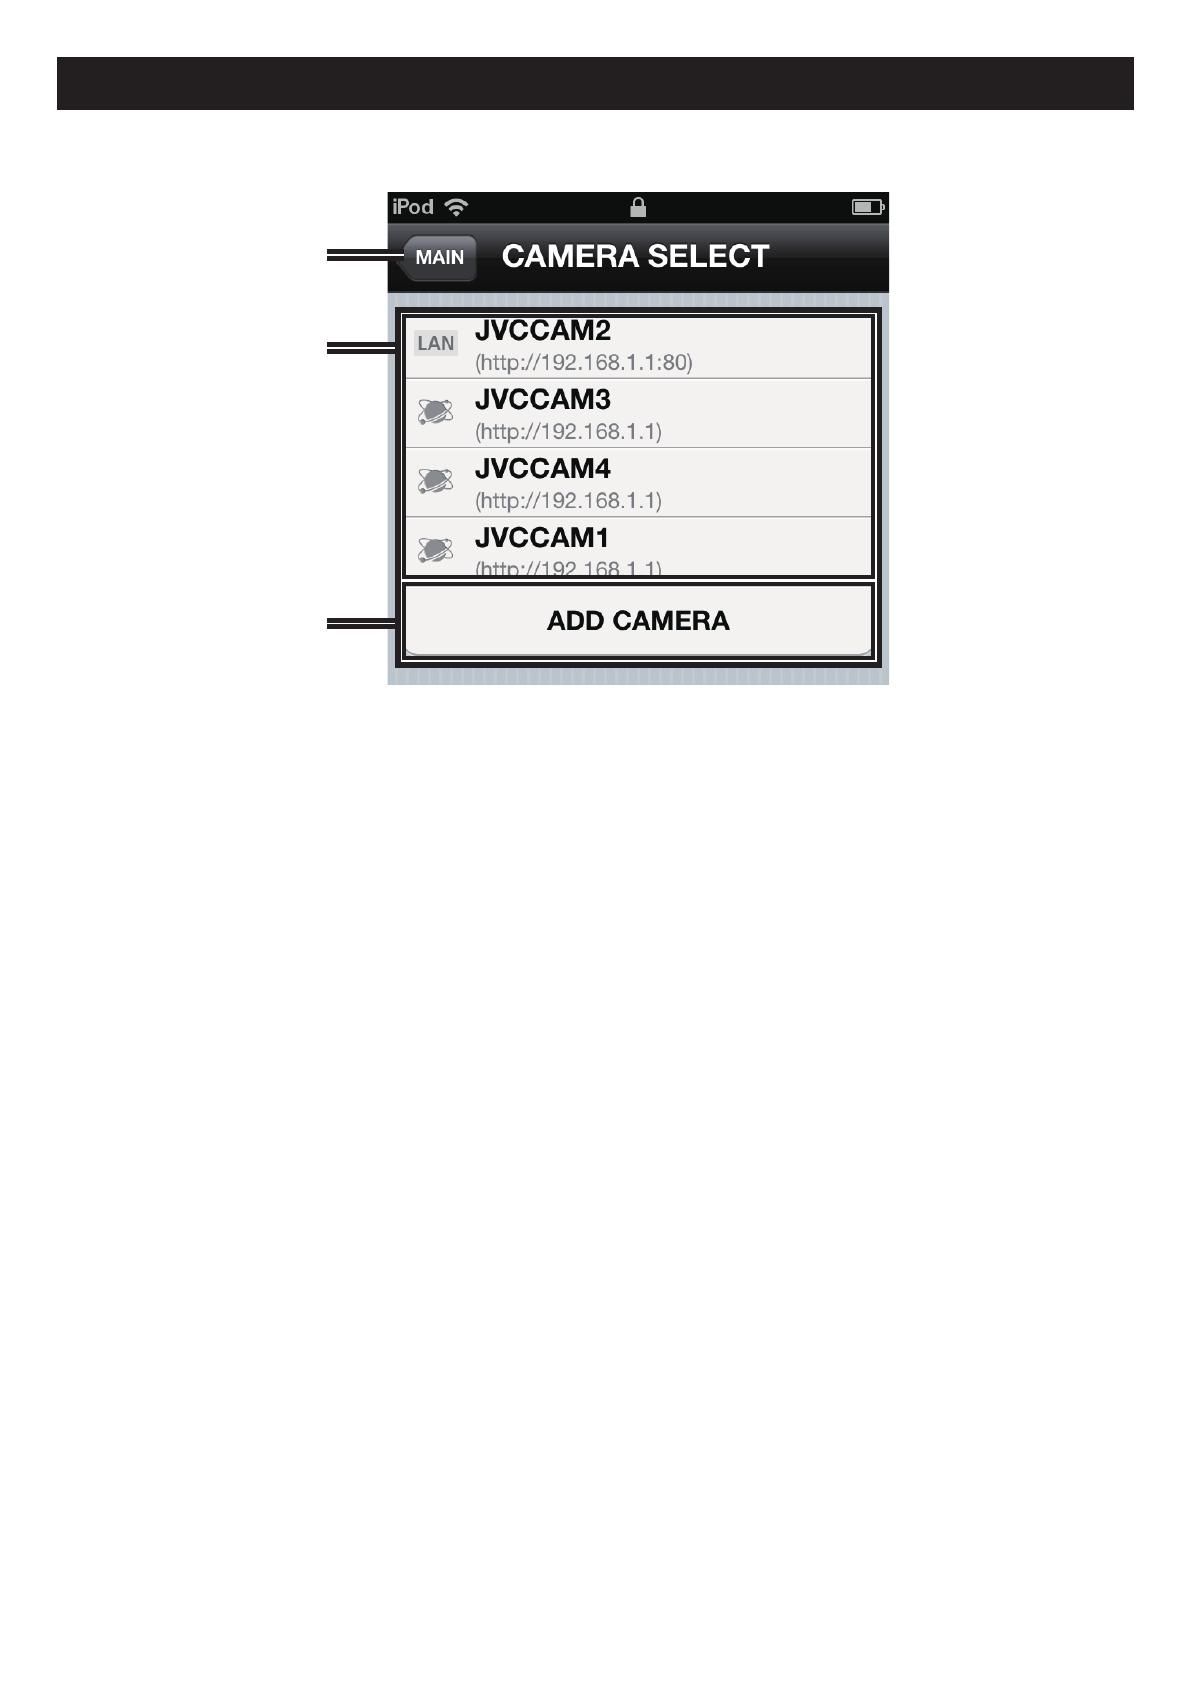
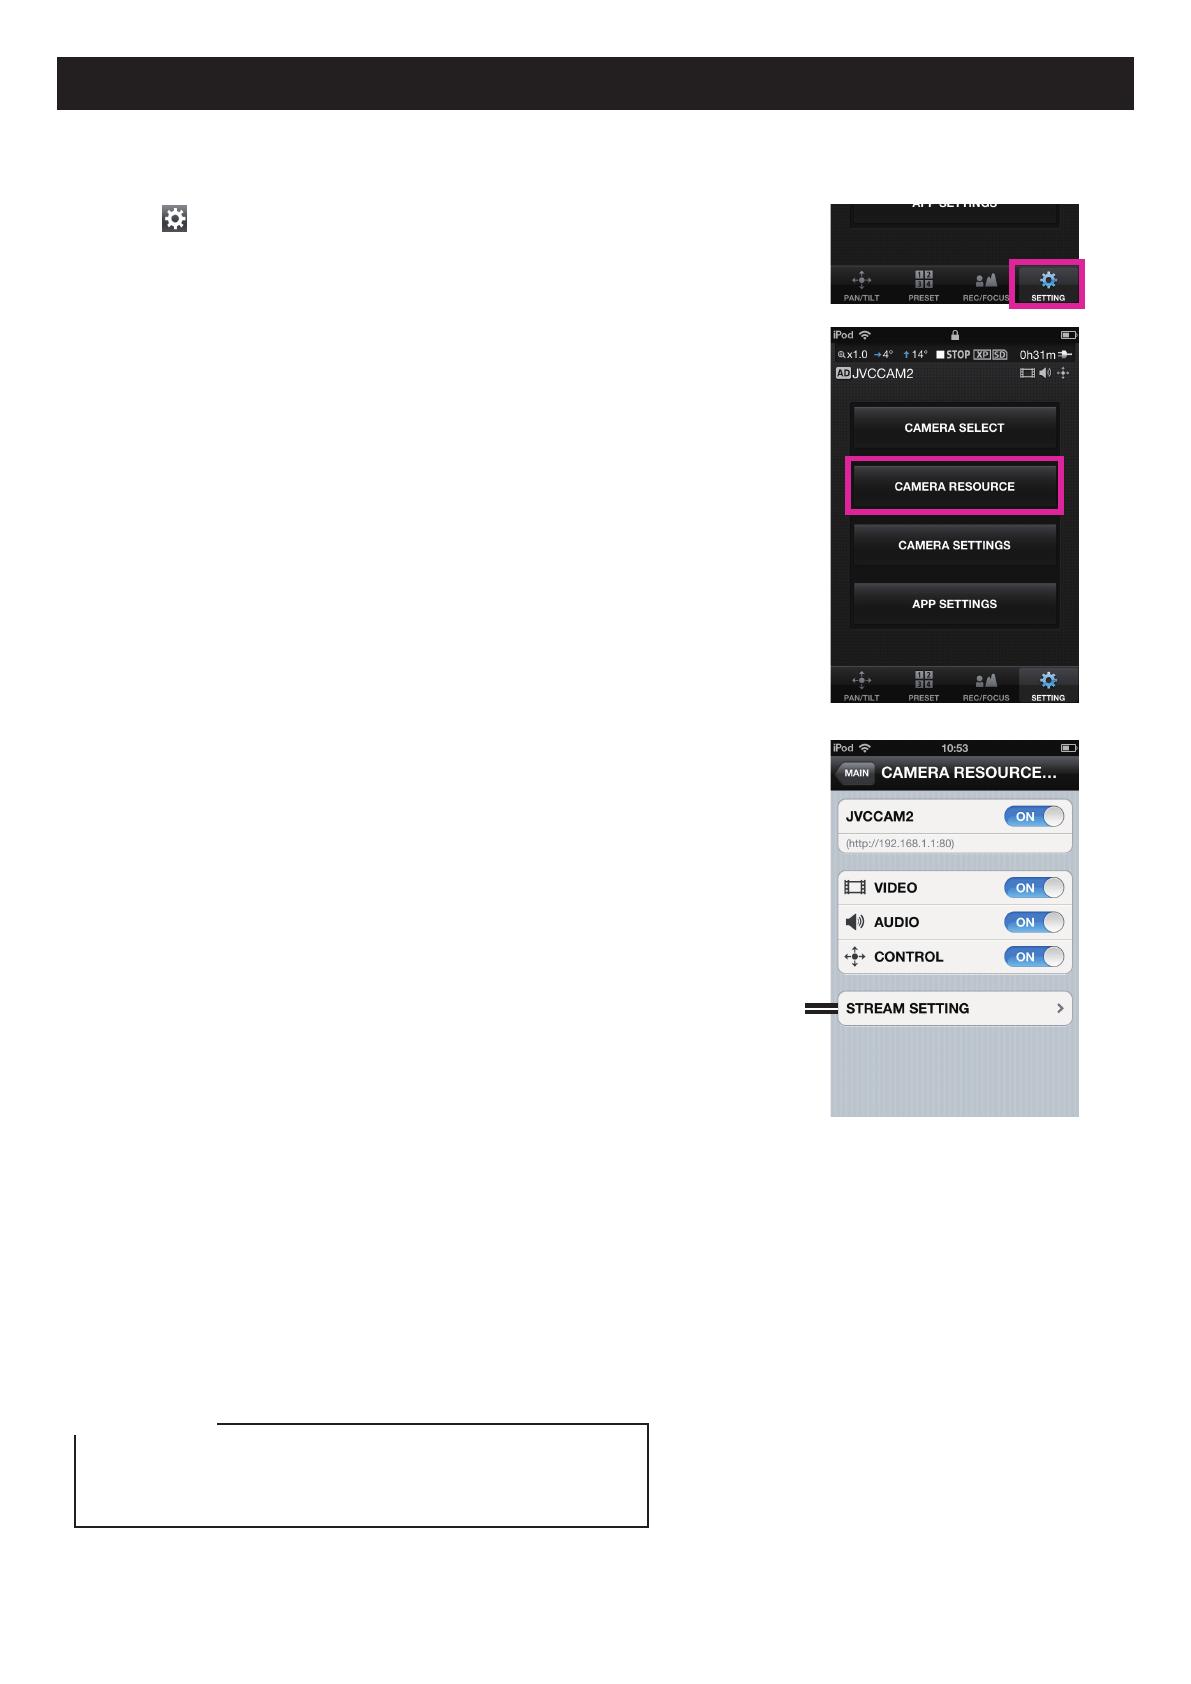
The [CAMERA SELECT] screen is displayed, and the
cameras in your network are listed.
From the listed cameras, touch the camera you want to
use.
A login screen is displayed. Log in to the camera using
the username and password that you set in the camera
setup.
[Caution]
To prevent video from being leaked accidentally to third
parties, be sure to change the username and password
that are set when the camera is shipped.
For details on changing the username and password,
refer to the instruction manual supplied with the camera.
2. Installing from the App Store
Open the App Store on the iPhone, and search for "JVC CAM Control".
Select "JVC CAM Control" from the search results list, and touch [Install].
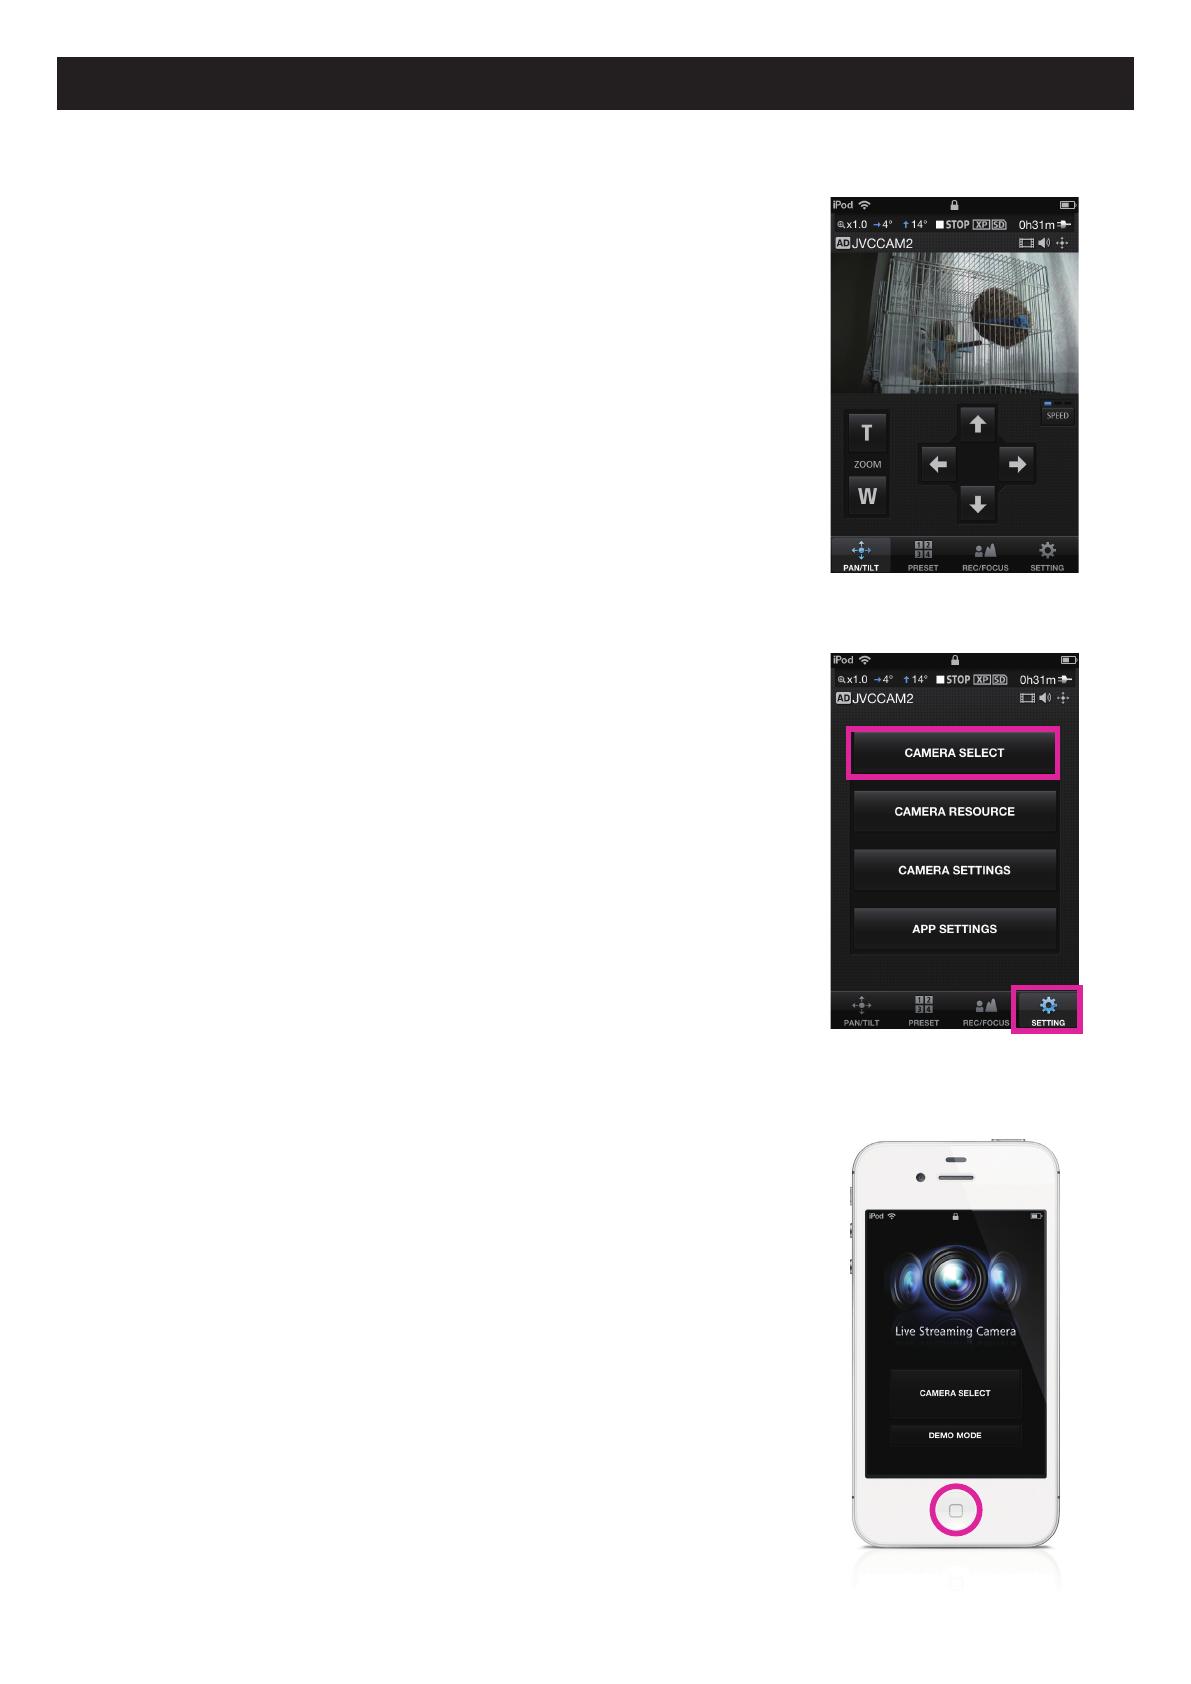
3. Starting the App
After the app installation is completed, the icon is displayed on the iPhone
Home screen.
Touch this icon to start JVC CAM Control.
For details on changing the username and password, refer to the instruction
manual supplied with the camera.