Using the Quick Settings Dialog │ 5
Using the Quick Settings Dialog
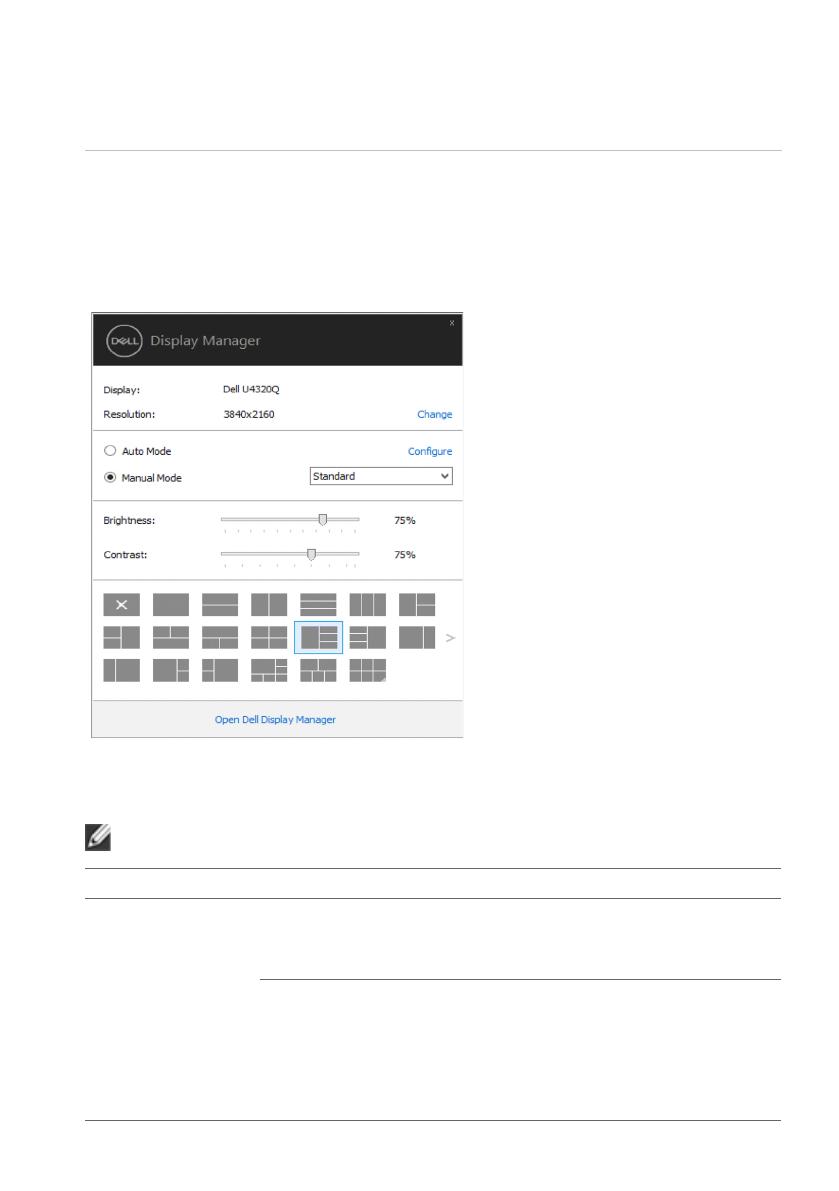
Clicking Dell Display Manager’s notication tray icon opens the Quick Settings
dialog box. When more than one supported Dell model is connected to the system,
a specic target display can be selected using the menu provided. The Quick
Settings dialog box allows convenient adjustment of the display’s brightness
and contrast levels. You can manually select a preset mode or enable automatic
selection of a preset mode depending on the active application.
The Quick Settings dialog box also provides access to Dell display manager’s
advanced user interface, which is used to adjust basic functions, congure Auto
Mode, and access other features.
NOTE:
Feature Function Description
Quick DDM
Access
Quick key to
call up DDM UI
• Ctrl+Shift+D
• Use Page Up/Page Down key or click
on “>” to ip through all Easy Arrange
layouts.
Control
individual
monitor in
multiple
monitor setup
• From dropdown box to select monitor,
selected monitor has Dell logo shown.
• Perform monitor self-test feature check.
• Move DDM UI to the monitor to be
controlled.
• Press Ctrl+Shift+D to bring up the
miniUI under the mouse pointer.


