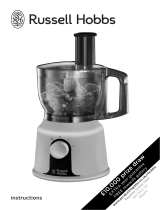
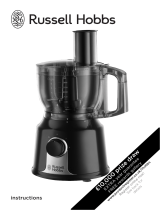
Russell Hobbs 24732 is a versatile kitchen appliance that combines the functions of a blender, processor, chopper, mixer, creamer, slicer, and grater. With its powerful motor and various attachments, it can handle a wide range of tasks, from blending smoothies to chopping vegetables, mixing dough, pureeing soups, slicing cheese, and grating carrots. The device is easy to use, with a simple control panel and clear instructions. It also features safety mechanisms, such as a locking jug and lid, to ensure safe operation.
Russell Hobbs 24732 is a versatile kitchen appliance that combines the functions of a blender, processor, chopper, mixer, creamer, slicer, and grater. With its powerful motor and various attachments, it can handle a wide range of tasks, from blending smoothies to chopping vegetables, mixing dough, pureeing soups, slicing cheese, and grating carrots. The device is easy to use, with a simple control panel and clear instructions. It also features safety mechanisms, such as a locking jug and lid, to ensure safe operation.


-
 1
1
-
 2
2
-
 3
3
-
 4
4
-
 5
5
-
 6
6
-
 7
7
-
 8
8


Russell Hobbs 24732 is a versatile kitchen appliance that combines the functions of a blender, processor, chopper, mixer, creamer, slicer, and grater. With its powerful motor and various attachments, it can handle a wide range of tasks, from blending smoothies to chopping vegetables, mixing dough, pureeing soups, slicing cheese, and grating carrots. The device is easy to use, with a simple control panel and clear instructions. It also features safety mechanisms, such as a locking jug and lid, to ensure safe operation.
Ask a question and I''ll find the answer in the document
Finding information in a document is now easier with AI
Related papers
-
Russell Hobbs 19005 User manual
-
 Russell Hobbs 19003 User manual
-
-
-
 Russell Hobbs 19004 User manual
-
Russell Hobbs 19001 User manual
-
 Russell Hobbs 20240 User manual
-
Russell Hobbs 19006-56 User manual
-
 Russell Hobbs product_300 User manual
-
 Russell Hobbs 18511 User manual


Other documents
-
Whirlpool FP 1009 AC0 UK User guide
-
Sunbeam LC6200 User manual
-
Wolfgang Puck BBLFP050 User manual
-
Tefal QB502140 User manual
-
Breville BFP580SIL User manual
-
Sunbeam MultiProcessor LC6950 User manual
-
-
Catler FP 4010 User manual
-
-
Kambrook KFP90 User manual