Braun Item 64410 Owner's manual

Type
Owner's manual

This manual is also suitable for

Visit our website at: http://www.harborfreight.com
Email our technical support at: [email protected]
Owners Manual & Safety Instructions
Save This Manual Keep this manual for the safety warnings and precautions, assembly,
operating, inspection, maintenance and cleaning procedures. Write the product’s serial number in the
back of the manual near the assembly diagram (or month and year of purchase if product has no number).
Keep this manual and the receipt in a safe and dry place for future reference. 18d
When unpacking, make sure that the product is intact
and undamaged. If any parts are missing or broken,
please call 1-888-866-5797 as soon as possible.
Copyright
©
2018 by Harbor Freight Tools
®
. All rights reserved.
No portion of this manual or any artwork contained herein may be reproduced in
any shape or form without the express written consent of Harbor Freight Tools.
Diagrams within this manual may not be drawn proportionally. Due to continuing
improvements, actual product may differ slightly from the product described herein.
To ols required for assembly and se rv ic e m ay n ot b e i nc lu de d .
Read this material before using this product.
Failure to do so can result in serious injury.
SAVE THIS MANUAL.
Page 2 For technical questions, please call 1-888-866-5797. Item 64410
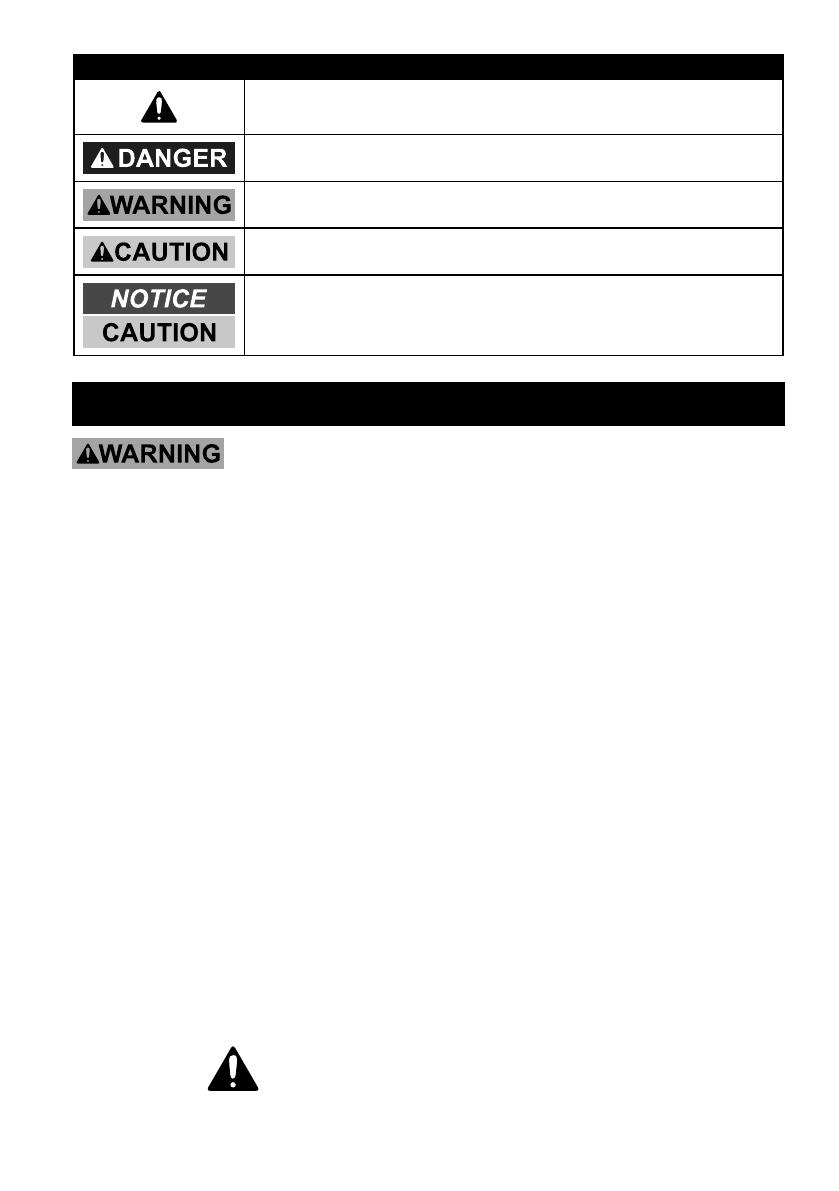
WARNING SYMBOLS AND DEFINITIONS
This is the safety alert symbol. It is used to alert you to potential
personal injury hazards. Obey all safety messages that
follow this symbol to avoid possible injury or death.
Indicates a hazardous situation which, if not avoided,
will result in death or serious injury.
Indicates a hazardous situation which, if not avoided,
could result in death or serious injury.
Indicates a hazardous situation which, if not avoided,
could result in minor or moderate injury.
Addresses practices not related to personal injury.
IMPORTANT SAFETY INFORMATION
To reduce the risk of FIRE, ELECTRIC SHOCK, OR INJURY TO PERSONS:
1. Install only according to these instructions.
Improper installation can create hazards.
2. Avoid electric shock. Keep plugs and receptacles
dry. Use only on GFCI-protected circuits.
3. The Light is not waterproof. Use extreme
caution in any wet location.
4. This product is not suitable for recessed
installation in ceilings or on buildings. Do
not install on radiant heat ceilings.
5. Wear ANSI-approved goggles and heavy-
duty work gloves during installation.
6. Keep work area clean and well lit. Cluttered
or dark areas invite accidents.
7. Do not operate the Light in explosive atmospheres,
such as in the presence of flammable liquids,
gases or dust. The Light generates sparks
which may ignite the dust or fumes.
8. The Light’s plug must match the outlet. Never
modify the plug in any way. Do not use any
adapter plugs with the Light. Unmodified plugs and
matching outlets will reduce risk of electric shock.
9. Do not abuse the Power Cord. Never use
the Cord for unplugging the Light. Keep
cord away from heat, oil, sharp edges or
moving parts. Damaged or entangled cords
increase the risk of electric shock.
10. Maintain the Light. Check for breakage of
parts and any other condition that may affect
the Light’s operation. If damaged, have it
repaired before use. Many accidents are
caused by poorly maintained items.
11. Do not pull on the On/Off Pull Chain too hard or
at an angle to prevent the Light from falling.
12. Maintain labels and nameplates on the Light.
These carry important safety information. If
unreadable or missing, contact Harbor
Freight Tools for a replacement.
13. This product is not a toy. Keep it
out of reach of children.
14. People with pacemakers should consult their
physician(s) before use. Electromagnetic fields in
close proximity to heart pacemaker could cause
pacemaker interference or pacemaker failure.
15. The warnings, precautions, and instructions
discussed in this instruction manual cannot
cover all possible conditions and situations
that may occur. It must be understood by the
operator that common sense and caution are
factors which cannot be built into this product,
but must be supplied by the operator.
SAVE THESE INSTRUCTIONS.
Page 3For technical questions, please call 1-888-866-5797.Item 64410
Grounding
TO PREVENT ELECTRIC SHOCK AND DEATH FROM INCORRECT GROUNDING
WIRE CONNECTION:
Check with a qualified electrician if you are in doubt as to whether the outlet is properly
grounded. Do not modify the power cord plug provided with the Light. Never remove the
grounding prong from the plug. Do not use the Light if the power cord or plug is damaged. If damaged,
have it repaired by a service facility before use. If the plug will not fit the outlet, have a proper outlet
installed by a qualified electrician.
Grounded Lights: Lights with Three-Prong Plugs
1. Lights marked with “Grounding Required” have
a three wire cord and a three prong grounding
plug. The plug must be connected to a properly
grounded outlet. If the Light should electrically
malfunction or break down, grounding provides
a low resistance path to carry electricity away
from the user, reducing the risk of electric
shock. (See 3-Prong Plug and Outlet.)
2. The grounding prong in the plug is connected
through the green wire inside the cord to the
grounding system in the Light. The green wire
in the cord must be the only wire connected
to the Light’s grounding system and must
never be attached to an electrically “live”
terminal. (See 3-Prong Plug and Outlet.)
3. The Light must be plugged into an
appropriate outlet, properly installed and
grounded in accordance with all codes and
ordinances. The plug and outlet should
look like those in the preceding illustration.
(See 3-Prong Plug and Outlet.)
3-Prong Plug and Outlet
Extension Cords
1. Grounded Lights require a three-
wire extension cord. Double Insulated Lights can
use either a two or three wire extension cord.
2. As the distance from the supply outlet increases,
you must use a heavier gauge extension cord.
Using extension cords with inadequately sized wire
causes a serious drop in voltage, resulting in loss of
power and possible tool damage. (See Table A.)
3. The smaller the gauge number of the wire,
the greater the capacity of the cord. For
example, a 14 gauge cord can carry a
higher current than a 16 gauge cord.
4. When using more than one extension cord to
make up the total length, make sure each cord
contains at least the minimum wire size required.
5. If you are using one extension cord for more than
one tool, add the nameplate amperes and use the
sum to determine the required minimum cord size.
6. If you are using an extension cord outdoors, make
sure it is marked with the suffix “W-A” (“W” in
Canada) to indicate it is acceptable for outdoor use.
7. Make sure the extension cord is properly wired
and in good electrical condition. Always replace
a damaged extension cord or have it repaired
by a qualified electrician before using it.
8. Protect the extension cords from sharp objects,
excessive heat, and damp or wet areas.
TABLE A: RECOMMENDED
MINIMUM WIRE GAUGE FOR
EXTENSION CORDS* (120 VOLT)
NAMEPLATE
AMPERES
(at full load)
EXTENSION CORD
LENGTH
25´ 50´ 75´ 100´ 150´
0 – 2.0 18 18 18 18 16
2.1 – 3.4 18 18 18 16 14
3.5 – 5.0 18 18 16 14 12
5.1 – 7.0 18 16 14 12 12
7.1 – 12.0 16 14 12 10 -
12.1 – 16.0 14 12 10 - -
16.1 – 20.0 12 10 - - -
* Based on limiting the line voltage drop to five volts at
150% of the rated amperes.
Page 4 For technical questions, please call 1-888-866-5797. Item 64410
Symbology
Double Insulated
VAC
Volts Alternating Current
A
Amperes
WARNING marking concerning Risk
of Eye Injury. Wear ANSI-approved
safety goggles with side shields.
Read the manual before
set-up and/or use.
WARNING marking
concerning Risk of Fire.
Do not cover ventilation ducts.
Keep flammable objects away.
WARNING marking concerning
Risk of Electric Shock.
Properly connect power cord
to appropriate outlet.
Specifications
Electrical Rating 120 VAC / 60 Hz / 0.5 A
Power Cord Length 4 ft. 11 in.
Page 5For technical questions, please call 1-888-866-5797.Item 64410
Installation Instructions
Read the ENTIRE IMPORTANT SAFETY INFORMATION section at the beginning of this document
including all text under subheadings therein before set up or use of this product.
1. Select a suitable location for hanging the
Shop Light. The Shop Light must be hung from
a stud, joist or similar sturdy mounting location
able to support the weight of the fixture.
WARNING! Do not install the Shop Light into drywall.
WARNING! Verify that installation surface has no
hidden utility lines before drilling or driving screws.
2. Mark two spots 42 inches apart where mounting
holes will be drilled in the installation surface.
3. Drill holes at marked locations. Install 1/4" diameter
hardware at least 1" long (sold separately) to
hang the Shop Light. Hardware must have
a hook to attach the mounting chains.
4. Attach one end of each of the two mounting
chains to the S-hooks on the light fixture.
5. Hang the fixture by attaching the free ends
of the two mounting chains to the previously
installed mounting hardware. Adjust length
of chains until the fixture is level.
Note: The Shop Light must be hung at least
three inches from the installation surface.
Operation
1. Plug the Shop Light into a grounded,
120 VAC electrical outlet.
2. Pull the On/Off Pull Chain to turn on the Light.
3. Pull the Chain again to turn the Shop Light off.
WARNING: Do not pull on the On/Off Pull Chain too
hard or at an angle to prevent the Light from falling.
Page 6 For technical questions, please call 1-888-866-5797. Item 64410
Maintenance
Procedures not specifically explained in this manual must
be performed only by a qualified technician
TO PREVENT SERIOUS INJURY FROM ACCIDENTAL OPERATION:
Unplug the Light from its electrical outlet before performing any procedure in this section.
TO PREVENT SERIOUS INJURY FROM LIGHT FAILURE:
Do not use damaged equipment. If damage is noted, have the problem corrected before further use.
1. BEFORE EACH USE, inspect the general
condition of the Shop Light. Check for:
• loose hardware
• misalignment or binding of moving parts
• damaged cord/electrical wiring
• cracked or broken parts
• any other condition that may
affect its safe operation.
2. PERIODICALLY, clean the Diffuser Cover with
nonabrasive glass cleaner and a clean cloth.
WARNING! If the supply cord of this
light is damaged, it must be replaced only
by a qualified service technician.
Page 7For technical questions, please call 1-888-866-5797.Item 64410
Record Product’s Serial Number Here:
Note: If product has no serial number, record month and year of purchase instead.
Note: Replacement parts are not available for this item. Do not open
the housing, there are no user-serviceable parts inside.
3491 Mission Oaks Blvd. • PO Box 6009 • Camarillo, CA 93011 • 1-888-866-5797
Limited 90 Day Warranty
Harbor Freight Tools Co. makes every effort to assure that its products meet high quality and durability
standards, and warrants to the original purchaser that this product is free from defects in materials
and workmanship for the period of 90 days from the date of purchase. This warranty does not apply to
damage due directly or indirectly, to misuse, abuse, negligence or accidents, repairs or alterations outside
our facilities, criminal activity, improper installation, normal wear and tear, or to lack of maintenance.
We shall in no event be liable for death, injuries to persons or property, or for incidental, contingent,
special or consequential damages arising from the use of our product. Some states do not allow the
exclusion or limitation of incidental or consequential damages, so the above limitation of exclusion
may not apply to you. THIS WARRANTY IS EXPRESSLY IN LIEU OF ALL OTHER WARRANTIES,
EXPRESS OR IMPLIED, INCLUDING THE WARRANTIES OF MERCHANTABILITY AND FITNESS.
To take advantage of this warranty, the product or part must be returned to us with transportation charges
prepaid. Proof of purchase date and an explanation of the complaint must accompany the merchandise.
If our inspection verifies the defect, we will either repair or replace the product at our election or we may
elect to refund the purchase price if we cannot readily and quickly provide you with a replacement. We will
return repaired products at our expense, but if we determine there is no defect, or that the defect resulted
from causes not within the scope of our warranty, then you must bear the cost of returning the product.
This warranty gives you specific legal rights and you may also have other rights which vary from state to state.
  • Page 1 1
  • Page 2 2
  • Page 3 3
  • Page 4 4
  • Page 5 5
  • Page 6 6
  • Page 7 7
  • Page 8 8

Braun Item 64410 Owner's manual

Type
Owner's manual
This manual is also suitable for

Ask a question and I''ll find the answer in the document

Finding information in a document is now easier with AI