Kirkland 720-0011 Owner's manual
- Category
- Barbecues & grills
- Type
- Owner's manual
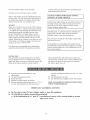
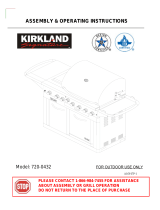
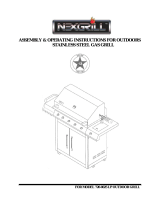
Kirkland Signature 720-0011 gas grill offers a comprehensive grilling experience with its impressive features. This stainless steel grill boasts a primary grilling area, a rear burner, and a side burner, providing ample space for cooking various foods simultaneously. The grill's burners deliver efficient and precise heat control, allowing you to cook your meals to perfection. Whether you're hosting a backyard barbecue or preparing a family feast, this versatile grill has you covered.
Kirkland Signature 720-0011 gas grill offers a comprehensive grilling experience with its impressive features. This stainless steel grill boasts a primary grilling area, a rear burner, and a side burner, providing ample space for cooking various foods simultaneously. The grill's burners deliver efficient and precise heat control, allowing you to cook your meals to perfection. Whether you're hosting a backyard barbecue or preparing a family feast, this versatile grill has you covered.


-
 1
1
-
 2
2
-
 3
3
-
 4
4
-
 5
5
-
 6
6
-
 7
7
-
 8
8
-
 9
9
-
 10
10
-
 11
11
-
 12
12
-
 13
13
-
 14
14
-
 15
15
-
 16
16
-
 17
17
-
 18
18
-
 19
19
-
 20
20
-
 21
21
-
 22
22
-
 23
23
-
 24
24
-
 25
25
-
 26
26


Kirkland 720-0011 Owner's manual
- Category
- Barbecues & grills
- Type
- Owner's manual
Kirkland Signature 720-0011 gas grill offers a comprehensive grilling experience with its impressive features. This stainless steel grill boasts a primary grilling area, a rear burner, and a side burner, providing ample space for cooking various foods simultaneously. The grill's burners deliver efficient and precise heat control, allowing you to cook your meals to perfection. Whether you're hosting a backyard barbecue or preparing a family feast, this versatile grill has you covered.
Ask a question and I''ll find the answer in the document
Finding information in a document is now easier with AI
Related papers


Other documents
-
 Steven Raichlen SR8816 User manual
-
Permasteel PG-50401S Owner's manual
-
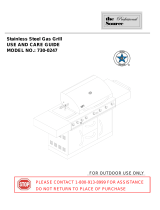 The Source 730-0247 Owner's manual
-
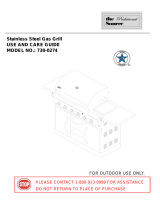 The Source 730-0274 Owner's manual
-
 Nexgrill 720-0025 LP User manual
-
 Nexgrill 720-0033 Owner's manual
-
 Nexgrill 720-0082 Owner's manual
-
Nex 720-0289 User manual
-
 Nexgrill 720-0888N User guide
-
 Kirkland Signature 720-0077-LP Owner's manual


