8
ELECTRICAL REQUIREMENTS
Be sure that the electrical connection and wire size are
adequate and in conformance with the National Electrical
Code, ANSI/NFPA 70 - latest edition, and all local codes
and ordinances.
A copy of the above code standards can be obtained from:
National Fire Protection Association
1 Batterymarch Park
Quincy, MA 02169-7471
You Must Have:
■ 120-volt, 60 Hz, AC-only, 15- or 20-amp, fused
electrical supply
■ Copper wire only
■ A maximum of 2 field wiring supply conductors
(12 AWG largest size) plus 1 grounding conductor
are permitted in the terminal box.
We Recommend:
■ A time-delay fuse or circuit breaker
■ A separate circuit
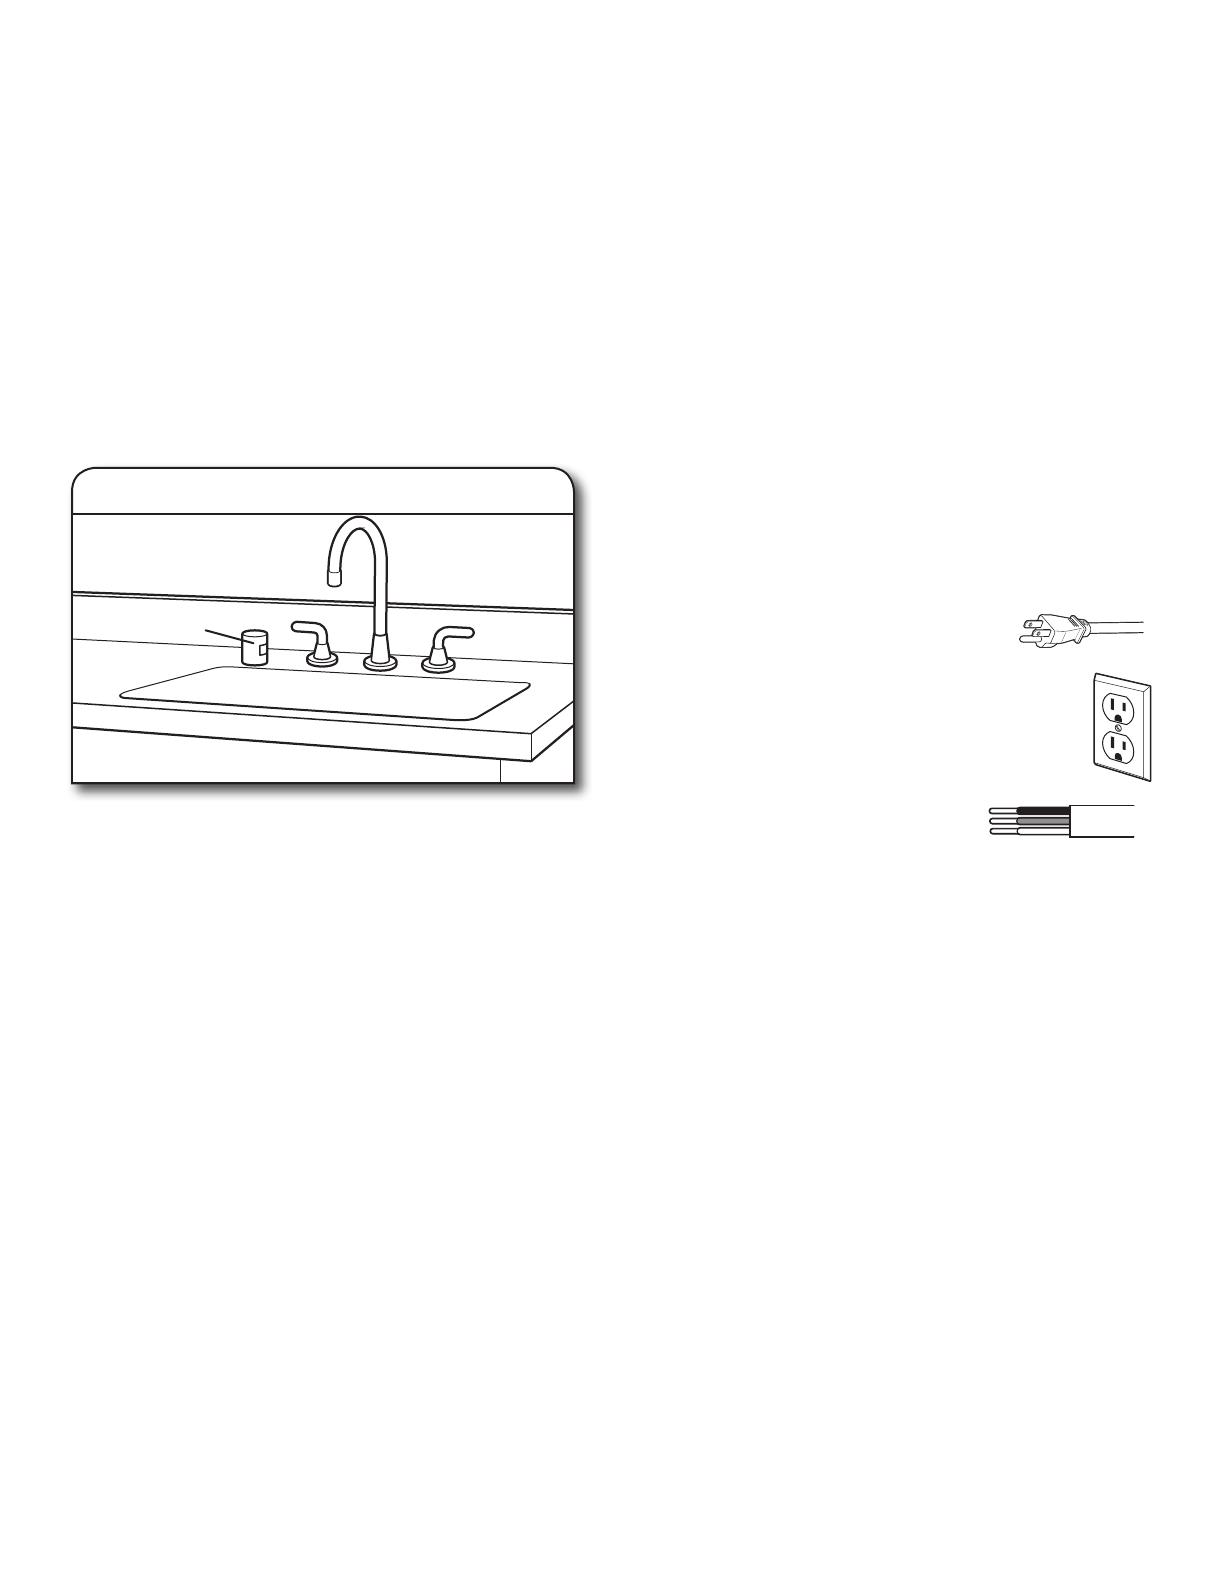
If Connecting Dishwasher with a Power Cord:
■ Use UL Listed power cord kit marked for
use with dishwasher. See the “Tools and
Parts” section at the front of the guide for
part details and orders.
■ Plug into a grounded 3 prong outlet. Outlet must
meet all local codes and ordinances.
If Connecting Dishwasher with Direct Wiring:
■ Use flexible, armored, or nonmetallic
sheathed copper wire with grounding
wire that meets the wiring requirements
for your home and local codes and ordinances.
■ Use a UL Listed/CSA Approved metallic strain relief.
See the “Tools and Parts” section at the front of the
guide for part details and orders.
DRAIN REQUIREMENTS
■ A new drain hose is supplied with your dishwasher.
If drain hose is not long enough, use a new drain hose with a
maximum length of 12 ft (3.7 m) that meets all current AHAM/
IAPMO test standards, is resistant to heat and detergent, and
fits the 1" (25 mm) drain connector of the dishwasher. See
the “Tools and Parts” section at the front of the guide for part
details and orders.
NOTE: Do not connect multiple drain hoses together.
■ Make sure to connect drain hose to waste tee or disposer
inlet above drain trap in house plumbing and 20" (508 mm)
minimum above the floor. It is recommended that the drain
hose either be looped up and securely fastened to the
underside of the counter or be connected to an air gap.
■ Make sure to use an air gap if the drain hose is connected
to house plumbing lower than 20" (508 mm) above
subfloor or floor.
■ If required, the air gap should be installed in accordance
with the air gap installation instructions. When you are
connecting the air gap, a rubber hose (not provided) will
be needed to connect to the waste tee or disposer inlet.
■ Use
1
/
2
" minimum I.D. drain line fittings.
WATER SUPPLY REQUIREMENTS
■ This dishwasher has a water heating feature and also
requires a connection to a hot water supply line.
■ A hot water line with 20 to 120 psi (138 to 862 kPa)
water pressure can be verified by a licensed plumber.
■ 120°F (49°C) water at dishwasher
■
3
/
8
" O.D. copper tubing with compression fitting or flexible
braided water supply line. See the “Tools and Parts” section
at the front of the guide for part details and orders.
NOTE:
1
/
2
" minimum plastic tubing is not recommended.
■ A 90° elbow with
3
/
4
" hose connection with rubber washer.
See the “Tools and Parts” section at the front of the guide
for part details and orders.
■ Do not solder within 6" (152 mm) of the water inlet valve.
■ If installed in new construction, make sure the house
water supply lines have been flushed prior to connecting
the dishwasher to remove any debris that may exist in
the supply line.
NOTE: If replacing an existing dishwasher, it is recommended
to install a new water line (see the “Tools and Parts” section at
the front of the guide for part details) and drain hose (supplied)
with the new dishwasher.
Use of air gap
Air gap

