13
Call up the panel as described
in Page 11,
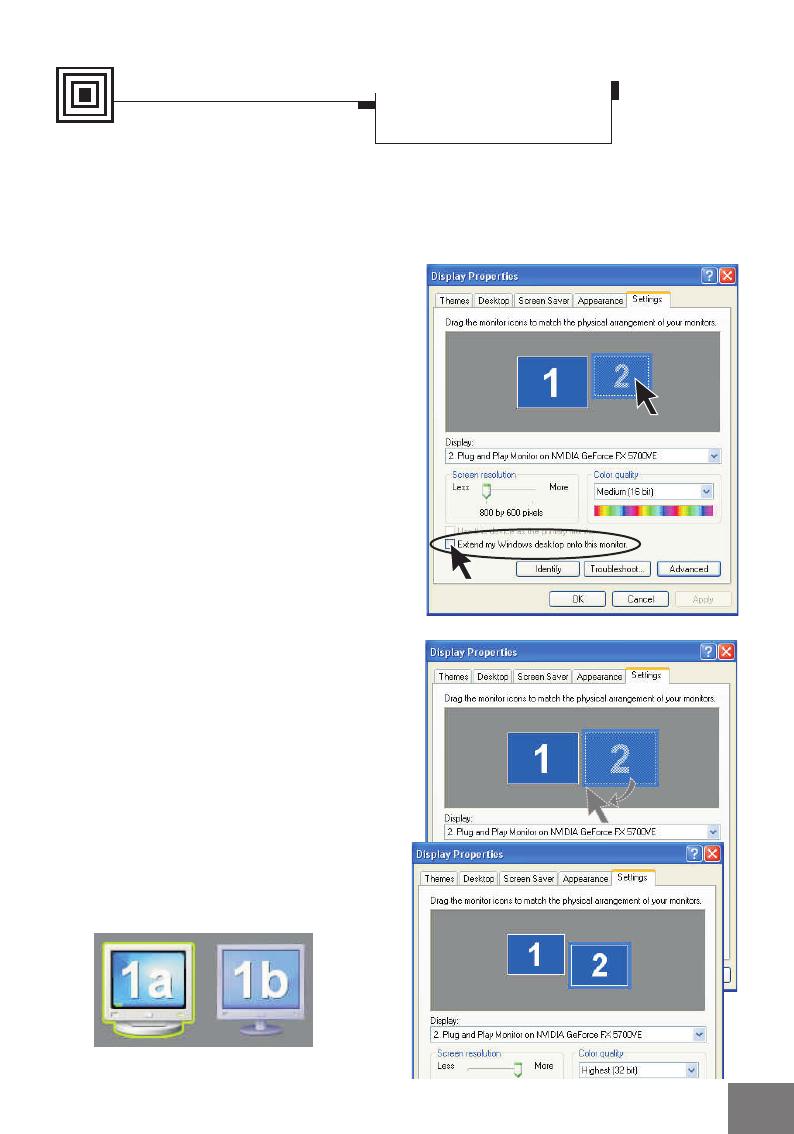
Settings
the preview window shows
you have two display devices connected
to your computer, the one(s) in use is in
solid blue and white, and the unused one
is blurred. In the figure to the right,
device 1 is in use, and device 2 is not.
To extend your desktop to a second
device, click the screen 2 Icon to
highlight it (Step 1). Then check the
check box on the bottom (Step 2). The
result will be as in the second figure.
Screen 1 is the primary screen; and 2,
the extended screen.
To extend the desktop
Identify button
Click this button on the bottom of the
panel to display on your
primary screen a big , and the
extended, , as in the figure below, for
identification.
Settings
1b
1a
Resolution and color depth of your
display can be set on the Settings panel
(see Page 11). You can also extend your
screen to the second device and set its
resolution separatly using this panel.
Desktop Arrangement
You can move either screen icons freely
and arrange them in any fashion (see the
second figure from the top).
In addition, the resolution of either
screen can be changed individually;
simply click on one of the screens in the
preview window and drag the resolution
sliding knob to your desired resolution.
Software Settings
Display Properties-
Screen Settings
Step1Step1
Step 2Step 2


