116
Laundry with heavy stains may be
PRE-BLEACHED in the machine prior to carrying
out a normal wash programme. Proceed by
diluting the bleach in approximately 1l water
outside of the washing machine in a small
container.
For a machine with temperature selector:
• Turn the programme selector to programme4.
• Turn the temperature selector to Min.
Warning: Bleaching is only possible in a cold
wash, otherwise your laundry and your appliance
will be damaged.
For a machine without temperature selector:
• Turn the programme selector to programme5.
• Press the special option button “cold wash”
(ifavailable).
Warning: Bleaching is only possible in a cold
wash, otherwise your laundry and your appliance
will be damaged.
Poor the diluted bleach into chamber and start
the machine.
After this prebleach wash, do a normal wash, in
which more not bleachable laundry can be added.
Add detergent into chamber and start a wash
programme. For this subsequent wash a lower
temperature wash programme (for example 40°C)
can be sufficient because of the pre-bleach
treatment. In this way energy can be saved.
Note:
Bleach should only be used with bleachable
fabrics.
Commercially available products usually consist
of a dye colour, fixing agent and salt.
Pour the dye colour, fixing agent and salt directly
into the empty drum, and only then load the
laundry.
• Only use products designed for use in
washing machines.
• Follow the manufacturer’s instructions.
• Plastic and rubber components of the
machine can be stained by dyes.
WHEN TO REMOVE THE FILTER
• Check and clean the filter at least 2 or 3 times
a year.
• When the appliance does not drain or spin
properly.
• When the pump is blocked by an object
(buttons, coins, safety pins).
Important: Make sure that the water has
cooled before draining.
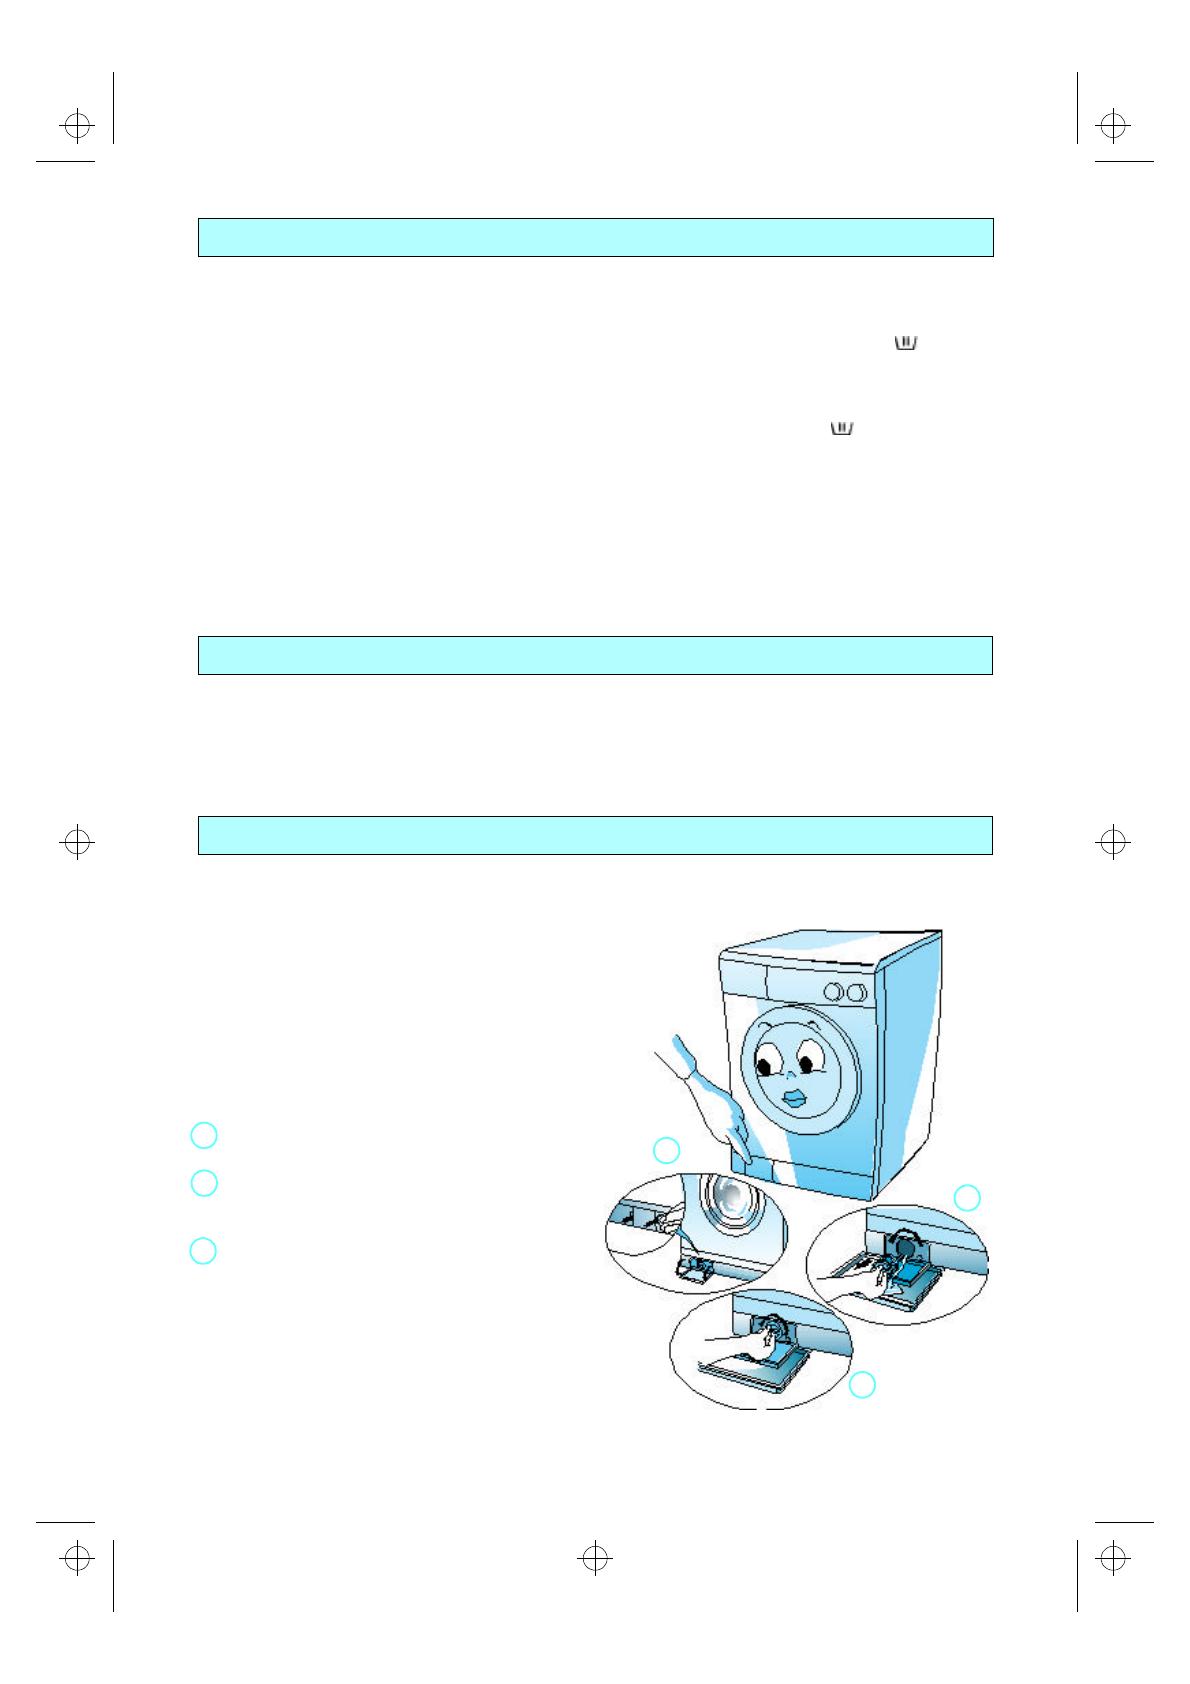
REMOVING THE FILTER
1. Switch off the appliance.
Open the filter cover with a coin
3. Place a tray or container beneath the cover.
Slowly turn the filter anticlockwise without
unscrewing it completely.
5. Wait until all the water has drained off.
Now unscrew the filter completely and
remove it.
7. Remove any foreign material from the filter.
8. Check that the pump rotor moves freely.
9. Insert the filter and screw it in clockwise until
it locks.
10.Pour 1/2 litre of water into the detergent
drawer and check that water does not leak
from the filter.
11.Close the cover.
LIQUID BLEACH (HYPOCHLORITE)
DYEING
REMOVING THE FILTER
2
4
6
00018-gb.fm5 Page 116 Wednesday, May 10, 2000 5:30 PM


