16
01GB02CD-EUR.fm
CDX-CA650X/CA650V/CA650
3-227-675-11(2)
masterpage:Left
RDS
Overview of RDS
FM stations with Radio Data System (RDS)
service send inaudible digital information along
with the regular radio programme signal. For
example, one of the following will be displayed
upon receiving a station with RDS capability.
RDS services
RDS data offers you other conveniences, such as:
• Automatic retuning of a programme, helpful
during long-distance drives. — AF t page 16
• Receiving traffic announcements, even
when enjoying another programme/source. —
TA t page 17
• Selecting stations by the type of programme
it broadcasts. — PTY t page 18
• Automatic clock time setting. — CT t page
19
Notes
• Depending on the country or region, not all of the
RDS functions are available.
• RDS may not work properly if the signal strength is
weak or if the station you are tuned to is not
transmitting RDS data.
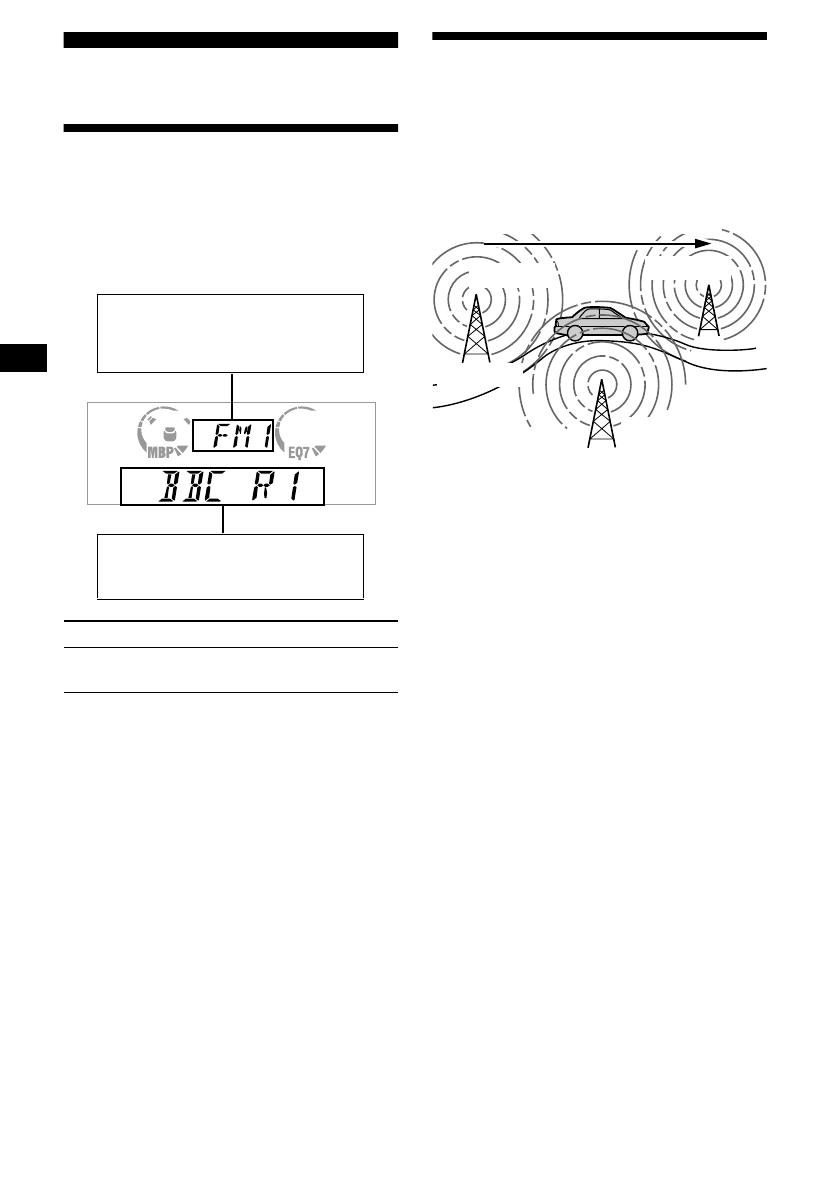
Automatic retuning for best
reception results
— AF function
The alternative frequencies (AF) function allows
the radio to always tune into the area’s strongest
signal for the station you are listening to.
1 Select an FM station (page 14).
2 Press (AF) repeatedly until “AF-ON”
appears.
The unit starts searching for an alternative
frequency with a stronger signal in the same
network.
If “NO AF” flashes, the currently tuned into
station does not have an alternative frequency.
Note
When there is no alternative frequency in the area or
when you do not need to search for one, turn the AF
function off by selecting “AF-OFF.”
For stations without alternative
frequencies
Press either side of (SEEK) while the
station name is flashing (within 8
seconds).
The unit starts searching for another
frequency with the same PI (Programme
Identification) data (“PI SEEK” appears).
If the unit cannot find the same PI, the unit
returns to the previously selected frequency.
Staying with one regional programme
When AF function is on: this unit’s factory-set
setting restricts reception to a specific region, so
you won’t be switched to another regional station
with a stronger frequency.
If you leave this regional programme’s reception
area or would like to take advantage of the whole
AF function, select “REG-OFF” from the MENU
(page 22).
To Press
Switch display
item
(DISPLAY/PTY)
Displayable items
• Music source
• Clock
• Function
Displayable items
•
Station name (frequency)
• Programme type
Frequencies change automatically.
98.5 MHz
Station
102.5 MHz
96.0 MHz


