HP D3000 Installation guide

Category
Action sports cameras
Type
Installation guide

This manual is also suitable for

CONTENT
PORTUGUÊS
Ελληνικά
d3000 Quick Start Guide
ENGLISH
Camera Views
Front View Back View
1. Self-timer LED/
AF Assist Lamp
2. Microphones
3. Lens
4. LCD display
5. LED indicator
6. Video Record button
7. Playback button
8. OK button/4-way
navigation control
9. Function/Delete
button
10. Menu button
Top View
11. Flash enclosure
12. Zoom toggle
13. Shutter button
14. ON/OFF
(Power button)
15. Mode dial
Bottom View
16. Battery/Memory
card compartment
17. Tripod screw hole
Right View
18. Strap ring
Left View
19. Strap ring
20. Speaker
21. USB AV/Out
Step 1. Inserting the Battery
1. Unlock and open the battery/memory card compartment (feature no. 16 on page 2) on the bottom
of the camera as shown below. To unlock the door slide the release slider (step 1) towards the back
of the camera. At the same time slide the door (step 2) to the right.
2. Insert four AA batteries into the cavities with
the alternating battery orientation exactly as
shown in the figure to the right. Note:
inside each battery cavity there is a small
decal that depicts proper battery orientation.
3. Close the battery/memory card compartment
door and slide it back to its closed position.
The slider will click into its locked position.
Step 2. Inserting an SD/SDHC/SDXC Memory Card
1. Unlock and open the Battery/memory card
compartment at the bottom of the camera as
described in the previous section.
2. Insert an SD, SDHC, or SDXC card into the
memory card slot with the contact pins facing
the back side of the camera as shown.
3. Push the memory card into the memory slot
until it clicks into place.
4. Close and lock the Battery/memory card
compartment door as described in the
previous section.
NOTE: To remove the memory card: Gently push the card until it pops out. Pull the card out and lock the battery cover.
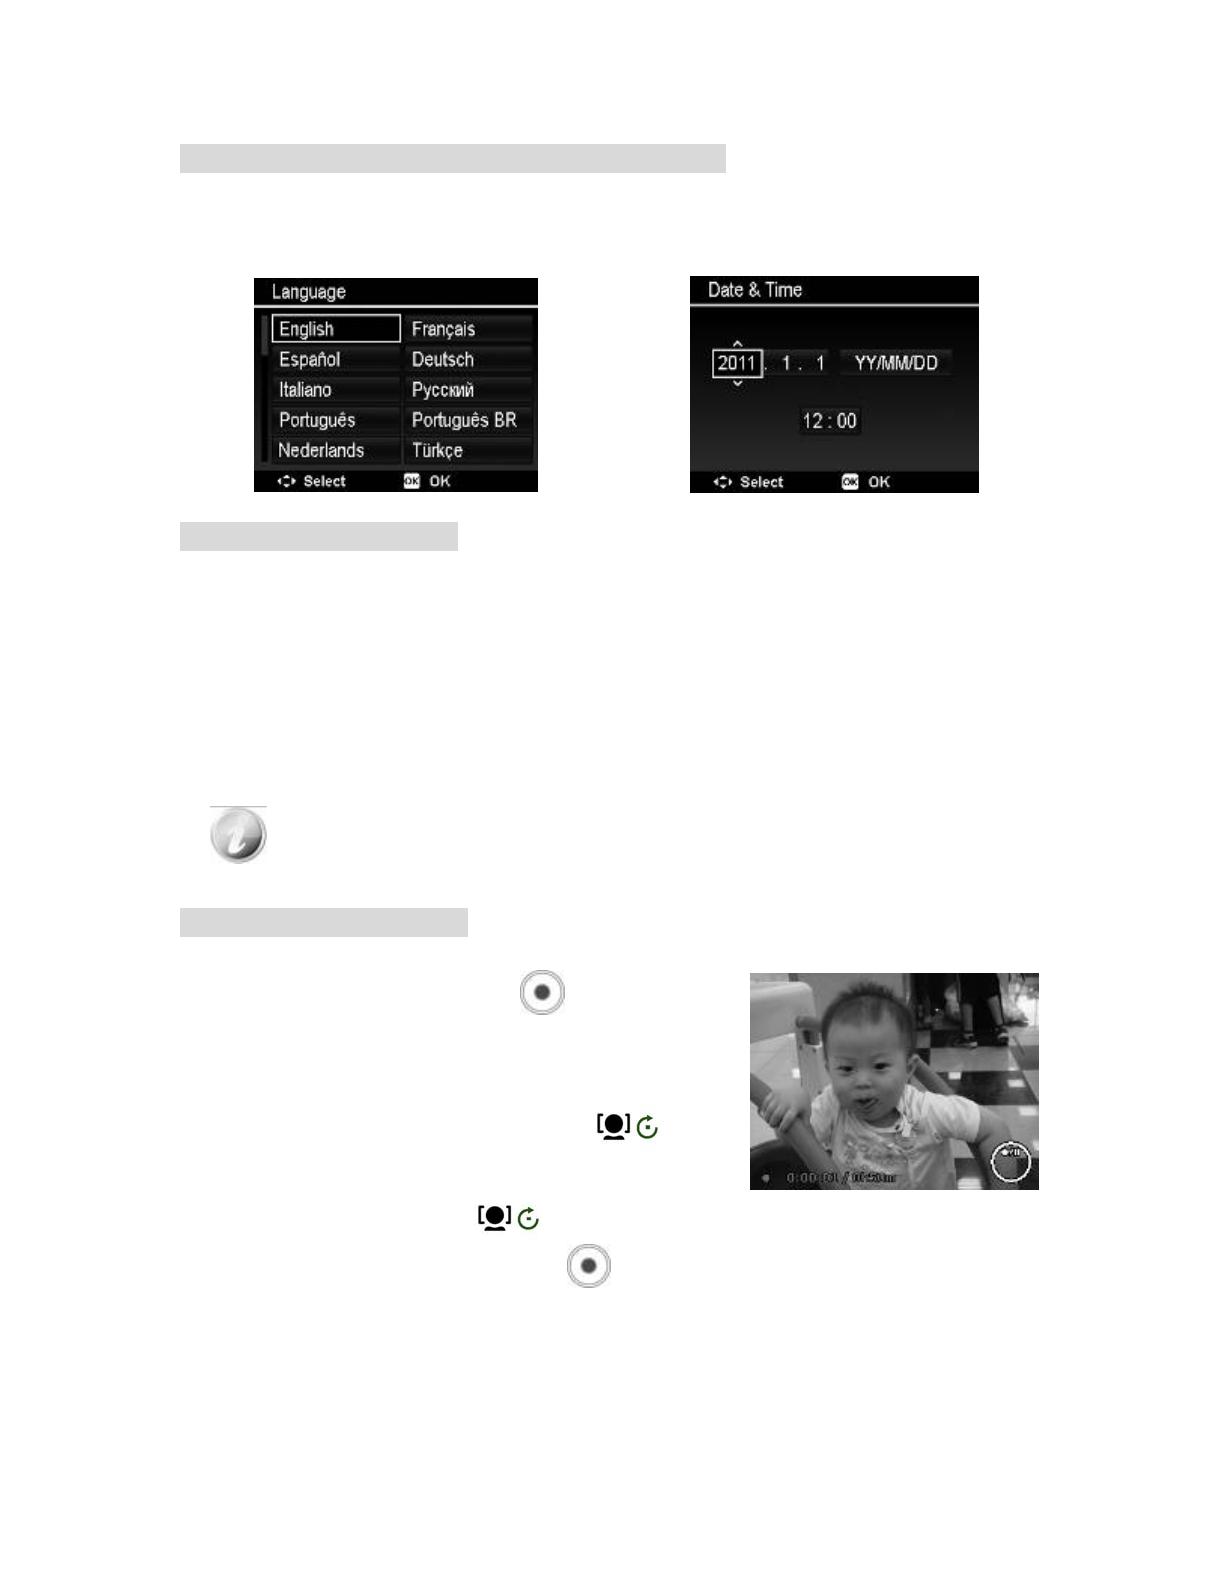
Step 3. Setting the Language, Date, and Time
1. Turn on the power by pressing Power button. (feature no. 14 on page 1)
2. Use 4-way navigation controller (feature no. 8 on page 1) to move and change the settings.
3. Press OK button to finish. (also feature no. 8 on page 1)
Step 4. Taking Pictures
1. Power on the camera by pressing the Power button.
2. Compose your image in the LCD display monitor.
3. Use the Zoom toggle (feature no. 12 on page 1) to
zoom in, or out, to frame your subject.
4. Press the Shutter button (feature no. 13 on page 1)
halfway down to start adjustment to the auto focus and
the exposure. Once the framing bracket turns green,
press the Shutter button down fully to take the Photo.
When using the flash strobe, note that the flash door does not pop-up automatically.
Please open the Flash manually. Lift using the tabs on the Flash cover. (feature no. 11
on page 1)
Step 5. Recording Video
1. Power on the Camera.
2. Press the Video Record button
to start recording
(feature no. 6 on page 1). The green LED (feature no. 5 on
page 1) will blink as an indication that you are recording.
3. Use the Zoom toggle (feature no. 12 on page 1) to zoom in
and zoom out as desired.
4. To pause recording momentarily, press the
located
on the top of the navigation controller (feature no. 8 on page
1).
5. To resume recording, press
again.
6. To stop recording altogether, press the
again.
Step 6. Viewing photos, videos and audio
clips
1. Press the Playback button on the camera. (feature
no. 7 on page 1)
2. The LCD screen displays an image. Press the left and right
quadrants of the navigation controller (feature no. 8 on page
1; the macro and flash symbols) to view the previous or next
image, or video.
3. Press the OK button (also feature no. 8 on page 1) to play a
video clip.
Step 7. Using the Setup Menu
1. Power on the Camera.
2. Press the Menu button
(feature no. 10 on page 1)
to open the Record/Playback Menu.
3. Press the left and right quadrants of the navigation
controller (feature no. 8 on page 1; the macro and flash
symbols) to change the menu tab to Setup menu.
4. Press upper and lower quadrants of the navigation controller
to move up and down through the menu selections. Use
the right quadrant (flash symbol) to expand menus that
have sub features.
5. Press the OK button (also feature no. 8 on page 1) to save
and apply settings.
  • Page 1 1
  • Page 2 2
  • Page 3 3
  • Page 4 4
  • Page 5 5
  • Page 6 6
  • Page 7 7
  • Page 8 8
  • Page 9 9
  • Page 10 10
  • Page 11 11
  • Page 12 12
  • Page 13 13
  • Page 14 14
  • Page 15 15
  • Page 16 16
  • Page 17 17
  • Page 18 18
  • Page 19 19
  • Page 20 20
  • Page 21 21
  • Page 22 22
  • Page 23 23
  • Page 24 24
  • Page 25 25
  • Page 26 26
  • Page 27 27
  • Page 28 28
  • Page 29 29
  • Page 30 30
  • Page 31 31
  • Page 32 32
  • Page 33 33
  • Page 34 34
  • Page 35 35
  • Page 36 36
  • Page 37 37

HP D3000 Installation guide

Category
Action sports cameras
Type
Installation guide
This manual is also suitable for

Ask a question and I''ll find the answer in the document

Finding information in a document is now easier with AI