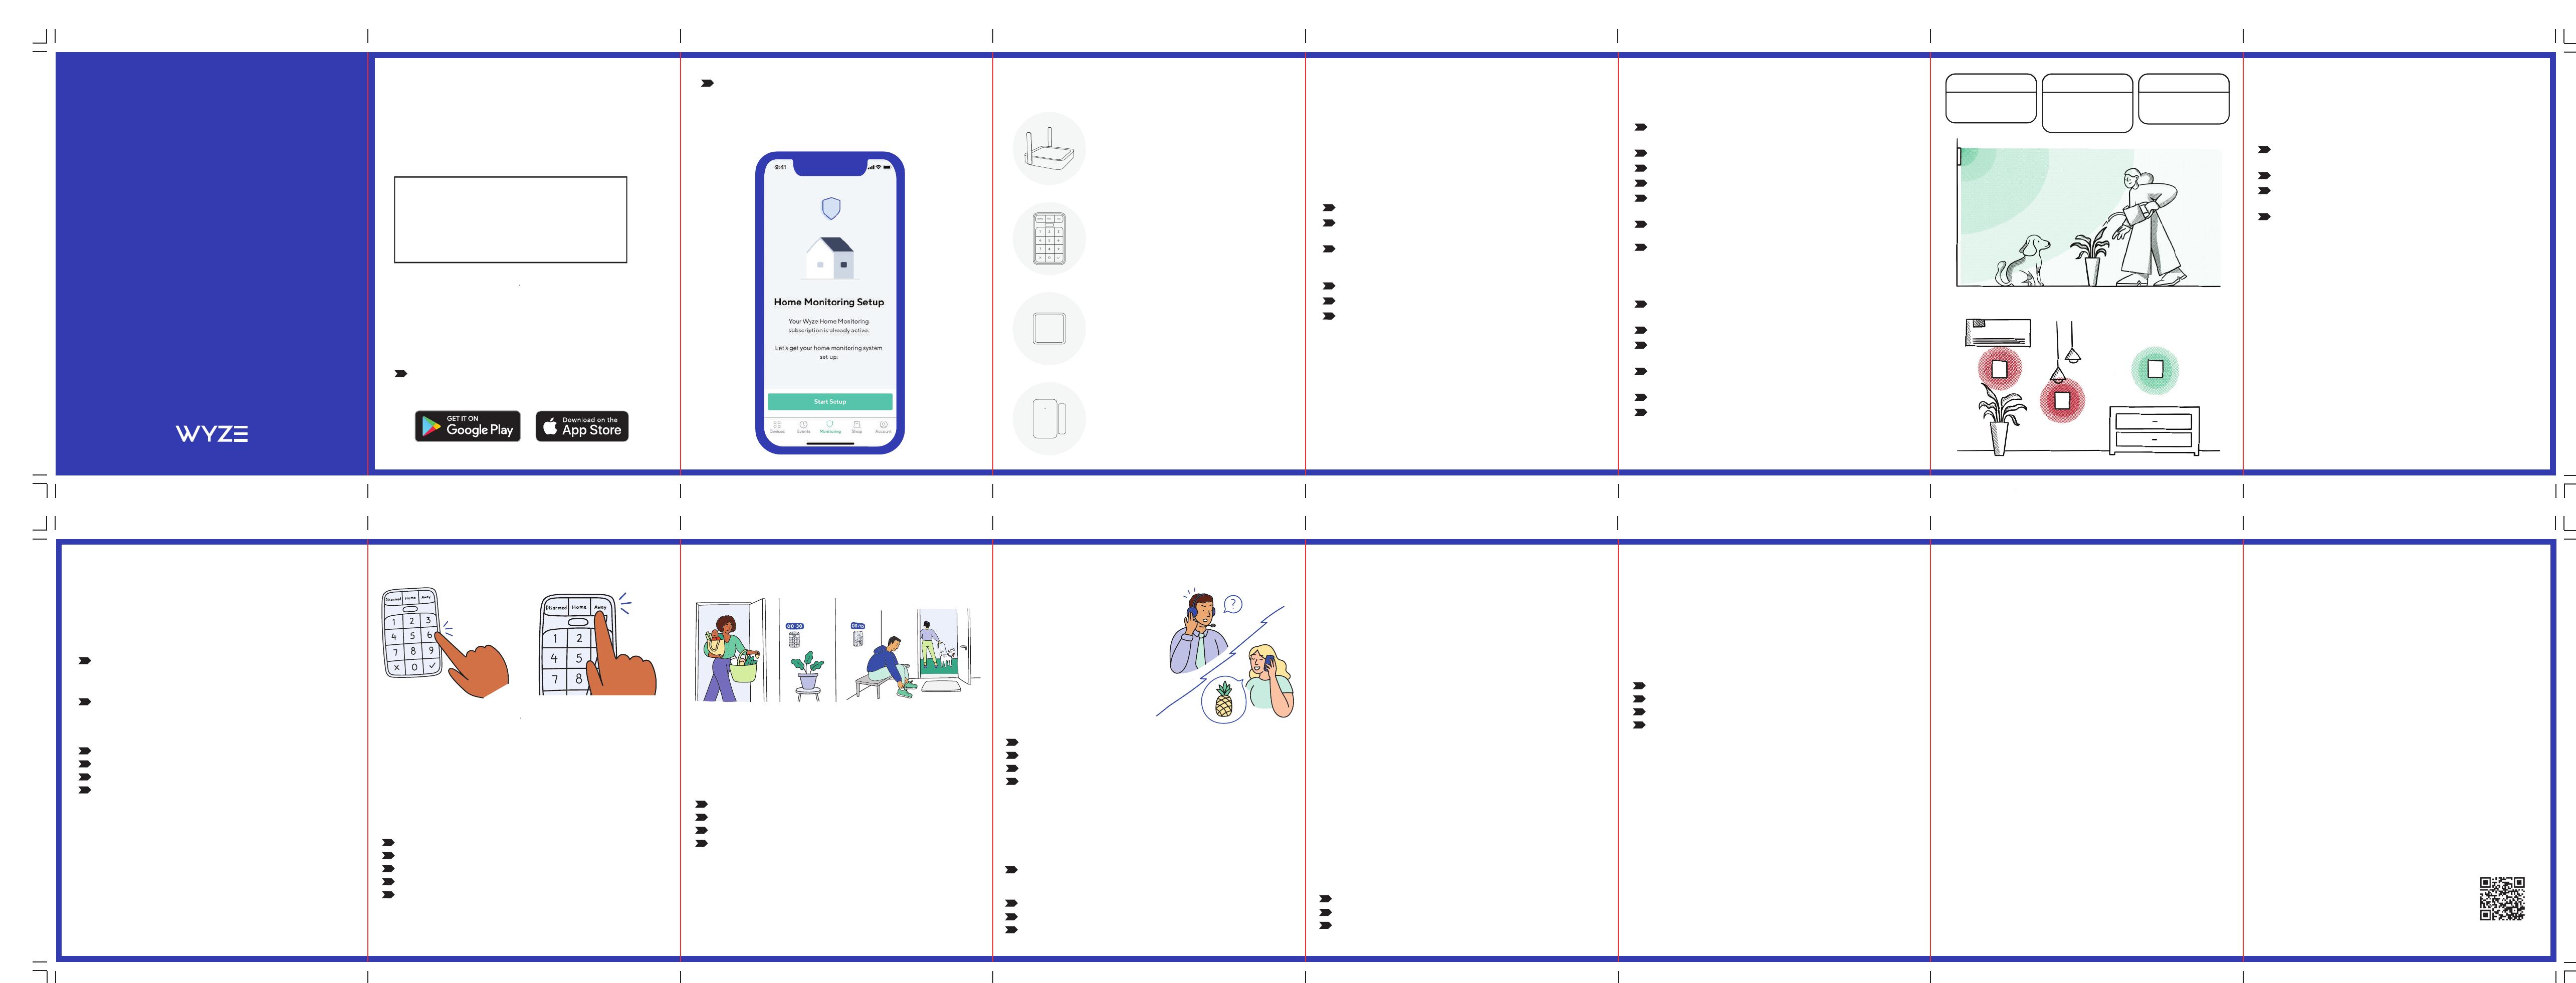
WELCOME TO WYZE
IN THE BOX
Wyze Home Monitoring is an automated monitoring service
designed to keep your home safe and report threats even when
you can’t review Events by yourself. During an emergency, an
agent from the monitoring center will reach out to you and
dispatch authorities if necessary.
Wyze Sense Hub × 1
Wyze Keypad × 1
Contact Sensor × 2
Wyze Entry Motion Sensor × 1
Quick Start Guide × 1
Window Decals × 2
Hub
The brains of your new security system.
The Sense Hub connects sensors to the
Wyze app and has a built-in siren to ward
to your home internet via WiFi or Ethernet
o would-be intruders. Connect the Hub
and make sure it’s placed in a central
location for best coverage.
Keypad
Placed near your door, the Wyze Sense
Keypad makes it easy to quickly arm
and disarm your system.
Motion Sensor
Designed to detect people and not
pets. Place it high on the wall for best
coverage.
Entry Sensor
Always know when your doors are
open or left open. Mount on primary
entry/exits and windows.
ACTIVATION
To activate Wyze Home Monitoring, enter your activation code
through the following link: services.wyze.com
Note: If you ordered a Wyze Core Starter Kit online, you may
activate your Home Monitoring through your email.
Total installation time should take less than 40 minutes. Before you
get started, make sure you have a step ladder or stool handy and
a screwdriver if you plan to mount your motion sensor in a corner.
Make sure to follow the in-app guide to ensure your devices are
added to your Wyze account and installed properly.
INSTALLATION & SETUP
SETUP
Control and monitor your entire home via the Wyze app. To
get started, simply download the Wyze app to your mobile
phone and log in or create an account.
1
HARDWARE OVERVIEW
To start your Home Monitoring setup, navigate to the Wyze
app, and go into the Home Monitoring Tab. When your Home
Monitoring license is activated, you can tap on the ‘Start Setup'
button. This will guide you through the installation process.
Not seeing this screen? Go to services.wyze.com to activate.
WYZE SENSE HUB
WYZE SENSE KEYPAD
Ensure your phone’s Bluetooth is turned on
Click on the Monitoring tab in the bottom navigation bar of
the Wyze app
Use the included cables to plug the device into a nearby
outlet and router. If your router is not located in a central
location, you can also connect the Hub to WiFi
Raise the two antennas
Press the Reset button on the back of the device
Follow the in-app instructions to complete setup
After the Hub is set up, you will be prompted to add additional
devices. Click on each device to begin setup.
batteries
Replace the battery cover
Slide the mounting plate and battery cover o to insert 3 AA
Press the Reset button
Name your keypad
Clean the desired mounting location and wait for it to dry
completely
Use the adhesive back or screws to secure the mounting plate
to the wall
Attach your keypad to the mounting plate
NOTE: the adhesive is semi-permanent and may peel paint when removed
The Keypad is designed to be mounted on the wall near your door
and connects to the Hub.
MOTION SENSOR
Remove the plastic battery tab. If you previously removed it,
press and hold the reset button until the status light flashes 3 times
Name your sensor
Clean the desired mounting location and wait for it to dry
completely
Use the adhesive backing to secure the mounting plate to the
desired location
Use screws for optional added security
Attach sensor to mounting plate
Mount on wall or
corner ~7 feet high
Avoid placing it
near heat sources
(vents, lamps, etc.)
Ensure Wyze logo
is on the LEFT side
1 2 3
PIN
ENTRY & EXIT DELAYS
Control how much time you allow
to disarm your system before an
alarm. You may choose between
0 to 180 seconds.
If you do not disarm your system,
an alarm will begin.
Entry Delay
Control the amount of time for
people to leave your home
before the system is armed. You
may choose between 0 to 180
seconds.
Exit Delay
Change your Entry & Exit Delay
Go into the Home Monitoring Tab
Scroll to the bottom to find the Home Monitoring Settings button
Navigate to Entry & Exit Delay
Choose your delay time for Home or Away
1
2
3
4
1
Enter your PIN and then press the checkmark and your desired
mode
Your PIN will be used to disarm your system or cancel an
Emergency Response request. This PIN will be entered through
the Wyze Sense Keypad or through the Wyze app.
Go into the Home Monitoring Tab
Scroll to the bottom and tap into Home Monitoring Settings
Tap Home & Away
Choose the sensors that you would like for each mode
HOW TO ARM & DISARM YOUR SYSTEM
HOW TO CHOOSE SENSORS FOR HOME & AWAY MODE
Arm/Disarm through Keypad
What is a PIN?
Press the Disarmed, Home, or Away button in the Home
Monitoring tab
Arm/Disarm through Wyze app
NEED HELP?
Contact our support team:
https://support.wyze.com
Join our Community:
https://wyze.com/community
Scan the QR code
to learn more
USER
MANUAL
Wyze Home Monitoring
2
1
2
3
4
5
6
1
2
3
4
5
6
7
1
2
3
4
5
6
1
1
1
2
3
4
Activate through your Keypad
Press & hold the Emergency Button on the right side of your Keypad
Activate through Wyze app
Go into the Home Monitoring Tab
Tap the Emergency Button icon on the top right side
Confirm on the dialog to activate the Emergency Button
EMERGENCY BUTTON
The Emergency Button will be used to manually activate Alarm
Response. Alarm Response will trigger an alarm and notify our
monitoring service provider, Noonlight.
SAFE WORDS
A Safe Word is a secret word chosen
by you and used by your monitoring
agent to verify your safety. It is
important to choose a word that can
be pronounced clearly in high-stress
situations. During an active alarm,
our monitoring agent will contact you
to confirm your safety. If you are
unable to repeat your safe word, our
monitoring agent may dispatch
emergency services to your location.
What is a Safe Word?
Change your Safe Word
Go into the Home Monitoring Tab
Scroll to the bottom to find the Home Monitoring Settings button
Navigate to PIN & Safe Word
Tap Safe Word to change your word
1
2
3
4
1
1
2
3
MONITORING CERTIFICATE
Enter your PIN on the Keypad or in the Wyze app.
HOW DO I CANCEL AN ALARM?
NOONLIGHT
You can cancel an alarm by entering the PIN on the physical Keypad
or in the Wyze app. If you are contacted by Noonlight, please tell the
agent your Safe Word to cancel the emergency dispatching.
Please notice that if law enforcement has been dispatched, it would
visiting your home or cancel the patrol even if you cancel the alarm.
be up to the ocer’s jurisdiction to decide whether to proceed to
Noonlight is a nationwide modern platform for professional security
monitoring and law enforcement dispatching. The monitoring center
they use is UL listed, TMA Five Diamond certified, and bi-directionally
redundant.
home monitoring experience.
Wyze is collaborating with Noonlight to oer customers a modern
EXTRA INFO
WHAT HAPPENS DURING AN ALARM
During an alarm, we will execute the list of actions you’ve selected in
the Home Monitoring settings.
only, push notification for Android users), and our system will let
By default, the siren will go o, you will receive a Critical Alert (iOS
Noonlight know there is an alarm at your home.
To download your Monitoring Certificate
Navigate to the Home Monitoring tab on the Wyze app
Tap on Monitoring Certificate
Tap on Send Certificate to have your Monitoring Certificate sent
to your email
1
2
3
PERMITS AND REGISTRATIONS
Test Mode
We encourage you to use Test Mode after completing the Setup
process to have full confidence in using your system.
How to prevent false alarms
• Follow all installation instructions and test your system to ensure
pets do not trigger motion sensors
• Properly train all home members and users (such as babysitters
and visitors)
• Secure doors and windows before arming
• Remember your PIN so you can quickly disarm your system
• Remember your Safe Word so you can cancel an alarm if the
monitoring center contacts you
• Periodically check if the sensors are attached to the window or
door firmly
How to enable Test Mode
Go into Home Monitoring Tab
Scroll to the bottom to find the Home Monitoring Settings button
Tap into Test Mode
You may exit Test Mode at any point by tapping on the ‘Exit Test
Mode’ button in the notice card
FALSE ALARMS
False alarms happen when your alarm is triggered but there is no
emergency. Wyze Home Monitoring Service has features built-in to
prevent false alarms, but it is important you understand how your
system works and avoid common mistakes.
Some cities may require a permit for a professional home security
system. Please check with your local government for specific
requirements and rules.
1
2
3
4
ISEDC RADIATION EXPOSURE STATEMENT:
FCC WARNING:
FCC RADIATION EXPOSURE STATEMENT:
Any changes or modifications not expressly approved by the party
responsible for compliance could void the user's authority to operate
the equipment.
This device complies with part 15 of the FCC Rules. Operation is
subject to the following two conditions: (1) This device may not cause
harmful interference, and (2) this device must accept any interference
received, including interference that may cause undesired operation.
This equipment complies with FCC radiation exposure limits set forth
for an uncontrolled environment. This equipment should be installed
and operated with minimum distance 20cm between the radiator &
your body.
This transmitter must not be co-located or operating in conjunction
with any other antenna or transmitter.
ISEDC RSS WARNING:
This device complies with ISEDC licence-exempt RSS standard (s).
Operation is subject to the following two conditions: (1) this device
may not cause interference, and (2) this device must accept any
interference, including interference that may cause undesired
operation of the device.
Le présent appareil est conforme aux CNR d'ISEDC applicables aux
appareils radio exempts de licence.
L'exploitation est autorisée aux deux conditions suivantes:
(1) l'appareil ne doit pas produire de brouillage, et
(2) l'utilisateur de l'appareil doit accepter tout brouillage radioélec-
trique subi, même si le brouillage est susceptible d'en compromettre
le fonctionnement.
This equipment complies with ISEDC RF radiation exposure limits
set forth for an uncontrolled environment.
This transmitter must not be co-located or operating in conjunc-
tion with any other antenna or transmitter.
This equipment should be installed and operated with minimum
distance 20cm between the radiator & your body.
Cet appareil est conforme aux limites d'exposition de rayonnement
RF ISEDC établies pour un environnement non contrôlé.
Cet émetteur ne doit pas être co-implanté ou fonctionner en
conjonction avec toute autre antenne ou transmetteur.
Cet équipement doit être installé et utilisé avec une distance
minimale de 20cm entre le radiateur et votre corps.
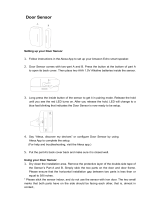
ENTRY SENSOR
Entry sensors should be mounted so the two components of the
sensor are together when the door or window is closed and apart
when it's open. The lines on the side of each component should
be aligned and facing each other when installed.
’s perimeter through sensors on
Modes let you manage the behavior of your Home Monitoring
devices and can be accessed on your Wyze Keypad or in the Home
Monitoring tab in-app.
Home Mode will monitor your home
your doors & windows. This mode is best for when you will stay
inside your home with minimal movement. In this mode, you want to
prevent choosing sensors that would be easily triggered while
inside your house.
Remove the plastic battery tab. If you previously removed it,
press and hold the Reset button until the status light flashes 3 times
Name your sensor
Clean the desired mounting location and wait for it to dry
completely
Use the adhesive to secure the sensor into place
1
2
3
4
HOW TO USE YOUR SYSTEM
DISARMED MODE
Home Monitoring Modes
What are Modes?
Disarmed Mode will only allow cameras to be on duty and will not
trigger an alarm.
HOME MODE
How to change your PIN
Require PIN for Changing Modes
Arming Behavior
If you choose to require a PIN,
you will need to enter your PIN
every time you switch modes.
For example, switching from
Disarmed to Home on your Wyze
Sense Keypad will require you to
enter your PIN.
Do Not Require PIN for Mode Changes
If you choose not to require a PIN,
you will only need to enter your
PIN when disarming an alarm or
Entry Delay.
Go into the Home Monitoring Tab
Scroll down to Home Monitoring Settings
Tap PIN & Safe Word
Update your PIN by tapping ‘Update PIN’
Enter your new PIN
1
2
3
4
5
AWAY MODE
Away mode monitors both the inside and outside perimeter of your
home. This mode is best when you are away from your home and
need your entire home monitored.