Initializing the Receiver (cont)
3. Use the
D
key to scroll through the list options until
the country of your present position appears.
4. Use the
U
key to highlight the country/state/region
you’re in. If the country you’re in is not listed, select
another country within 500 miles of your present
position.
5. Press
F
to finish.
The GPS 120XL will now begin searching for the
appropriate satellites for your location and should
acquire a position within 3-5 minutes. You can verify
that you have acquired a position by watching the
Satellite Page transition to the Position Page (provided
you haven’t pressed any other buttons) or by looking for
a ‘2D NAV’ or ‘3D NAV’ status at the top left corner of
the Satellite Page.
Initialization Troubleshooting
If you have trouble initializing the receiver or
acquiring a position, check the following:
• Does the antenna have a clear view of the sky?
If there are large buildings or mountains nearby, or
if there is heavy tree cover, the receiver may not be
receiving enough satellite signals to calculate a
position.
• Have you selected the right country/state/region
from the EZinit list?
Check for the correct approximate lat/lon on the
Position Page, or reselect the appropriate country
from the list to restart the initialization.
• Have you moved more than 500 miles from the
last calculated position with the receiver off?
Reinitialize the receiver, selecting the country/state/
region of your new location from the EZinit list.
Your unit should now be initialized. If you want to
complete the Getting Started Tour at another time, you
may now turn the GPS 120XL off (see below) or you
may continue.
To turn the GPS 120XL off:
1. Press and hold
P
for approximately three seconds
until the receiver turns off.
7
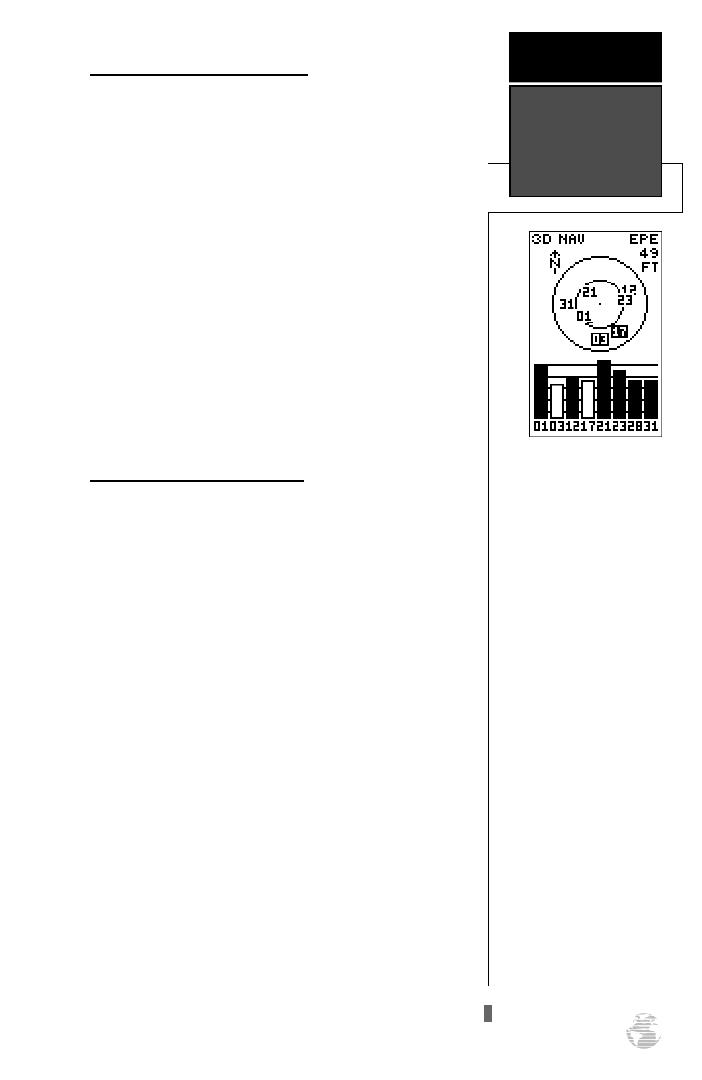
The GPS 120XL’s Satellite
Page will help you deter-
mine which satellites are in
view and whether or not
any satellites are being
“shaded” or blocked from
the receiver’s antenna.
By monitoring the signal
strength bars at the bottom
of the page and the sky view,
you’ll be able to see how
moving to another area with
a clearer view of the sky will
improve satellite reception
and speed up signal
acquisition.
GETTING
STARTED
Initialization
120XL Man RevB 7/10/98 10:54 AM Page 7