The Radio
19
The Radio
Presetting radio
stations
You can store radio stations into the player’s
memory. You can preset up to 40 radio
stations (European model), 20 for FM and 10
for MW and LW in any order or 30 radio
stations (other models), 20 for FM and 10
for AM in any order.
1 Press RADIO BAND•AUTO PRESET
to select the band.
2 Hold down RADIO BAND•AUTO
PRESET for 2 seconds until “AUTO”
flashes in the display.
3 Press DISP/ENT/MEMORY.
The stations are stored in memory from
the lower frequencies to the higher
ones.
If a station cannot be preset
automatically
You need to preset a station with a weak
signal manually.
1 Press RADIO BAND•AUTO PRESET to
select the band.
2 Tune in a station you want.
3 Hold down DISP/ENT/MEMORY for 2
seconds until the preset number flashes in
the display.
4 Press PRESET + or – until the preset
number you want for the station flashes in
the display.
5 Press DISP/ENT/MEMORY.
The new station replaces the old one.
On the remote
1 Press BAND until the band you want
appears in the display.
2 Tune in a station you want.
3 Hold down the number buttons that you
want to preset the new station on for about
2 seconds.
To select the preset number over 10, press
>10 first, then the corresponding number
buttons.
You need to hold down the last number
button to enter for about 2 seconds.
(Example: To select 12, press >10 and 1
first, then hold down 2 for about 2
seconds.)
Tip
The preset radio stations remain in memory even
if you unplug the mains lead or remove the
batteries.
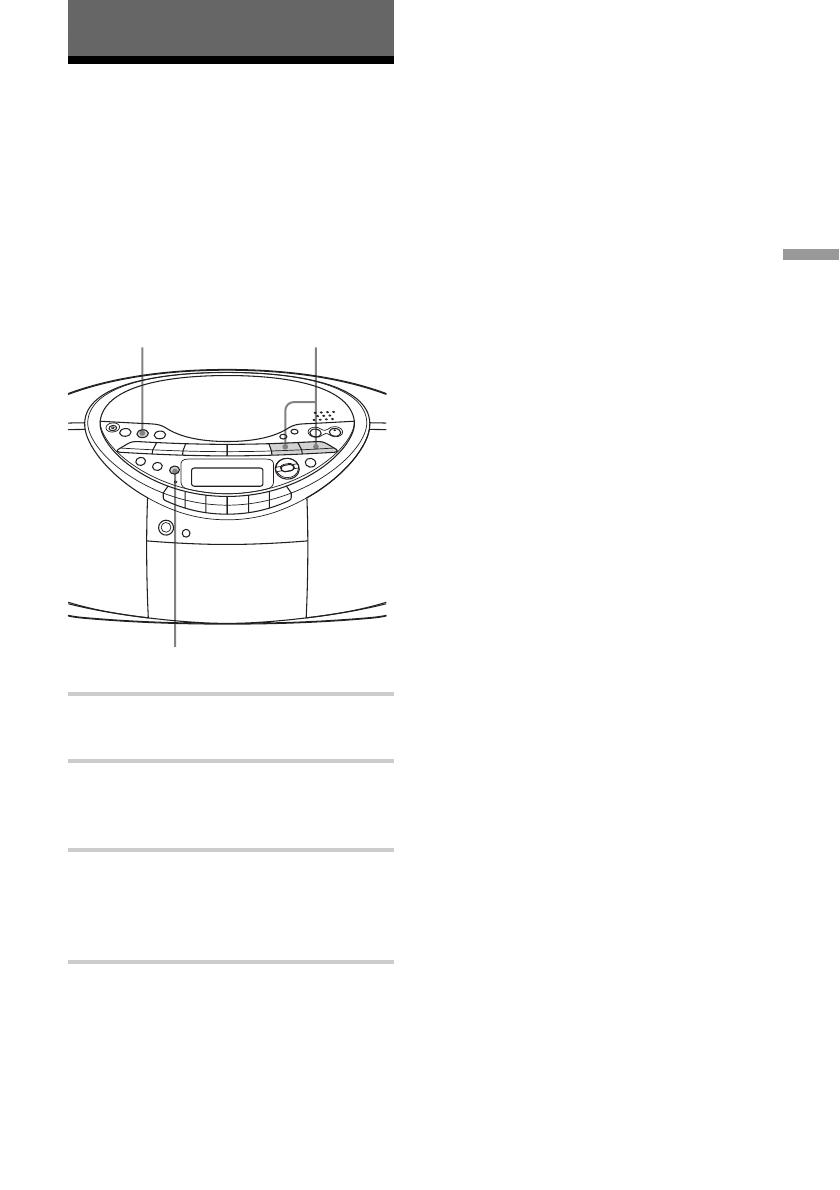
DISP/ENT/MEMORY
RADIO BAND
AUTO PRESET PRESET –, +


