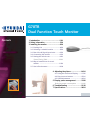
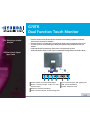
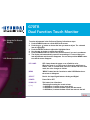
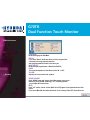
Hyundai G70TR is a 17-inch dual-function touch monitor with advanced digital On-Screen-Display controls and fast auto adjustment. It has a high-quality screen re-scaling capability and supports VESA Flat Panel Monitor Physical Mounting Interface. The digital signal input by DVI-1.0 compatibility and 5-wire resistive touch monitor make it suitable for various applications.
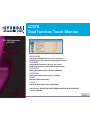
Hyundai G70TR is a 17-inch dual-function touch monitor with advanced digital On-Screen-Display controls and fast auto adjustment. It has a high-quality screen re-scaling capability and supports VESA Flat Panel Monitor Physical Mounting Interface. The digital signal input by DVI-1.0 compatibility and 5-wire resistive touch monitor make it suitable for various applications.


-
 1
1
-
 2
2
-
 3
3
-
 4
4
-
 5
5
-
 6
6
-
 7
7
-
 8
8
-
 9
9
-
 10
10
-
 11
11
-
 12
12
-
 13
13
-
 14
14
-
 15
15
-
 16
16
-
 17
17
-
 18
18
-
 19
19
-
 20
20
-
 21
21
-
 22
22
-
 23
23
-
 24
24
-
 25
25
-
 26
26
-
 27
27
-
 28
28


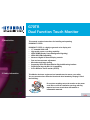
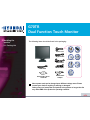
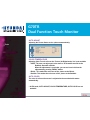
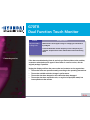
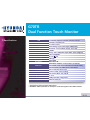
Hyundai G70TR is a 17-inch dual-function touch monitor with advanced digital On-Screen-Display controls and fast auto adjustment. It has a high-quality screen re-scaling capability and supports VESA Flat Panel Monitor Physical Mounting Interface. The digital signal input by DVI-1.0 compatibility and 5-wire resistive touch monitor make it suitable for various applications.
Ask a question and I''ll find the answer in the document
Finding information in a document is now easier with AI