3ASUS Xonar DX
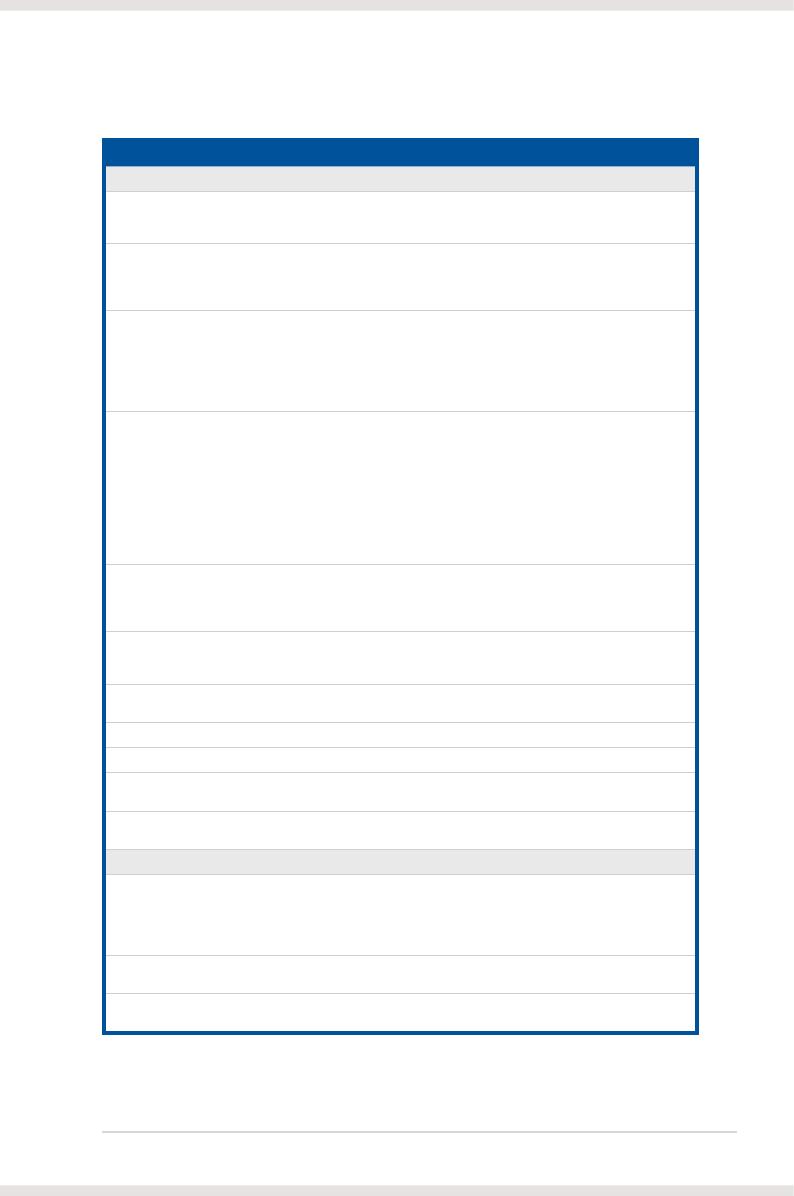
1.3 Specifications summary
Items Description
Driver Features
Dolby
®
Virtual Speaker Dolby Virtual Speaker technology simulates a highly
realistic 5.1-speaker surround sound listening
environment from as few as two speakers.
Dolby
®
Pro-Logic II Dolby Pro-Logic II is the well-known technology to
process any native stereo or 5.1-channel audio into
a 6.1- or 7.1- channel output, creating a seamless,
naturalsurround soundeld.
DirectSound3D Game EXtensions 2.0 & 1.0 (DS3D GX
2.0)
- DS3D GX 2.0 supports EAX gaming sound effects and
DirectSound 3D hardware enhanced functions for more
games on Windows Vista & XP. (DirectX/DirectSound
3D compatible)
- DS3D GX 2.0 adds latest VocalFX voice effects for
online gaming or chatting.
VocalFX™ Xonar DX provides VocalFX, the latest vocal effect
technologies for gaming and VoIP, including:
- VoiceEX: produces vivid environmental reverberation for
your voice in EAX games
- ChatEX: emulates different background
environmenteffects when you chat online
- Magic Voice: changes your voice pitch to different
types(Monster/Cartoon…) for disguising your real voice
or justfor fun in online chattingAcoustic
Acoustic Echo Cancellation (AEC) Provides advanced Acoustic Echo Cancellation (AEC,
eliminates up-to-40dB speaker echo return) and noise
suppression technologies for best voice communication
quality in VOIP applications or online gaming
Smart Volume Normalizer™ Normalizes the volume of all audio sources into a
constant level and also enhances your 3D sound listening
range and advantages in gaming
Karaoke Functions Music Key-Shifting and Microphone Echo effects like
professional Karaoke machine
Xear 3D™ Virtual Speaker Shifter Virtual 7.1 speaker positioning
Other Effects 10-band Equalier/27 Environment Effects
3D Gaming Sound Engines/APIs DirectSound
®
HW, DirectSound SW, A3D
®
1.0, OpenAL
generic modes, 128 3D sounds processing capability
ASIO 2.0 Driver Support: Supports 44.1K/48K/96K/192KHz @16/24bit with very
low latency
Software Utility
Portable Music Processor Lite utility Converts digital music content or CD audio into
regular MP3/WMA les with Dolby
®
Headphone, Dolby
Virtual Speaker (w/ Pro-Logic II), and Smart Volume
Normalization processing (Windows Media Player 10 or
above is required)
MCE Software Kit Software kit with 10-ft GUI for Windows Media Center
Edition
RightMark Audio Analyzer 6.0.6 Easy but powerful software intended for testing the quality
of audio equipments
* Specifications are subject to change without notice.