English
10
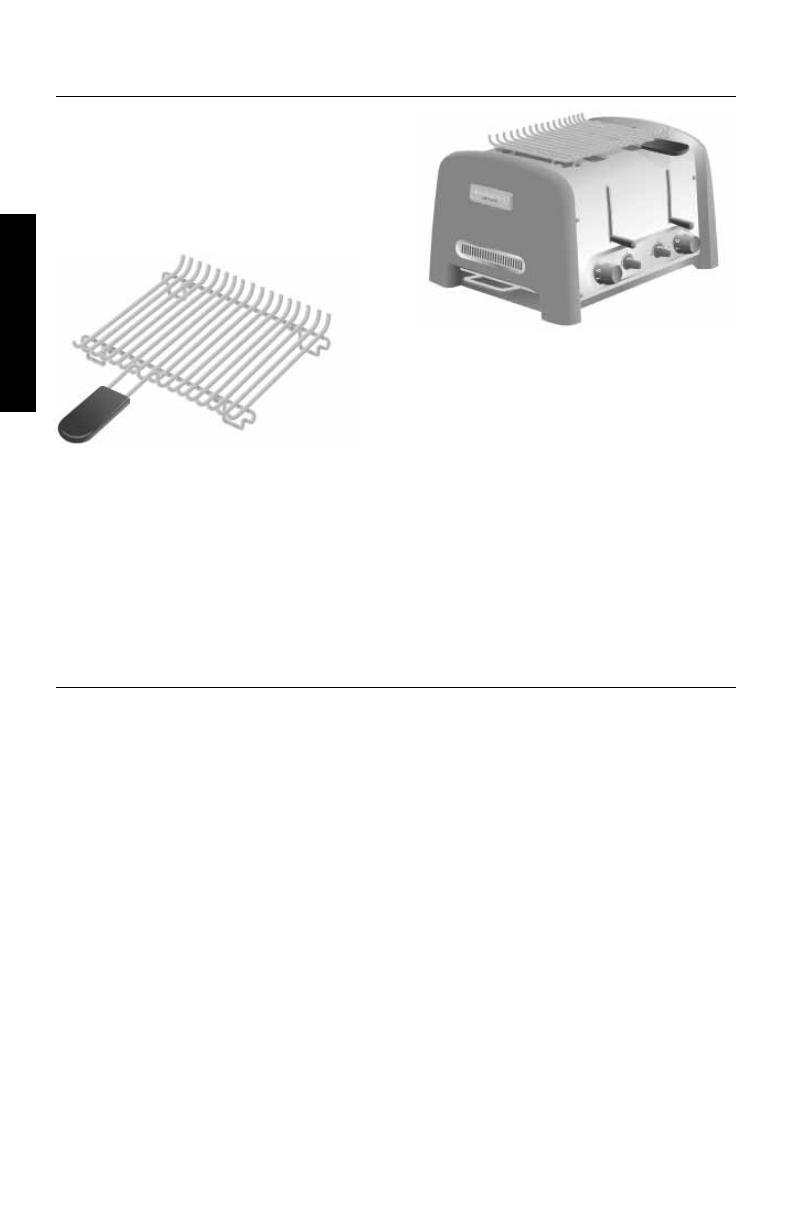
Using the Optional Bun Warmer
Bun Warmer
Model 5KTBW2 – 2-slice
Model 5KTBW4 – 4-slice
Conveniently warm buns on the top
of your toaster with the bun warmer
accessory.
To use:
1. Lower the toaster lift lever or
levers as far as possible. Place bun
warmer on top of the toaster,
making sure the formed wire loops
on the bottom of the warmer fit
into the toaster slots.
2. Place buns on top of the warmer,
select a shade level, and turn the
“O/I” Switch momentarily to the
“I” position to begin warming.
Remember: the bun warmer will
be hot immediately following a
toasting cycle.
Care and Cleaning
1. Always unplug the toaster and let it
cool before cleaning.
2. Slide out the crumb tray (the
5KTT890 has two trays, one for
each pair of slots) and shake the
crumbs into a waste container. It
is recommended that the crumb
tray be emptied after each use.
Remember: the tray will be hot
immediately following a toasting
cycle.
NOTE: Lifting the crumb tray handle
locks the crumb tray inside the toaster,
preventing removal. Always pull the
crumb tray straight from the toaster
without lifting the handle.
The crumb tray can be washed in
the top rack of a dishwasher, or by
hand in warm soapy water. If hand
washing, be sure to rinse the tray and
dry it thoroughly with a soft cloth.
Be sure to insert the crumb tray into
the toaster as far as possible. For best
toasting results do not use the toaster
without the crumb tray in its proper
position.
3. The optional sandwich rack and
bun warmer accessories can
be washed in the top rack of a
dishwasher, or by hand in warm
soapy water. If hand washing, be
sure to rinse the accessory and dry
it thoroughly with a soft cloth.
4. Wipe the toaster with a soft, damp
cotton cloth. Do not use abrasive
cleansers, scrubbers, or liquid
cleaning products. Do not immerse
the toaster in water.
5. KitchenAid does not recommend
the use of a toaster cover.


