- 30 -
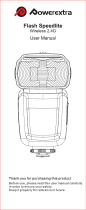
9. Custom Function--Focus Assist Lamp
● Under poorly-lit or low-contrast
conditions, you can press < >
button to turn on the focus
assist beam in order to make it
easier to autofocus.
● The beam will automatically put
out certain seconds after the last
pop is red. The time between the
last re and the auto shutdown of
focus assist beam is called
No-Flash Time. The time is user
adjustable and set to 10 seconds
by default.
● Press < > button and hold for 2
seconds to enter Custom Function.
Then press “SET” button to enter
“FC” mode. The LCD panel
displays “FC” (Auto shutdown of
focus assist lamp) and “No-Flash
Time”. Rotate Select Dial < > to
set a desired time for the ash.
Press < > button to return.
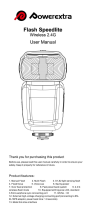
No-Flash Time Meaning
10 seconds
10 seconds after the last re, focus assist
lamp will automatically get out.
20 seconds
20 seconds after the last re, focus assist
lamp will automatically get out.
30 seconds
30 seconds after the last re, focus assist
lamp will automatically get out.
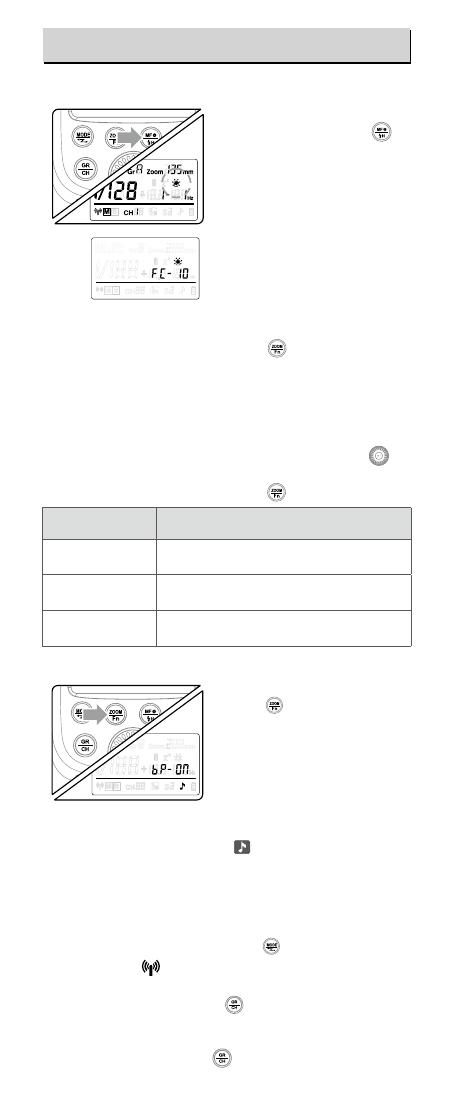
10. Buzz Function
● To turn the buzz function on or off,
press <
> button and hold for 2
seconds to enter Custom Function.
● Then press “SET” button
to enter “bp” mode. The LCD
displays“ON”means buzz is turned
on while “OF” means buzz is
turned off.
● When the buzzer is turned on,
<
>is shown on the LCD display.
11. Wireless Flash Shooting:
Ratio (2.4G) Transmission
● TT600 has 2.4G ratio transmission (Master/Slave)
● Wireless mode setting: Long press <
> button and hold for 2
seconds until<
> icon is blinking. Turn the Select Dial to set
from OFF/Master(M)/Slave(S) mode.
● Channel setting: Long press <
> button and hold for 2
seconds until the gure besides the CH is blinking. Turn the
Select Dial to choose the channel from 1~32.
● Group setting: Short press <
> button to select group. In
Using the Flash