3
Read all instructions before using this appliance.
Save these instructions for future reference.
This manual contains important safety symbols and instructions. Please pay attention to these symbols and follow all
instructions given.
This symbol will help alert you to situations that may cause serious bodily harm, death or property damage.
This symbol will help alert you to situations that may cause bodily injury or property damage.
Important Safety Instructions
• Never modify or alter the construction of the appliance
by removing panels, wire covers, or any other part of
the product.
• Remove the oven door from any unused appliance if it
is to be stored or discarded.
Stepping, leaning, sitting or pulling down
on the door of this appliance can result in serious injuries
and may also cause damage to the appliance. Do not allow
children to climb or play around the appliance.
• Storage in or on Appliance—Flammable materials
should not be stored in an oven. This includes paper,
plastic and cloth items, such as cookbooks, plasticware
and towels, as well as flammable liquids. Do not store
explosives, such as aerosol cans, in or near the appliance.
Do not use the oven for storage.
Do not store items of interest to children in
the cabinets above an appliance. Children climbing on the
appliance to reach items could be seriously injured.
• Do not leave children alone—Children should not be
left alone or unattended in the area where an appliance
is in use. They should never be allowed to sit or stand on
any part of the appliance.
• DO NOT TOUCH INTERIOR OVEN BURNER OR
INTERIOR SURFACES OF THE WALL OVEN UNTIL
THEY HAVE COOLED. The oven heating burner may be
hot even though the flames are not visible. Areas near the
burner may become hot enough to cause burns. During and
after use, do not touch, or let clothing or other flammable
materials touch these areas until they have had sufficient
time to cool. Among these areas are the oven vent
openings, the surfaces near these openings, oven door and
window and broiler drawer.
• Wear Proper Apparel—Loose-fitting or hanging
garments should never be worn while using the
appliance. Do not let clothing or other flammable materials
contact hot surfaces.
NEVER use this appliance as a space heater
to heat or warm the room. Doing so may result in carbon
monoxide poisoning and overheating of the oven.
• Remove all tape and packaging wrap before using the
appliance. Destroy the carton and plastic bags after
unpacking the appliance. Never allow children to play
with packaging material. Do not remove the wiring label and
other literature attached to the back of the wall oven. Do not
remove model/serial number plate.
• Proper Installation. Be sure your appliance is properly
installed and grounded by a qualified technician in
accordance with the National Fuel Gas Code ANSI
Z223.1/NFPA 54 latest edition, and National Electrical
Code ANSI/NFPA No.70-latest edition and local code
requirements. Install only per installation instructions
provided in the literature package for this appliance.
Ask your dealer to recommend a qualified technician and an
authorized repair service. Know how to disconnect the
electrical power to the appliance at the circuit breaker or fuse
box in case of an emergency.
Electronic controllers can be damaged by
cold temperatures. When you use your appliance for the
first time, or if it has not been used for a long period of
time, make sure that it has been exposed to a temperature
above 0°C/32°F for at least 3 hours before connecting it to
the power supply.
• User Servicing—Do not repair or replace any part of the
appliance unless specifically recommended in the
manuals. All other servicing should be done only by a
qualified technician to reduce the risk of personal injury and
damage to the appliance.
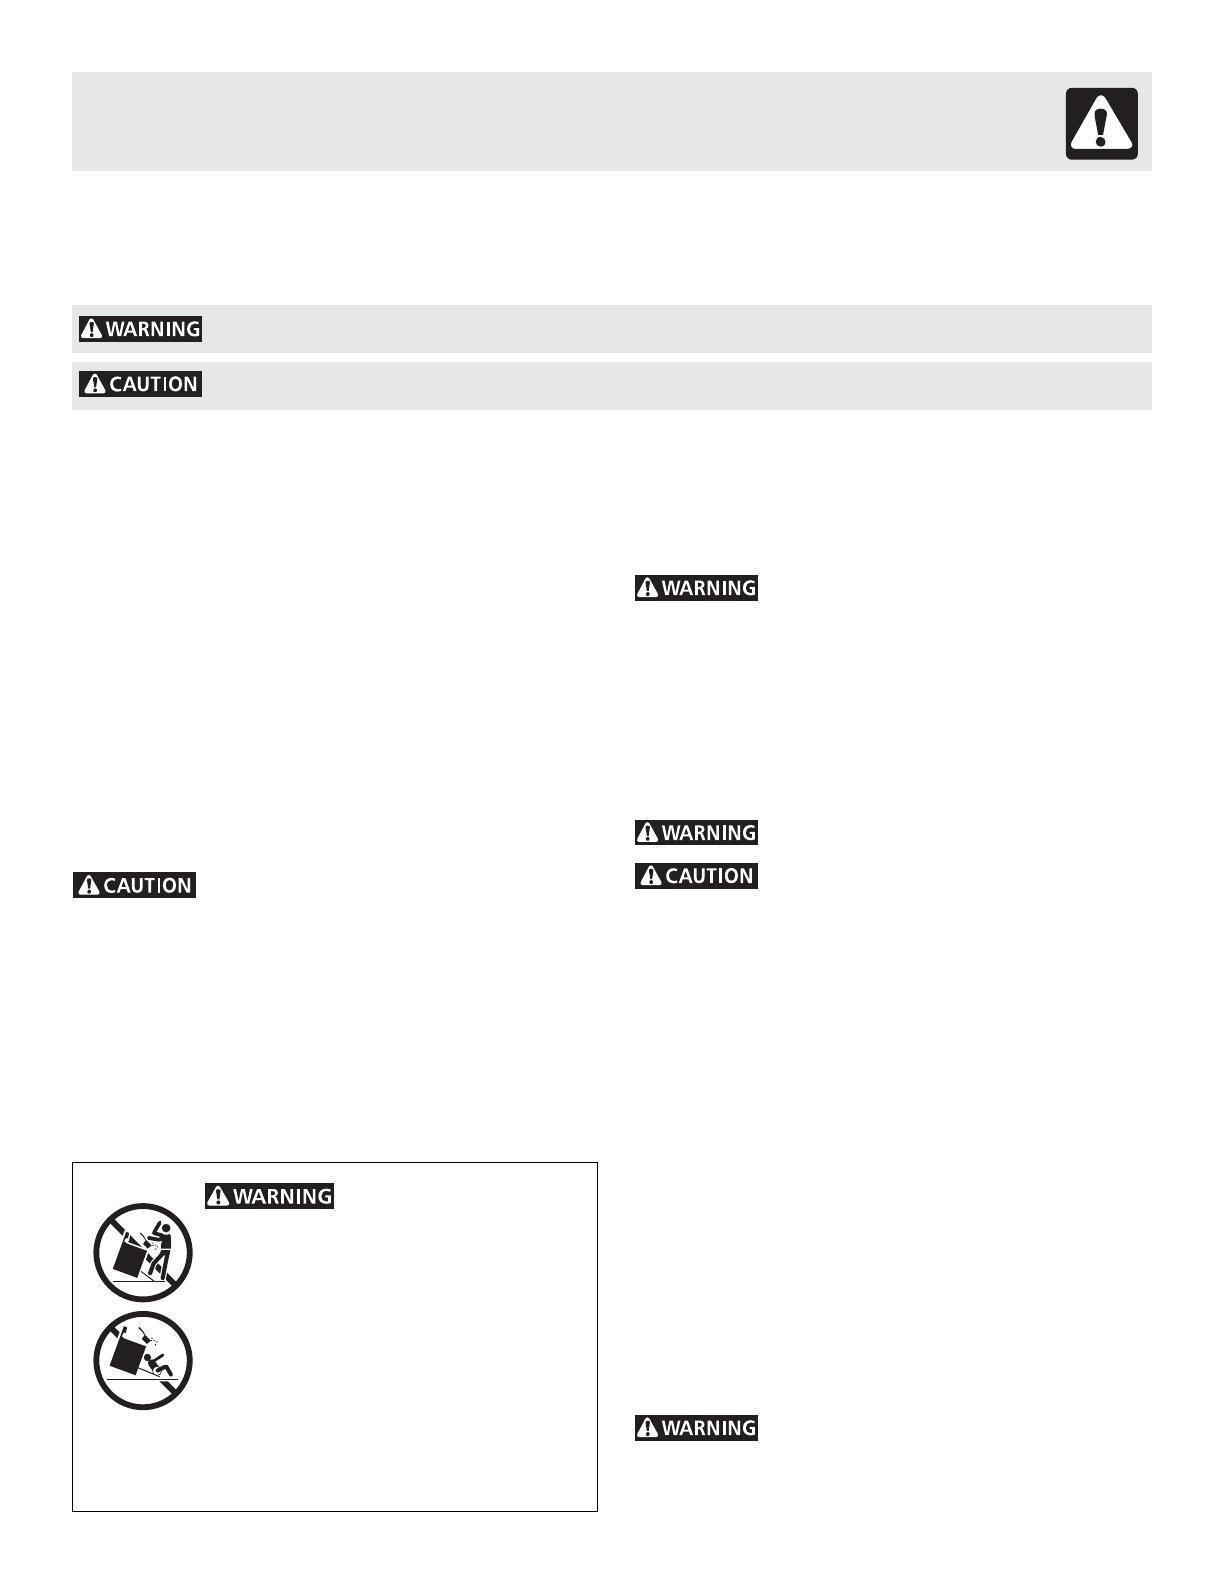
• All wall ovens can tip.
• Injury to persons could result.
• Install anti-tip bracket packed with
wall oven.
• See Installation Instructions.
To reduce the risk of tipping, the wall
oven must be secured by properly
installed anti-tip bracket provided with
the wall oven. Refer to the Installation
Instructions for proper anti-tip bracket
installation.


