INSTALLATION INSTRUCTIONS
TT-1445 7/14e
Original Issue Date: 3/08
Model: 6VSG, 8.5RES, 12RES(L), 14RES(A)(AL)(L), 15RES(A)/REYG/RYG,
17/18RES(L), 20RES(A)(AL)(B)(L), 24RCL, 30RCLH, 30RES(A)/REYG/
RYG, 38RCL, 48RCL, and 60RCL Generator Sets
Market: Residential/Commercial
Subject: Maintenance Service Kits GM62345, GM62346, GM62347, GM62348,
GM83718, GM86771, GM89979, and GM93396
Introduction
This kit provides items necessary for general engine
maintenance and service on 6--60 kW residential
generator sets.
Read the entire installation procedure before beginning
installation. Perform the steps in the order shown.
Generator Set Kit Number
8.5RES GM62345
6VSG, 12RES(L), 14RES(A)(AL)(L) GM62346
15RES(A)/REYG/RYG,
30RES(A)/REYG/RYG
GM62348
17/18RES(L), 20RES(A)(AL)(B)(L) GM62347
24RCL, 30RCLH GM93396
38RCL GM86771
48RCL GM83718
60RCL GM89979
Figure 1 Kits
Safety Precautions
Observe the following safety precautions while
installing the kit.
Accidental starting.
Can cause severe injury or death.
Disconnect the battery cables before
working on the generator set.
Remove the negative (--) lead first
when disconnecting the battery.
Reconnect the negative (--) lead last
when reconnecting the battery.
WARNING
Disabling the generator set. Accidental starting can
cause severe injury or death. Before working on the
generator set or connected equipment, disable the generator
set as follows: (1) Move the generator set master switch to the
OFF position. (2) Disconnect the power to the battery charger.
(3) Remove the battery cables, negative (--) lead first.
Reconnect the negative (--) lead last when reconnecting the
battery. Follow these precautions to prevent starting of the
generator set by an automatic transfer switch, remote
start/stop switch, or engine start command from a remote
computer.
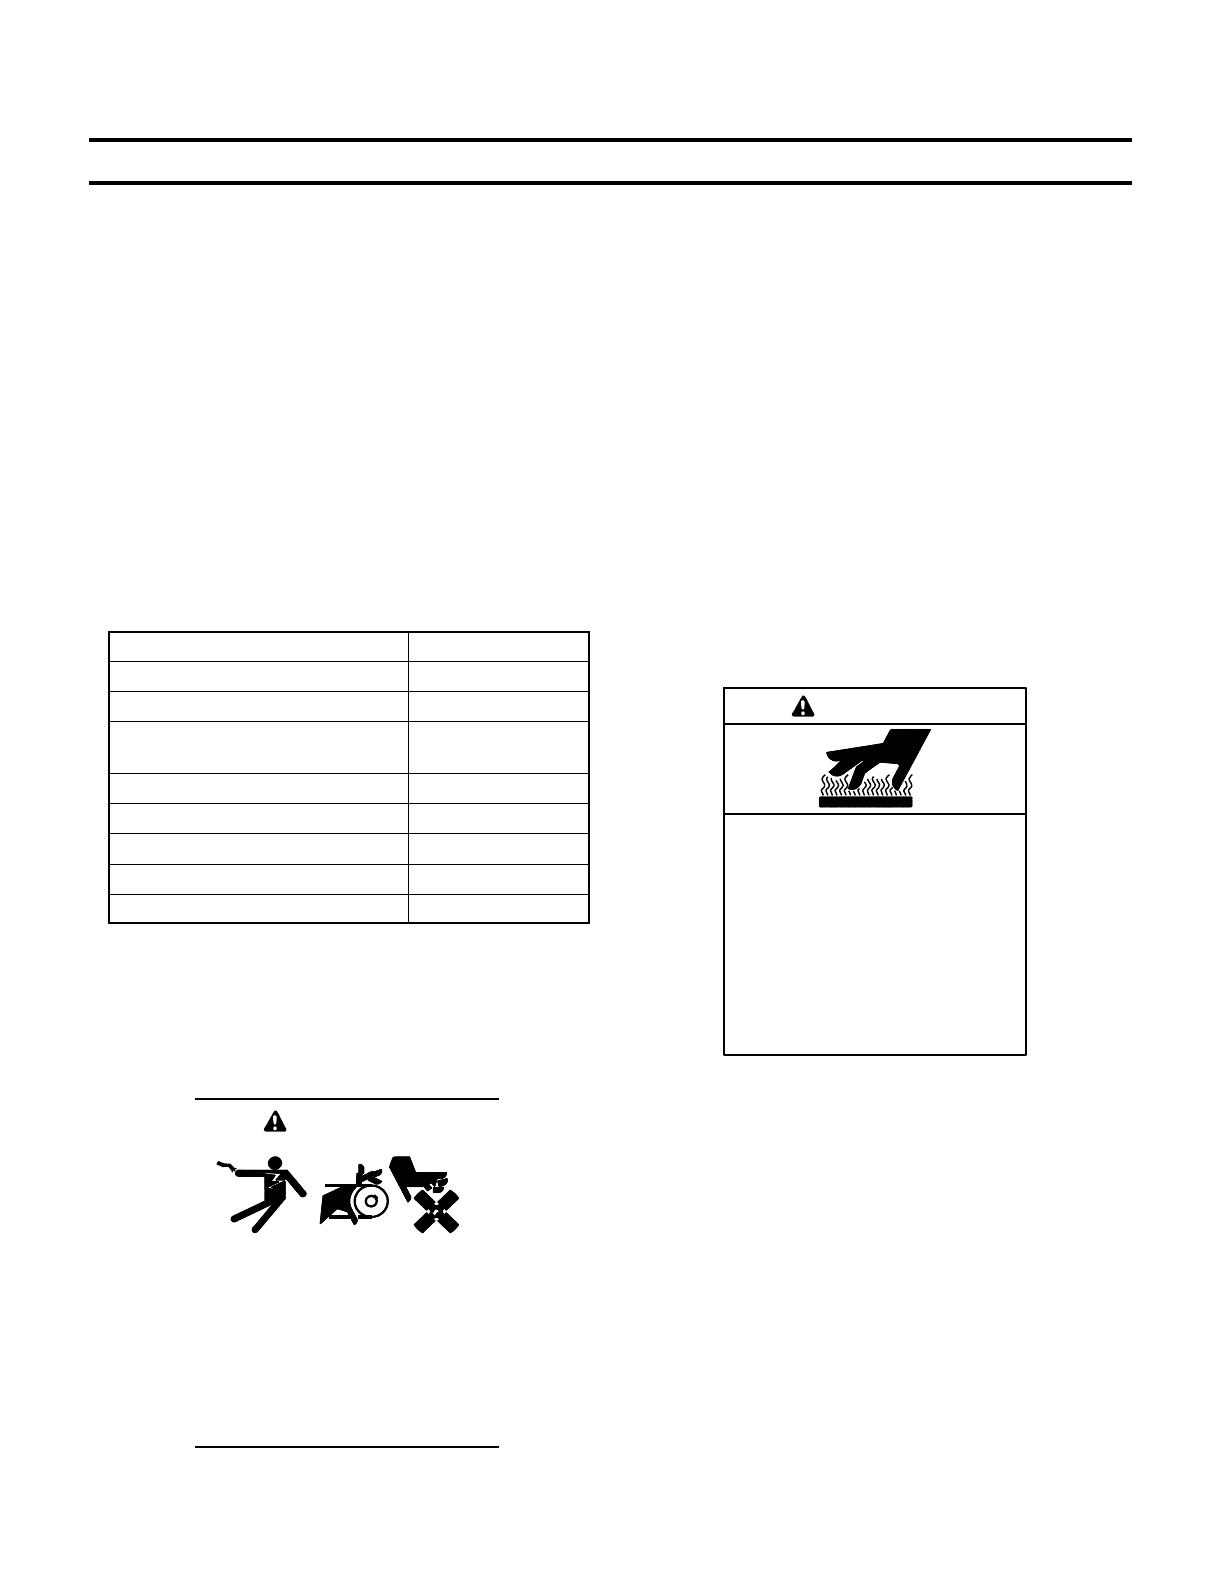
Hot engine oil.
Can cause severe injury or death.
Avoid skin contact with hot oil. Do not
start or operate the generator set with
the engine oil filler cap removed, as
hot oil can spray out. Ensure that the
lubrication system is not under
pressure when servicing. Do not
work on the generator set until it
cools.
WARNING
Used engine oil. Contact with used engine oil may cause
severe skin irritation. Repeated and prolonged skin
exposure may have other health risks. Used engine oil is a
suspected carcinogen. Avoid contact with skin. Thoroughly
wash your hands and nails with soap and water shortly after
handling used engine oil. Wash or dispose of clothing or rags
containing used engine oil. Dispose of used engine oil in a
responsible manner. Contact your local recycling center for
disposal information and locations.
Servicing the air cleaner. A sudden backfire can cause
severe injury or death. Do not operate the generator set with
the air cleaner removed.


