Page is loading ...

Be sure to check all packing material carefully for small parts, which may have come loose inside the carton during
shipment.
To prevent possible scratches and damage, this furniture should be assembled on a soft surface such as a blanket or
carpet.
G
D
E
F
G
D
E
F
Step 1
Step 2
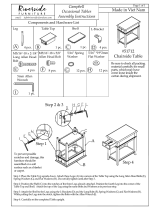
Step 1: Attach the Legs (B)&(C) at the corners of the Bench Top upside down using the 2" long Head
Bolts (D),Spring Washers (E) and Flat Washers (F).
Step 2: Adjust fit if necessary and tighten Bolts using the Allen Wrench (G).
#59359-59459
Uph Dining Bench
1 pc.
Bench Top
2 pcs.
Legs
4 pcs.
Center Legs
Components and Hardware List
Riverside
FURNITURE
email: [email protected]
Page 1 of 1
Made in Viet Nam
B
A
DE12 pcs. 12 pcs.
12 pcs. G
F1 pc.
M5/16" x 2"
Allen Head Bolt
M5/16" Spring
Washer
M5/16" x 19 x
2mm Flat
Washer
5mm Allen
Wrench
C
A
B
C
Myra Bedroom
Assembly Instructions
WARNING
This BENCH is designed and
intended for seating only. To prevent
against potential injuries and
structural failures, this bench should
NEVER be used for other than its
intended purpose.
/


