10
10. Connect the Power Adapter to the Power
Connecter on the DVG-1402S.
11. Connect the other end of the Power Adapter to an available electrical outlet
(Wall Socket or Surge Protector).
12. Restart your PC.
Next you must configure your DVG-1402S. If you are using a DSL Modem with
a PPPoE or DHCP connection, you will need to continue on to the following
section. If you are using a Cable Modem, and your service provider requires a
MAC address, skip this section and refer to the section titled “MAC Cloning for
Cable Connection.” Also be sure to change your computer’s IP settings to DHCP
(to automatically be assigned an IP address from the DVG-1402S) regardless
of what type of internet connection you have. (Please refer to your NIC card’s
manual for detailed information.) If your cable service provider does not require
a MAC address, setup of the DVG-1402S with a modem and computer is
complete.
Getting Started (continued)
Connecting the DVG-1402S Directly to a Modem and Computer (No Router)
Configuring the DVG-1402S for DSL Connection
Some Internet Service providers use PPPoE as their method of connecting
clients. If you have a PPPoE connection, you must follow the steps below to
complete the configuration of your hardware. If you are unsure of your connection
type, please check with your Internet Service Provider.
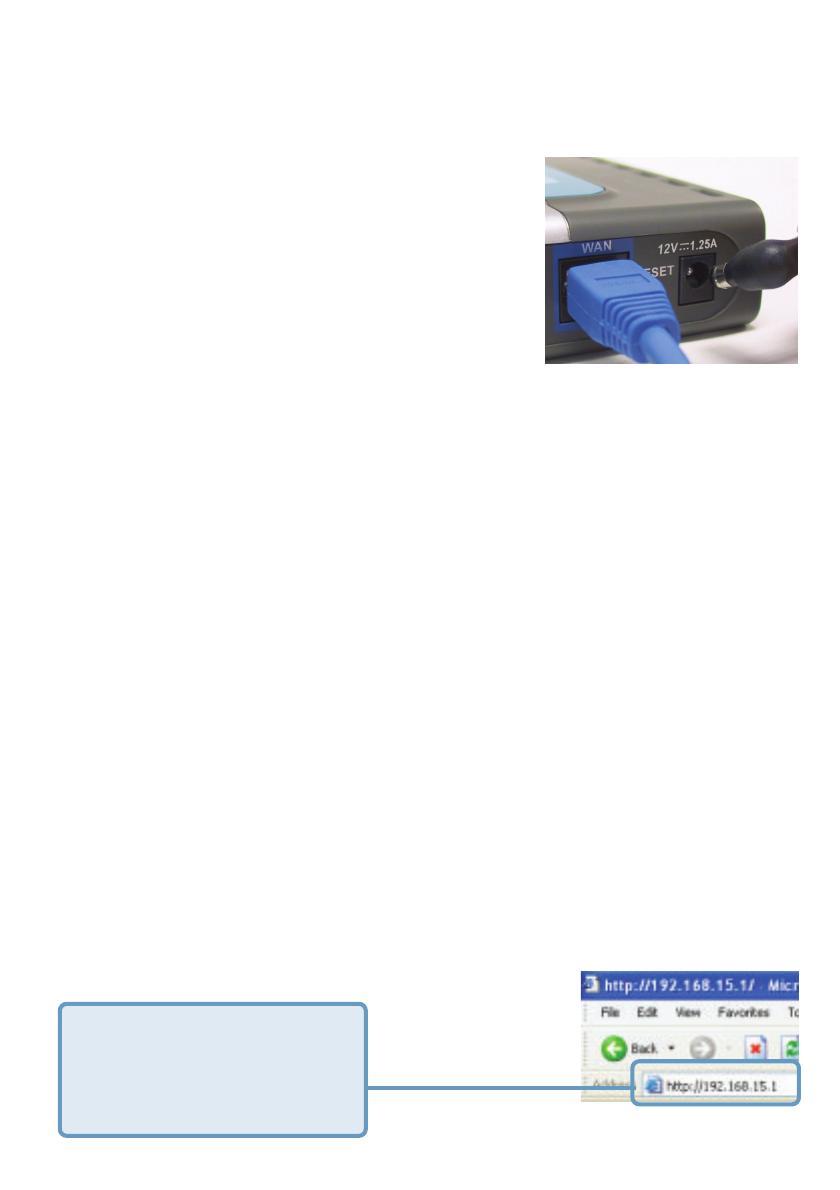
Open your Web browser and
type http://192.168.15.1 into
the URL address box. Press
the Enter or Return key.


