8 English
- The system will creat a “ AUDIO “ folder and then store the encoding track in it.
- The recording format is preset at – MP3 bit rate : 128 kbps, sampling rate :
44.1khz
- No song title will be recorded during encoding mode
- To interrupt the recroding, press the “ RECORD “ button again during record mo-
de.
- Recording will be completed only entire song
being encoded, if terminate the encoding process intermediately, there is no track
being recorded nor stored to the USB or SD/MMC card.
III) COPYING OF MP3/WMA FILE
If putting a MP3/WMA disc instead of a CD-DISC, the system will copy the files to the
USB or SD/MMC card if press the “ RECORD “ button (9). The operation procedures
is same as cd encoding as stipulate on above, and the system will switch to copying
mode only if MP3/ WMA file being read.
REMARK:
- The system will store the file to usb sorce
first if both usb and sd slot are being occuplied by storage media.
- If press the “ record “ button during playback
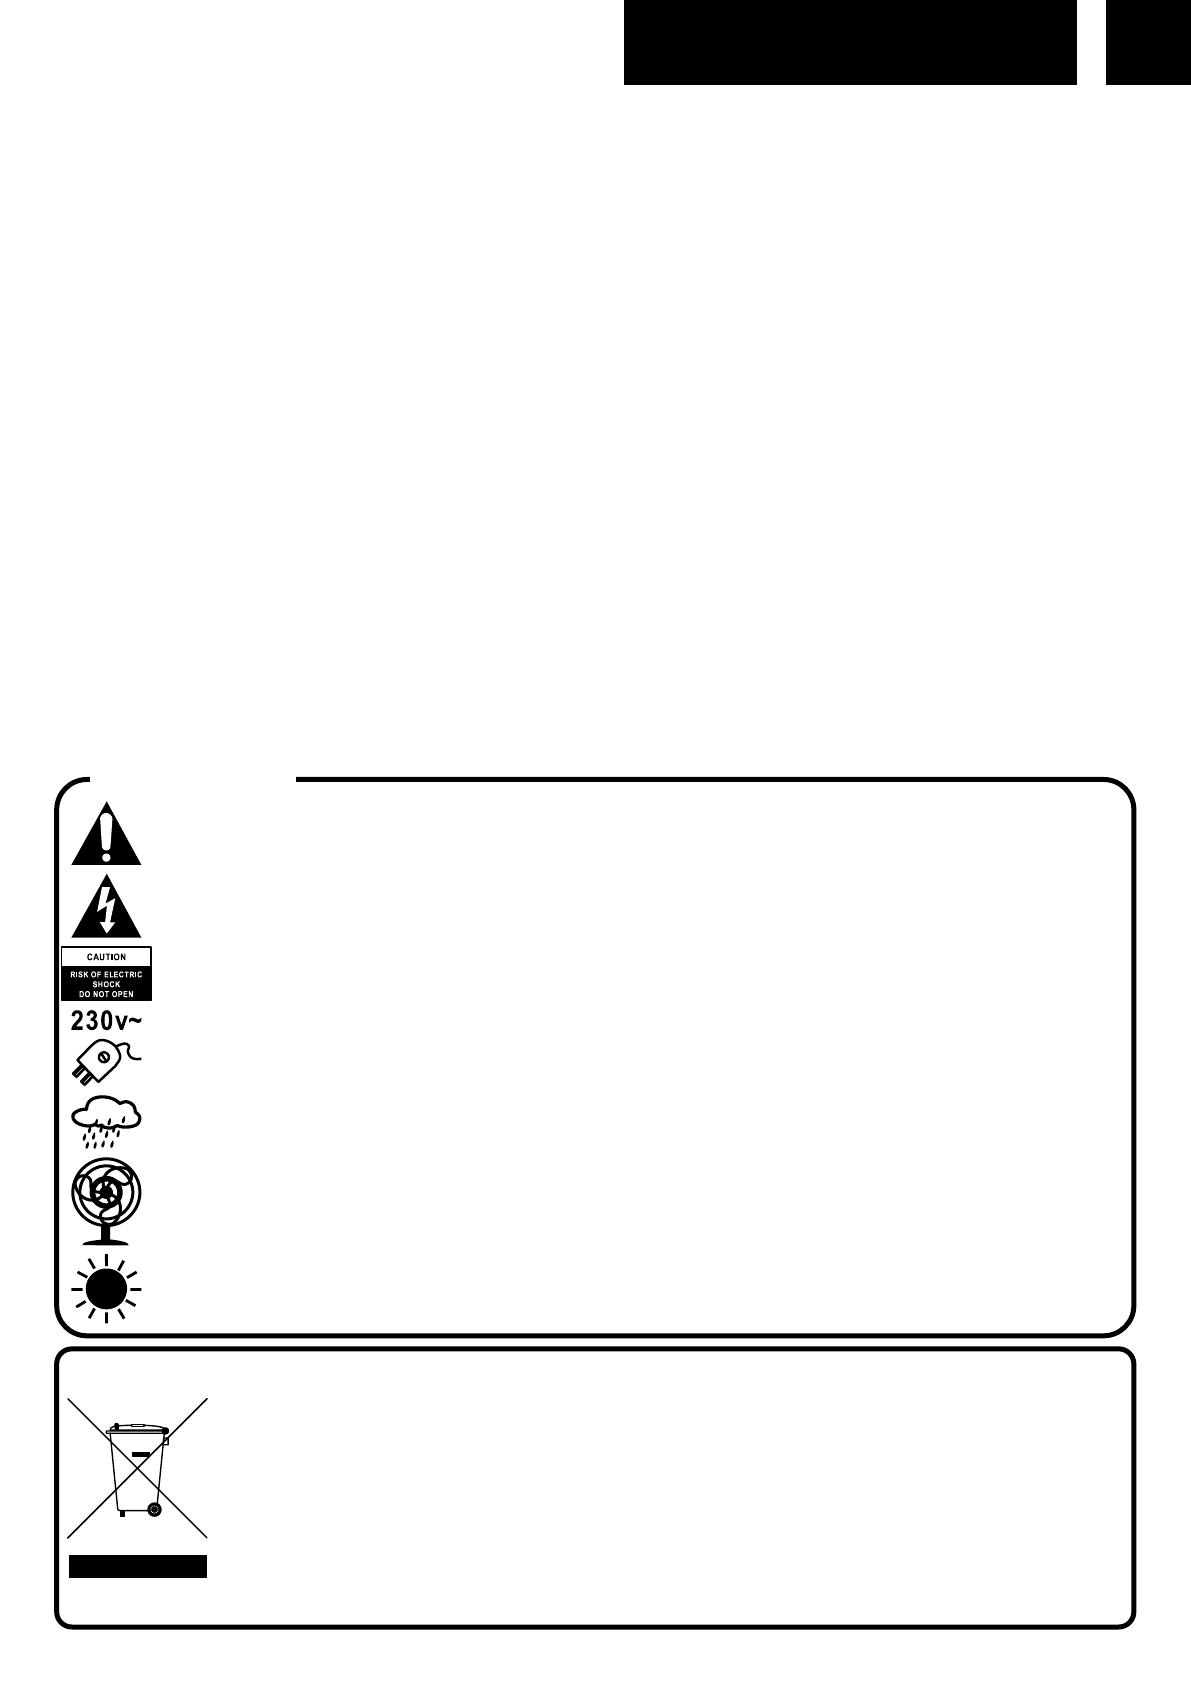
This marking shown on the product or its literature, indicates that it should not be disposed with o-
ther household wastes at the end of its working life. To prevent possible harm to the environment or
human health from uncontrolled waste disposal, please separate this from other types of wastes
and recycle it responsibly to promote the sustainable reuse of material resources. Household users
should contact the retailer where they purchased this product, or their local government office, for
details of where and how they can take this item for environmentally safe recycling. Business users
should contact their supplier and check the terms and conditions of the purchase contract. This pro-
duct should not be mixed with other commercial wastes for disposal.
CORRECT DISPOSAL OF THIS PRODUCT
(Waste Electrical & Electronic Equipment)
WARNINGS
The exclamation point within the triangle is a warning sign alerting the user of important instruc-
tions accompanying the product.
The lightening flash with arrowhead symbol within the triangle is a warning sign alerting the user
of “dangerous voltage” inside the unit.
To reduce the risk of electric shock, do not remove the cover. No user serviceable parts inside
the unit. Refer all servicing to qualified personnel.
This unit operates on 230V ~ 50Hz. If the unit is not used for a long period of time, remove the
plug from the AC mains.
Ensure all connections are properly made before operating the unit.
This unit must not be exposed to moisture or rain.
This unit should be positioned so that it is properly ventilated. Avoid placing it, for example, close
to curtains, on the carpet or in a built-in installation such as a bookcase.
Do not expose this unit to direct sunlight or heat radiating sources.


