English
Basic Features
■ White Balance: Adjust the colour temperature for a
more natural picture.
R-Offset / G-Offset / B-Offset: Adjust each colour’s
(red, green, blue) darkness.
R-Gain / G-Gain / B-Gain: Adjust each colour’s (red,
green, blue) brightness.
Reset: Resets the White Balance to it’s default settings.
■ Flesh Tone: Emphasize pink “Flesh Tone.”
■ Edge Enhancement (Off / On): Emphasize object
boundaries.
■ LED Motion Plus (Off / On): Removes drag from fast
scenes with a lot of movement to provide a clear picture.
Picture Options
✎
In PC mode, you can only make changes to the
Colour Tone, Size and Auto Protection Time.
■ Colour Tone (Cool / Normal / Warm1 / Warm2)
✎
Warm1 or Warm2 will be deactivated when the
picture mode is Dynamic.
✎
Settings can be adjusted and stored for each
external device connected to an input on the TV.
■ Size: Your cable box/satellite receiver may
have its own set of screen sizes as well.
However, we highly recommend you use
16:9 mode most of the time.
16:9 : Adjusts the picture size to 16:9 for
DVDs or wide broadcasting.
Wide Zoom: Magnifies the picture size
more than 4:3.
✎
Adjusts the Position by using ▲, ▼ buttons.
Zoom: Magnifies the 16:9 wide pictures vertically to fit
the screen size.
✎
Adjusts the Position or Size by using ▲, ▼
button.
4:3: The default setting for a movie or normal
broadcasting.
✎
Do not watch in 4:3 format for a long time. Traces
of borders displayed on the left, right and centre
of the screen may cause image retention(screen
burn) which are not covered by the warranty.
Screen Fit: Displays the full image without any cut-off
when HDMI (720p / 1080i / 1080p) or Component
(1080i / 1080p) signals are inputted.
✎
NOTE
x
Depending on the input source, the picture size
options may vary.
x
The available items may differ depending on the
selected mode.
x
In PC mode, only 16:9 and 4:3 modes can be
adjusted.
x
Settings can be adjusted and stored for each
external device connected to an input on the TV.
x
After selecting Screen Fit in HDMI (1080i / 1080p)
or Component (1080i / 1080p) mode: Adjusts the
Position or Size by using ▲, ▼, ◄, ► button.
x
If you use the Screen Fit function with HDMI 720p
input, 1 line will be cut at the top, bottom, left and
right as in the overscan function.
■ Digital Noise Filter (Off / Low / Medium / High / Auto
/ Auto Visualisation / Demo): When the broadcast
signal is weak, some static and ghosting may appear.
Select one of the options until the best picture is
displayed.
Auto Visualisation: When changing analogue channels,
displays the intensity of the current signal and defines
the screen noise filter.
■ MPEG Noise Filter (Off / Low / Medium / High /
Auto): Reduces MPEG noise to provide improved
picture quality.
■ HDMI Black Level (Normal / Low): Selects the black
level on the screen to adjust the screen depth.
✎
Available only in HDMI mode (RGB signals).
■ Film Mode (Off / Auto1 / Auto2): Sets the TV to
automatically sense and process film signals from all
sources and adjust the picture for optimum quality.
✎
Available in TV, AV, COMPONENT (480i / 1080i)
and HDMI (480i / 1080i).
■ Auto Protection Time (2 hours / 4 hours / 8 hours /
10 hours / Off): If the screen remains idle with a still
image for a certain period of time defined by the user,
the screen saver is activated to prevent the formation of
ghost images on the screen.
Picture Reset (OK / Cancel)
Resets your current picture mode to its default settings.
P.SIZE
14
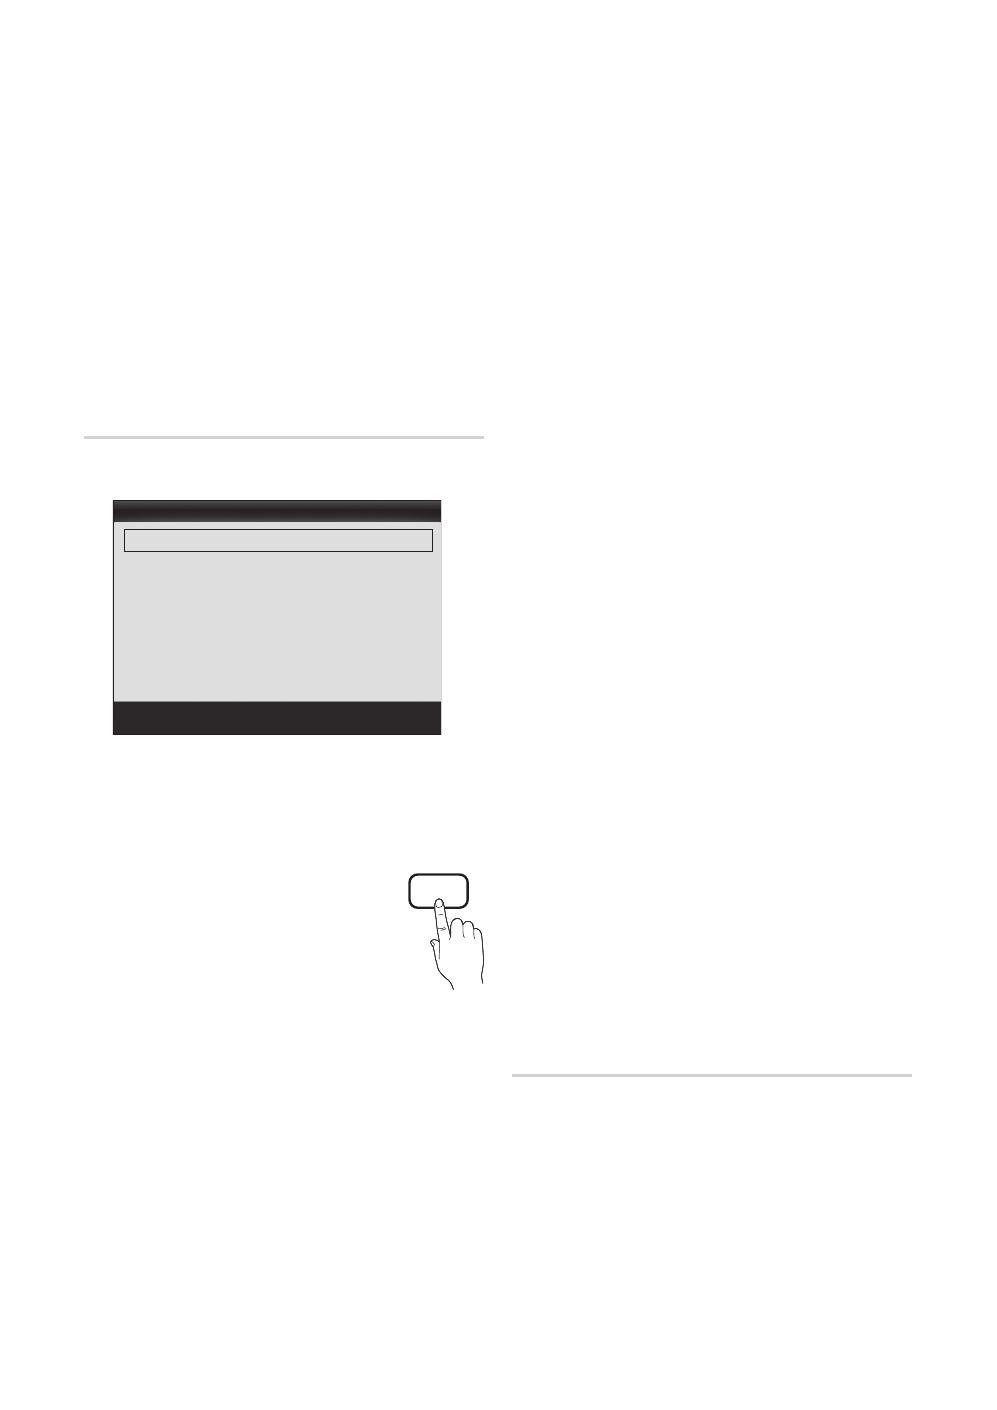
Picture Options
Colour Tone : Normal ►
Size : 16:9
Digital Noise Filter : Auto
MPEG Noise Filter : Auto
HDMI Black Level : Normal
Film Mode : Off
Auto Protection Time : 2 hours
▼
Move
Enter
Return
[UC5000-EA]BN68-02838A-01Eng.indb 14 2010-03-18 오전 10:52:21


